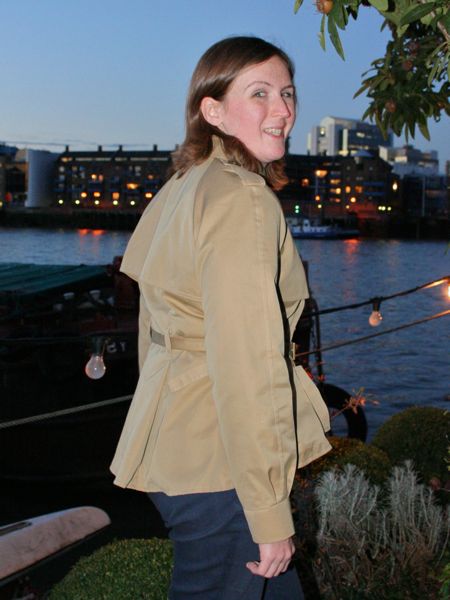
I’m so pleased to finally show you the first piece from my Fall 2011 sewing aspirations – the trench jacket!
As you recall, I was restricted in my pattern choice since I bought the last 2.5 yards of this waterproof gabardine from Mood when we were in NYC last Fall, but in the end I settled on Burda 02-2009-112. The gabardine feels great – it’s not coated with anything and it doesn’t feel plasticky – it’s just that the weave is so tight that water beads on it! Perfect for London!

This is a Burda Petite pattern, but the only change I needed to make to the muslin was to lengthen the sleeves! I’ve been busy sewing this in tiny increments over the past few weeks because I’ve been so busy, and you can see that we had to squeeze in this photoshoot after work, too!


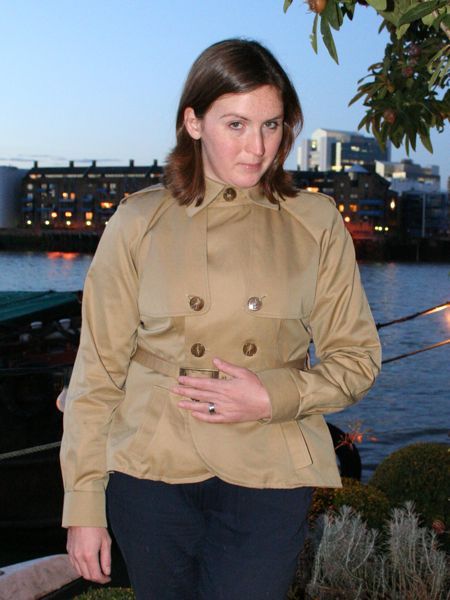
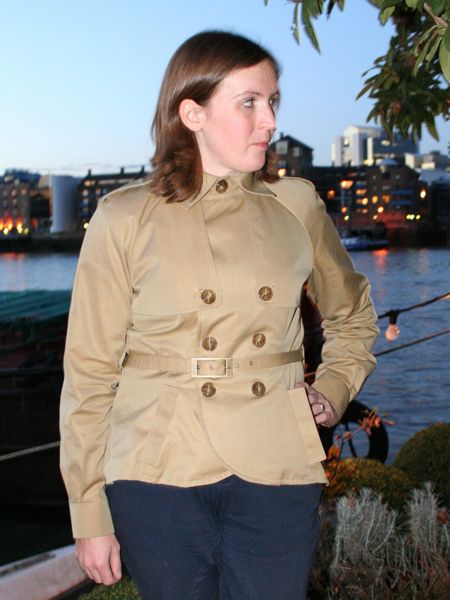
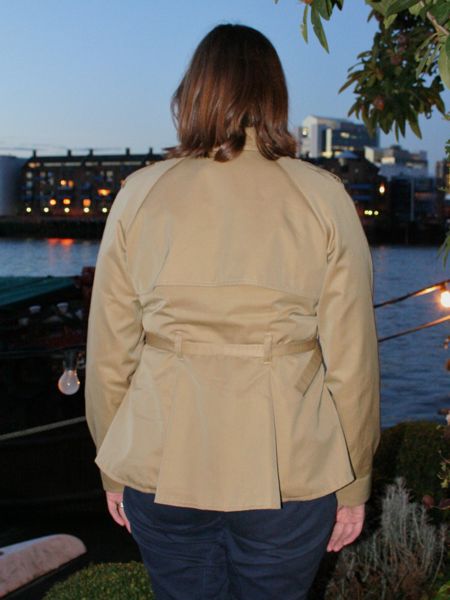
I really love the overall shape of this totally curvy jacket, but I especially love the pleated back vent, which was surprisingly very easy to sew! I cut the same pieces in the lining, and I cleverly waited to sew the diagonal topstitching to keep the folds in place until after the lining was in so the two layers stay together nicely.