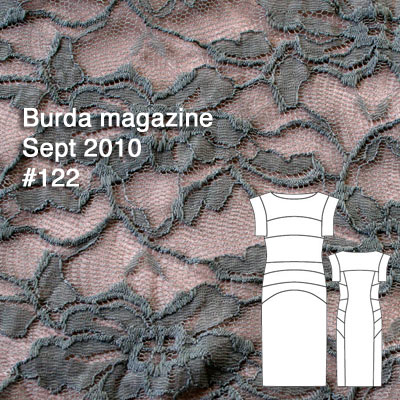
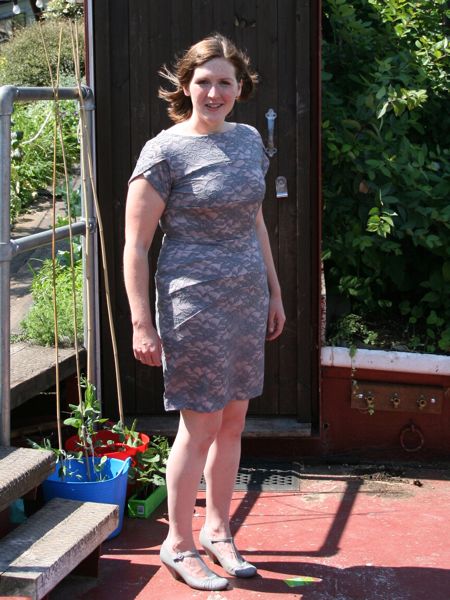
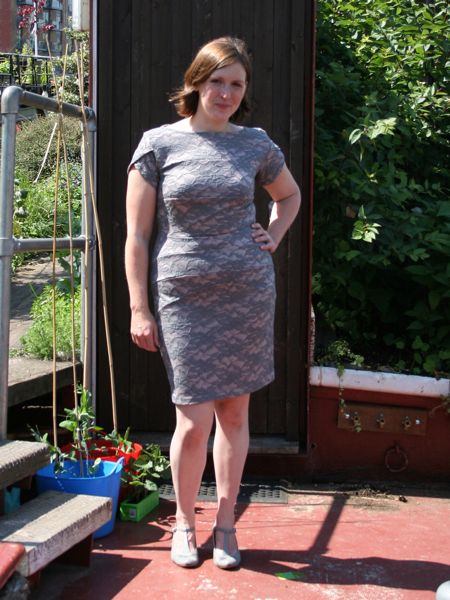
My next two sewing projects to share with you both use the fantastic, charcoal grey, ex-designer poly/viscose/lycra flannel that Neighbour Helen gifted to me just before they set sail for the continent. If I didn’t have the fibre content tag still attached to the fabric, I’d assume it was a cashmere or wool flannel, it’s that lovely!
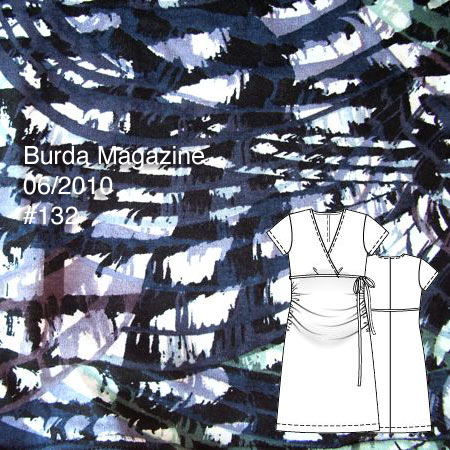
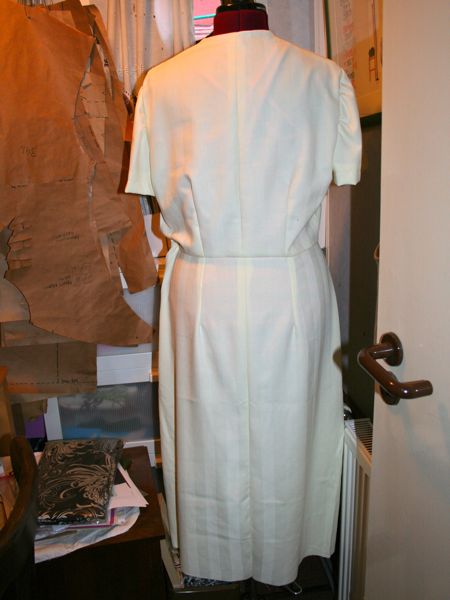
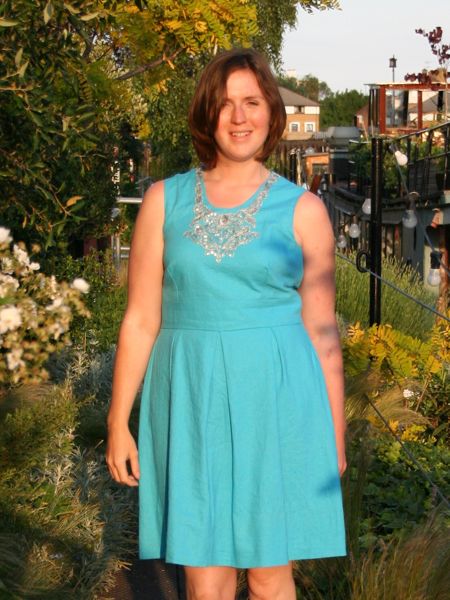
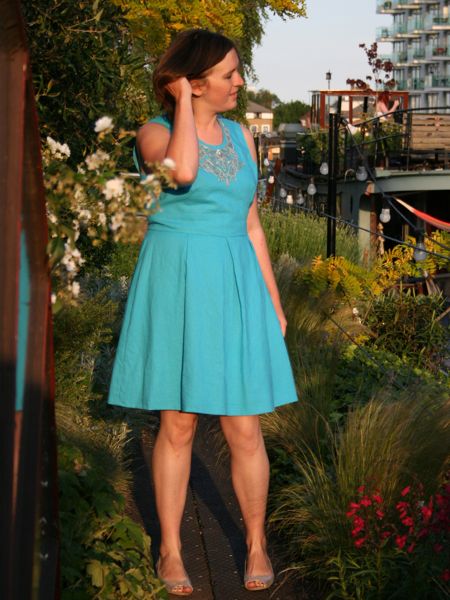
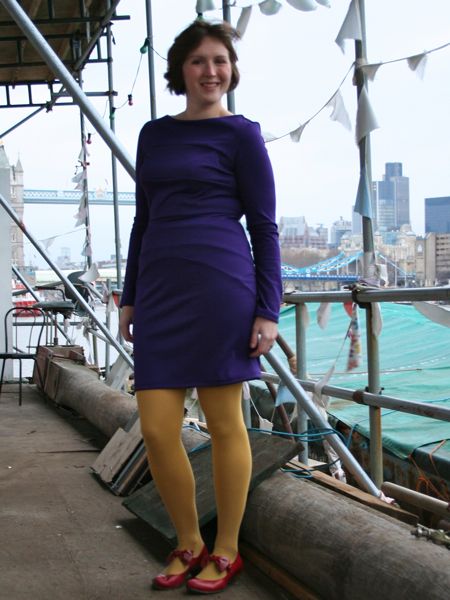
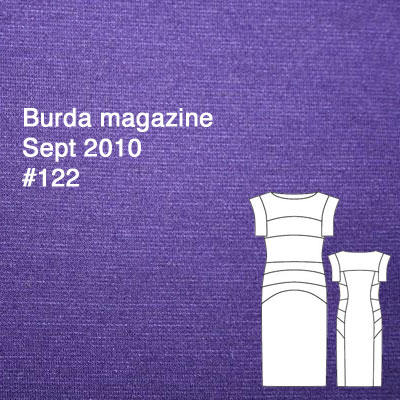
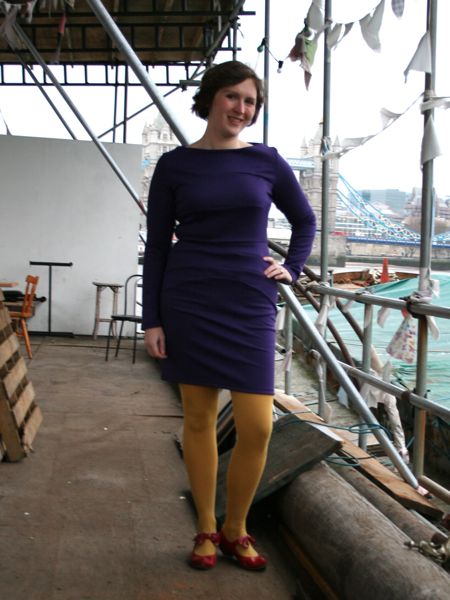
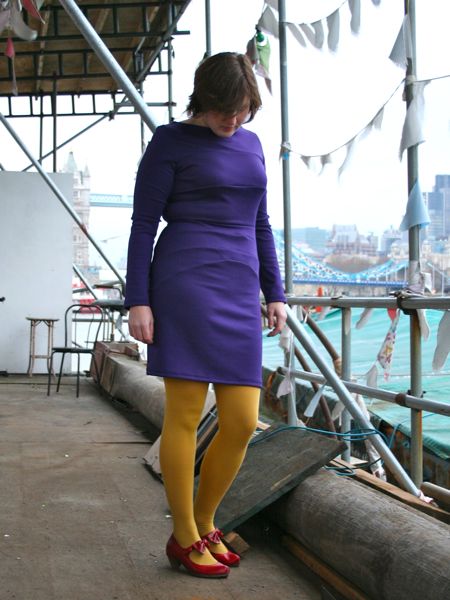
The first use of the flannel is actually already finished and could’ve been spotted in the swankier parts of Spitalfields on Saturday night – an amaaaaaaazing sheath dress from Burda magazine:
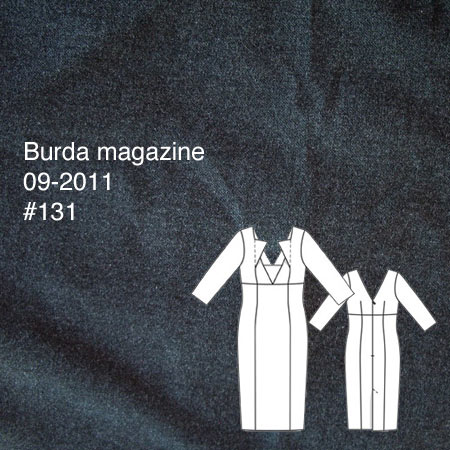
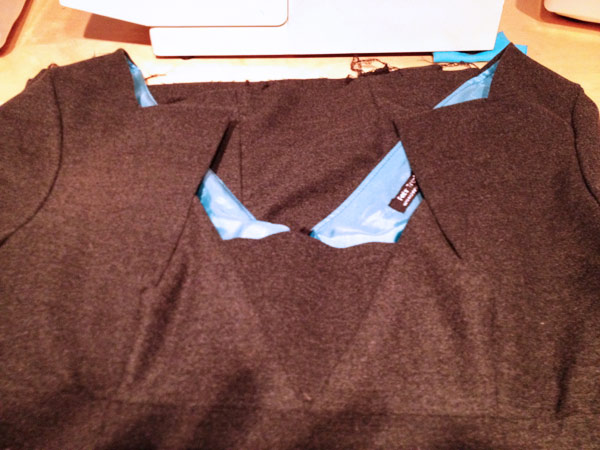
I’ll avoid a long story to explain the Why, but you’ll have to wait til next week to see the photos. But trust me when I say it is a truly stunning va-va-voom dress!
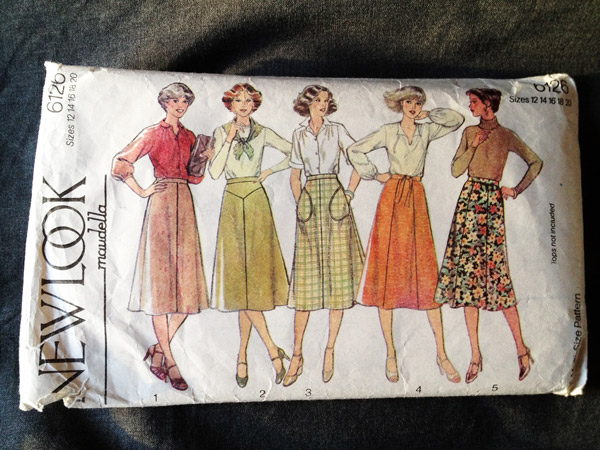
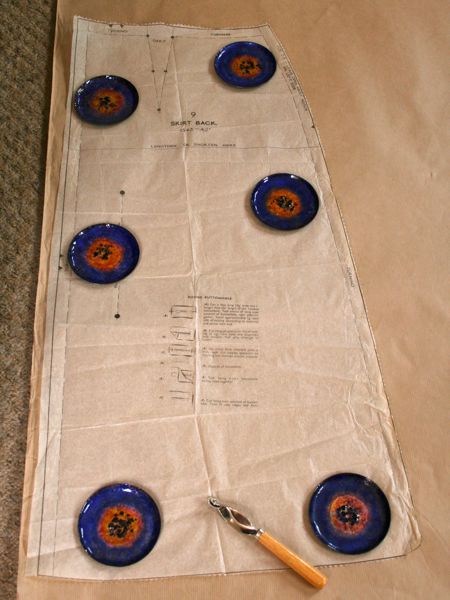
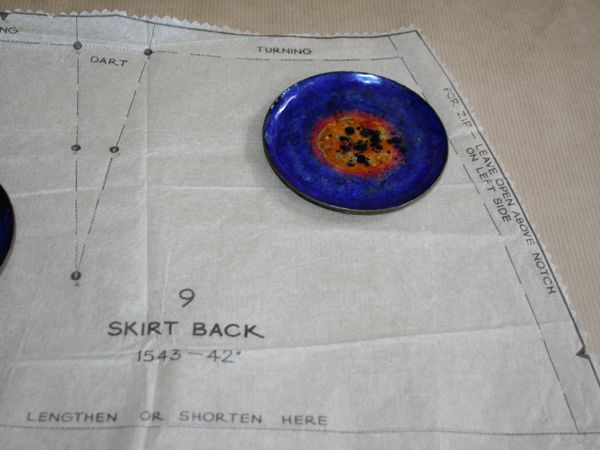
Then this weekend I decided to jump right in and use up the remaining ~2m or so of the flannel and make the vintage Maudella midi skirt pattern I bought in Sheffield a few weeks ago: