Thank you all so much for your sympathy and condolences and kind thoughts regarding Bosco’s sudden death. Last week was one of the worst of my life and I’m sorry to say that his departure was only one of a long line of awful things which happened to myself and those I love, so please bear with me while I piece things back together. I’m going to be more fragile than usual for a while.
In an attempt to clear the slate and document some blogging-accumulation guilt, here’s a catchup on the sewing-related events over the past fortnight…
Montreal
I was in Montreal for a few days for work immediately after my birthday, and I managed to shoehorn a very brief visit to Suzi Spandex into my 18 hour work days (in preparation for the launch of Zik.ca – Canadians, go see what I’ve been slaving over for the past 9 months in my day job!).
The shop itself was a bit of a PITA to get to – it doesn’t look far from downtown on the map but was a metro ride + 15-20 minute walk through a really dull neighbourhood, and I’m glad I had the address because the setup was very much like the NYC Garment District – an unmarked, nondescript office building with their premesis several floors up, with a front office and enormous warehouse full of rolls of fabric.
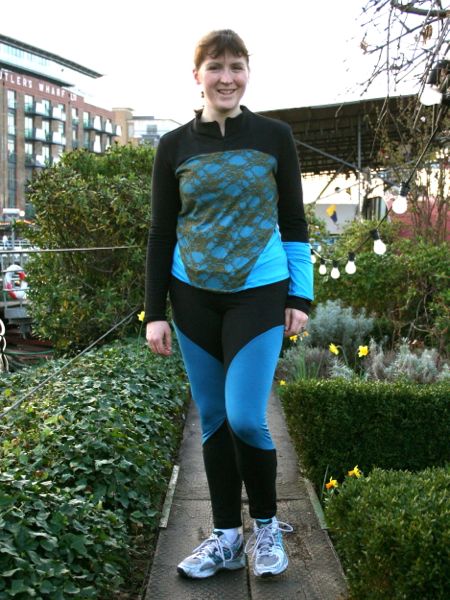
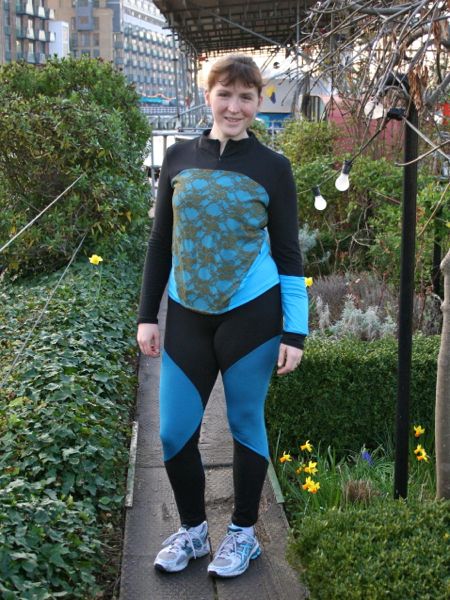
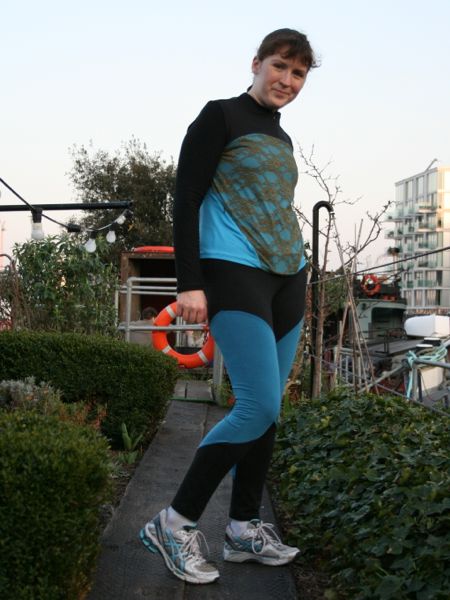
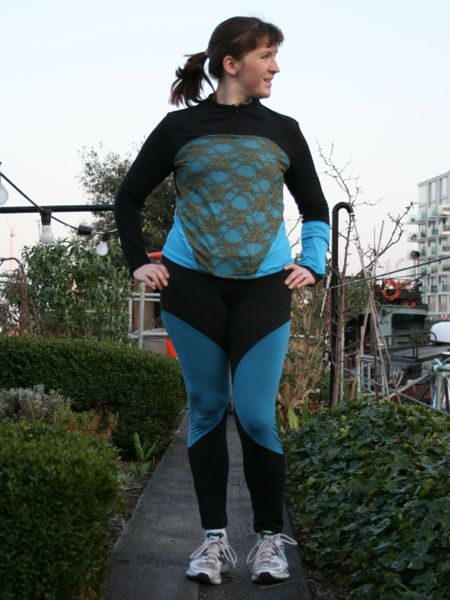
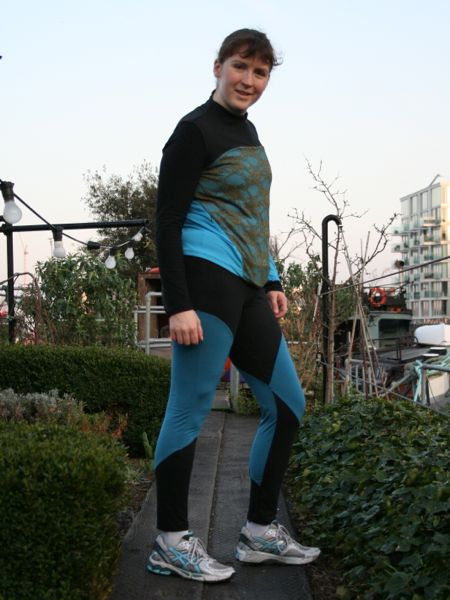
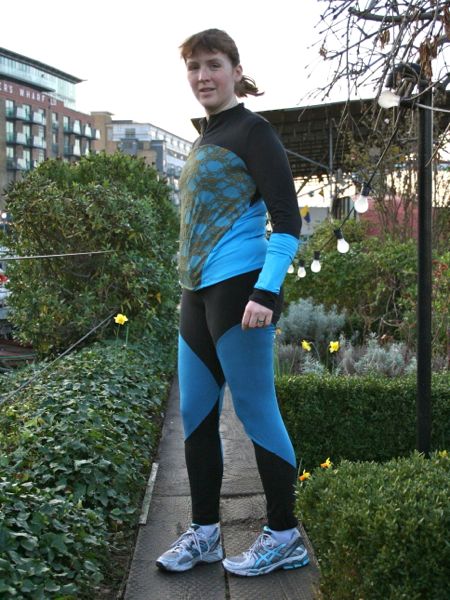
The setting may have been sparse, but I got such a warm welcome and the lady really helped me to choose the best wicking exercise fabric, which by all accounts seems to be their version of supplex, “Suziplex”.
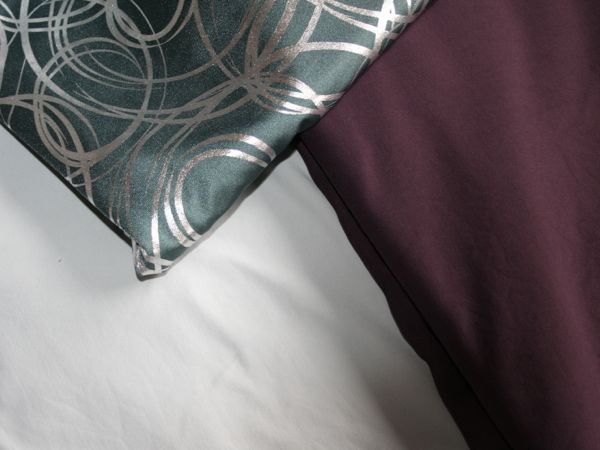
It’s got a great hand and recovery, and fabulously soft inner, loopy side:

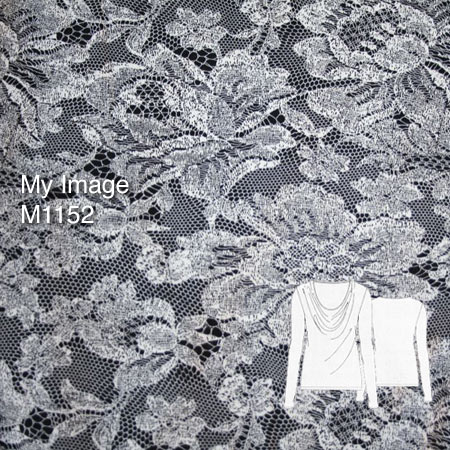
I bought 2m of dark, muted purple and 1m of pale grey Suziplex, and then another metre of some muted turquoise lycra with silver foil swirls.