There are two main reasons I choose to sew something – either because I’m mentally intrigued by the pattern and want to sew something new and engaging (90% of my sewing), or because I really want to wear something that fills a hole
in my wardrobe.
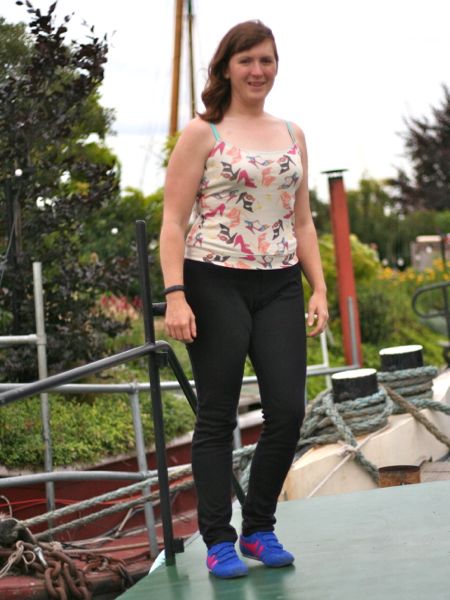
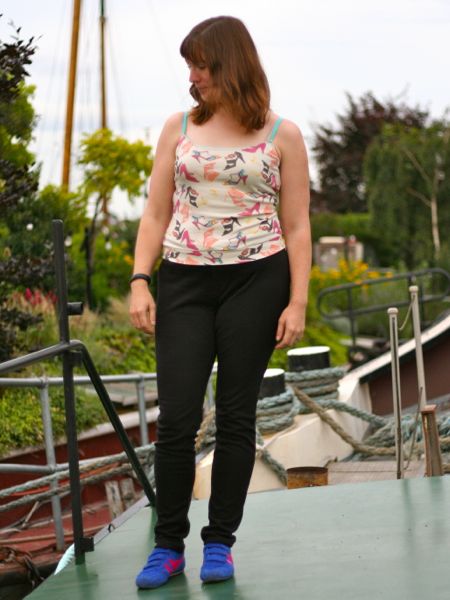
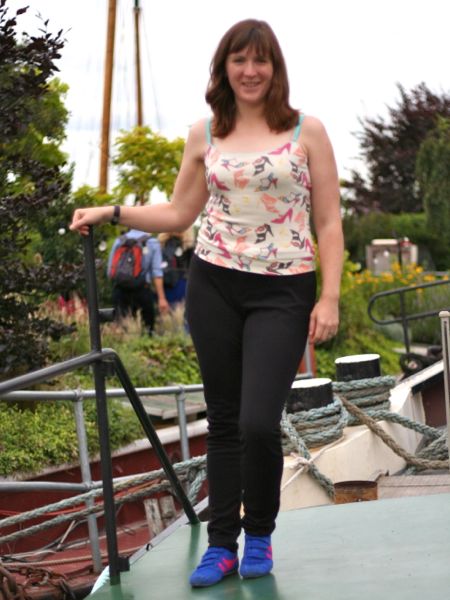
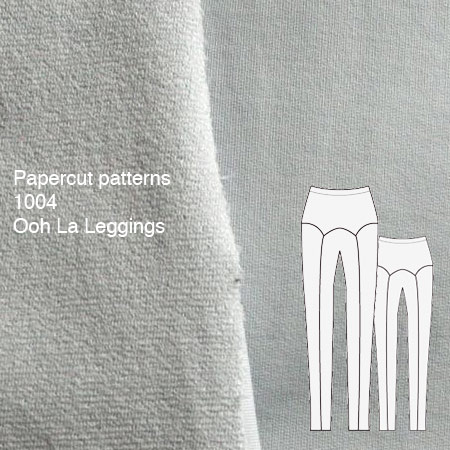
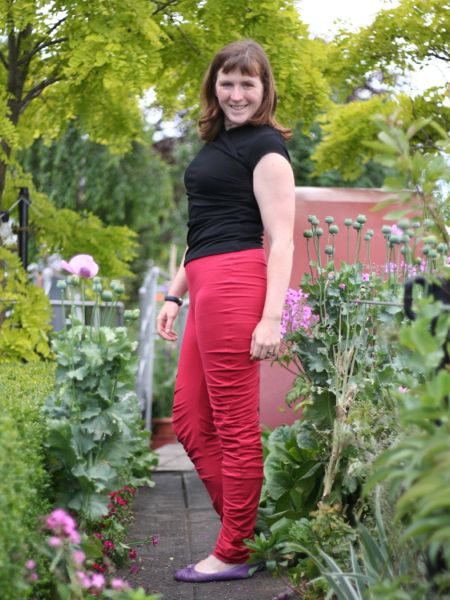
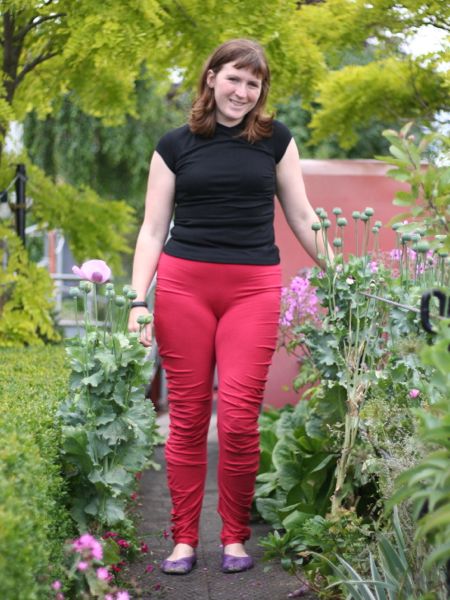
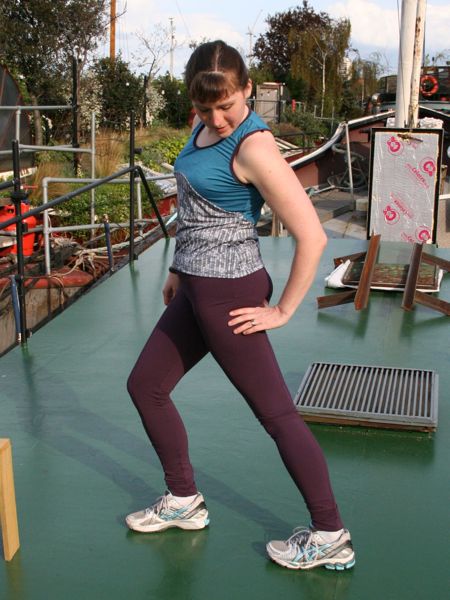
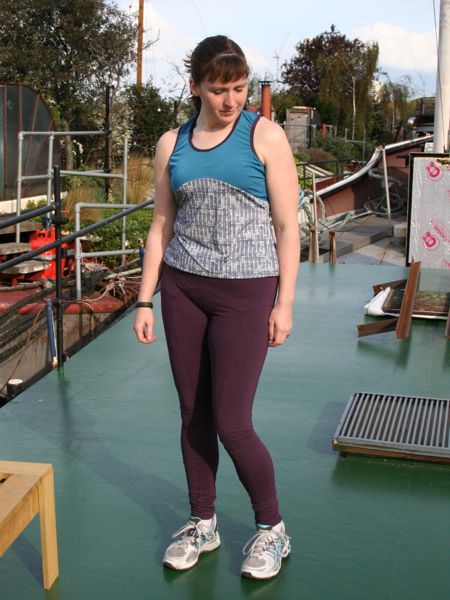
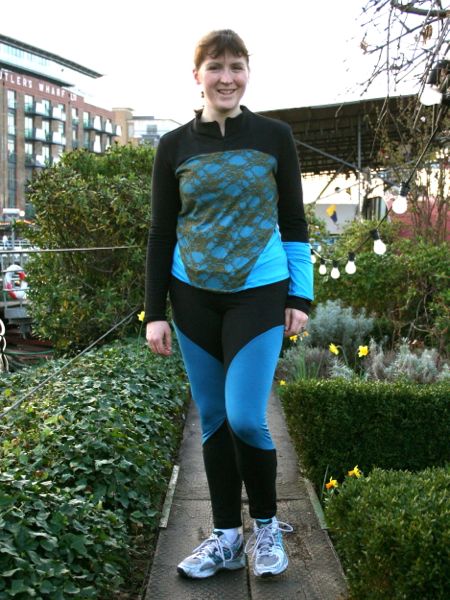
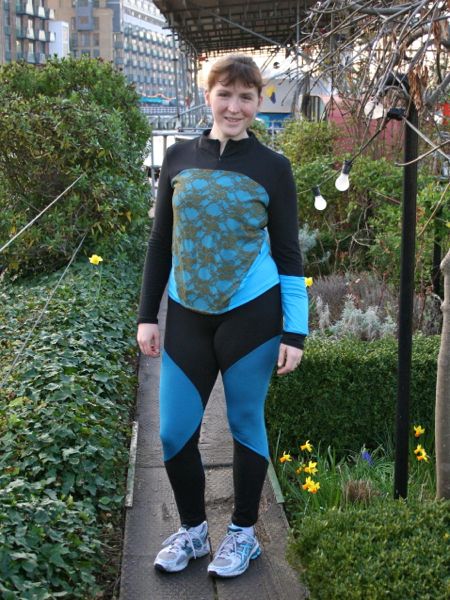
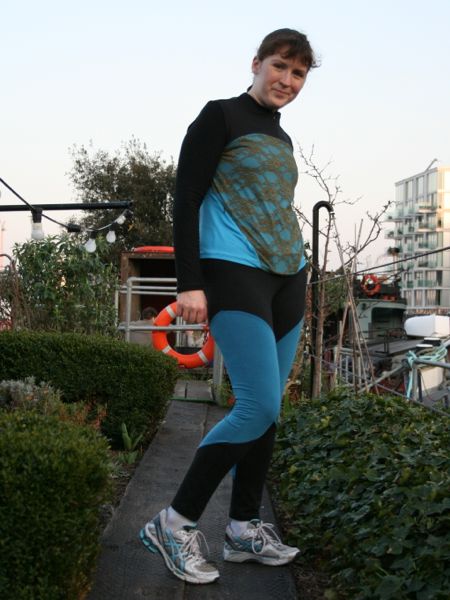
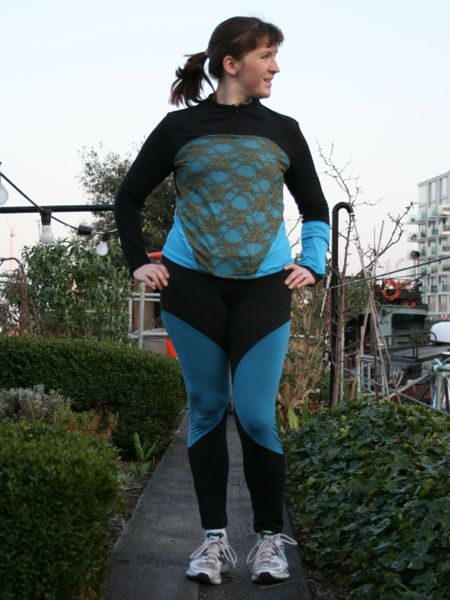
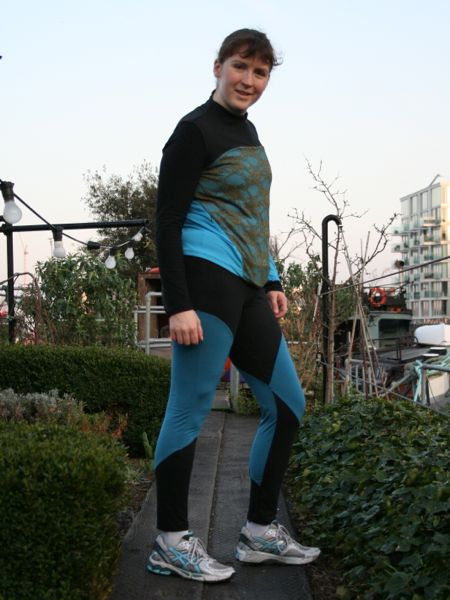
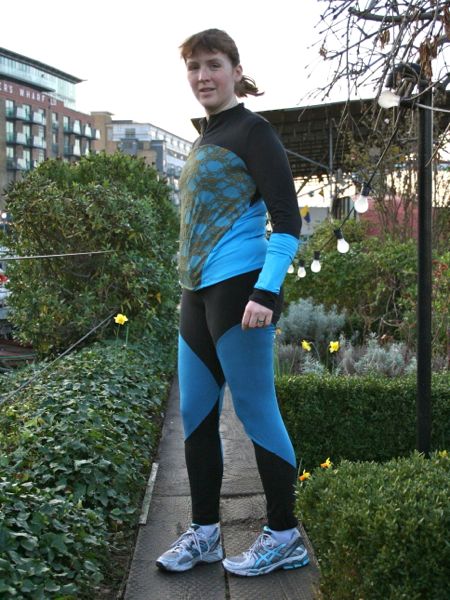
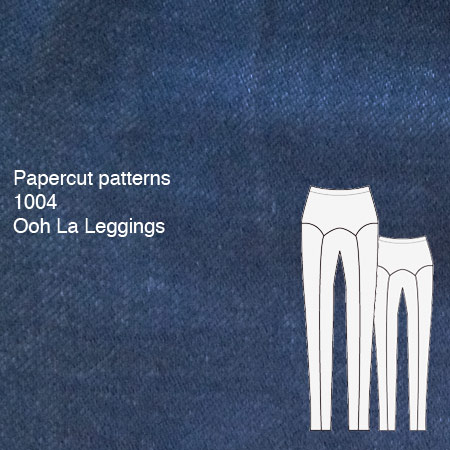
If you’re keeping track, this is the fifth time I’ve sewn the Papercut “Ooh La Leggings” pattern (UK stockist here), so clearly it’s not because I want a mental challenge – seriously, I could sew these in my sleep by now!
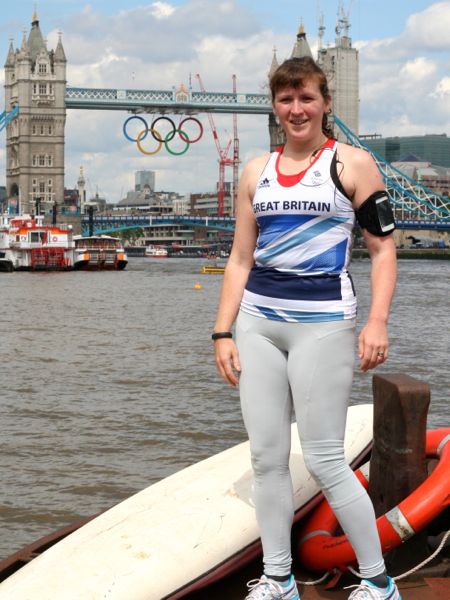
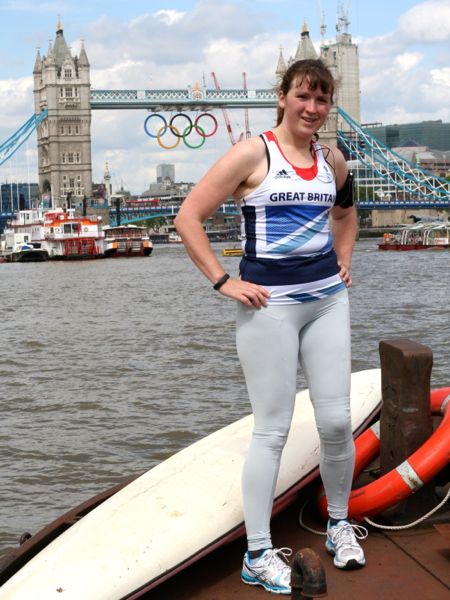
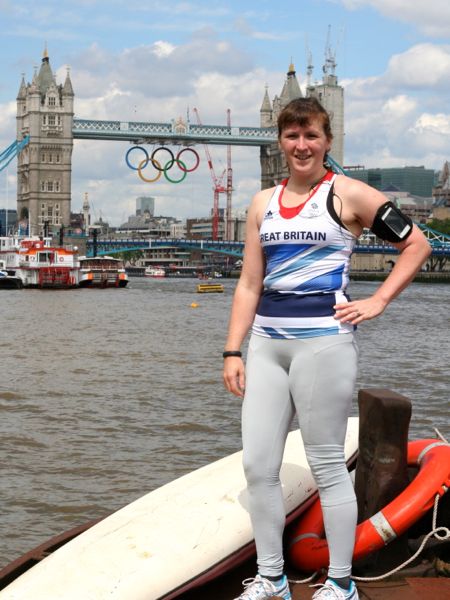
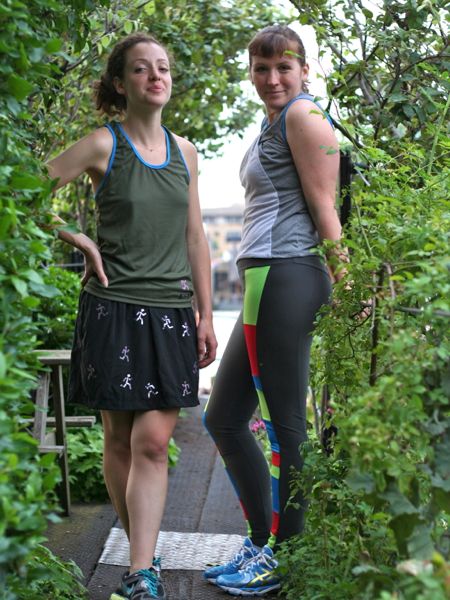
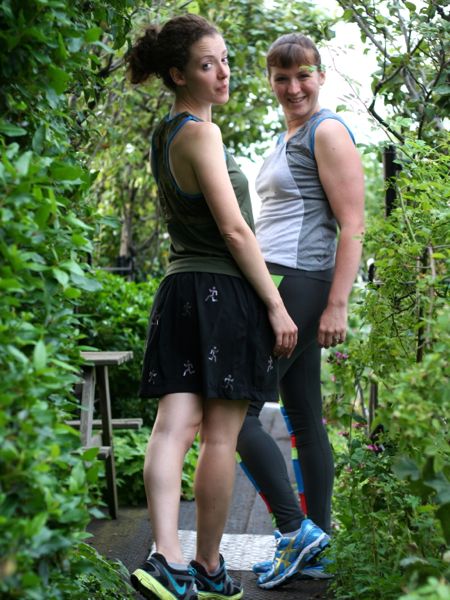
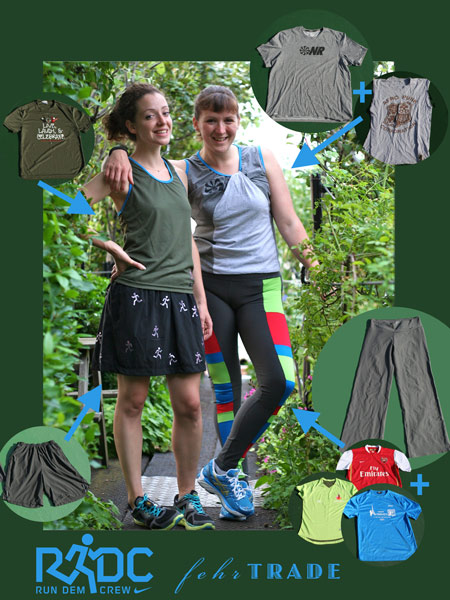
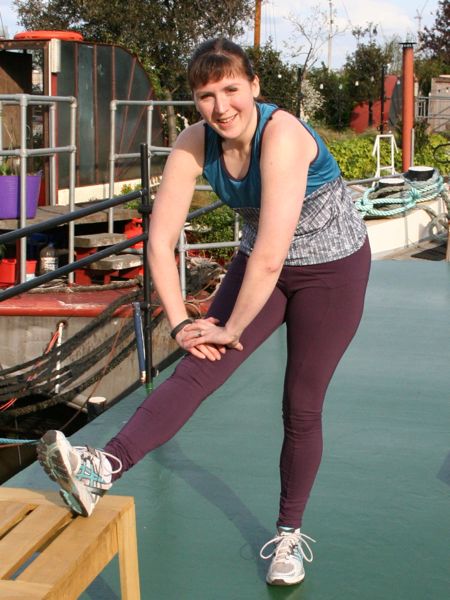
So far, I’ve got the purple Suziplex pair, the Liberace leggings, the Run Dem Crew Refashioned pair, and most recently my pale grey Suziplex Olympic leggings. But these were all for running, and I really, really wanted a pair I could just lounge around in!
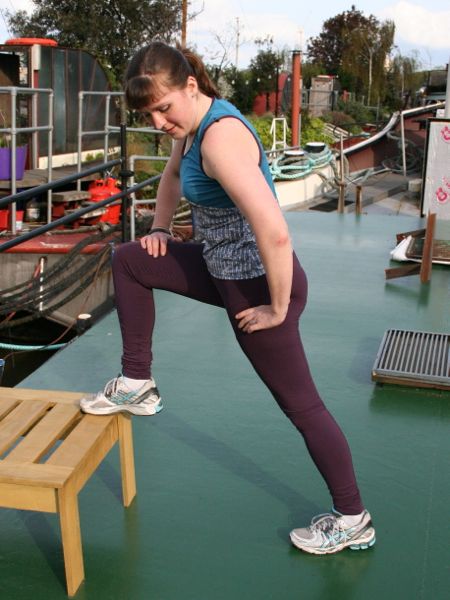
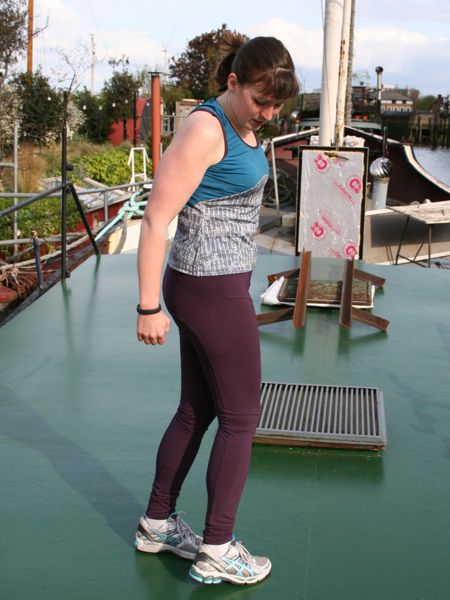
Long-time readers will know that I very rarely make a pattern twice, let along five times, so you can infer how much I love wearing these! This might be my new personal record for Pattern Sewn Most, come to think of it…
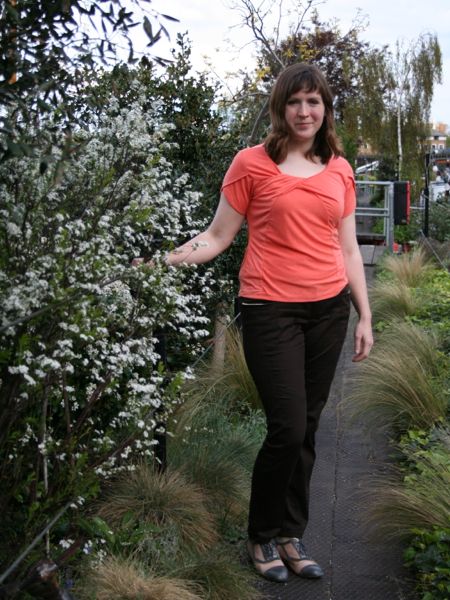
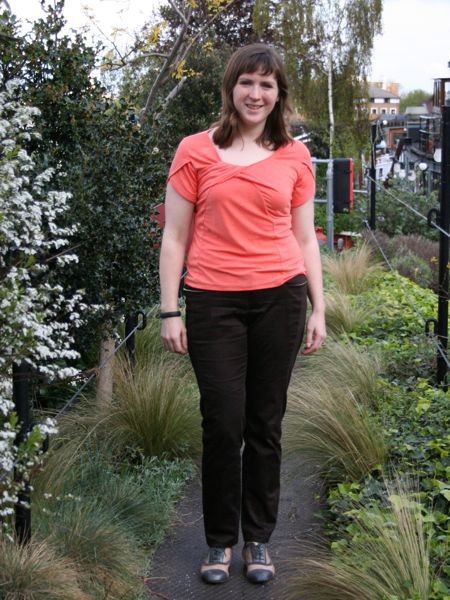
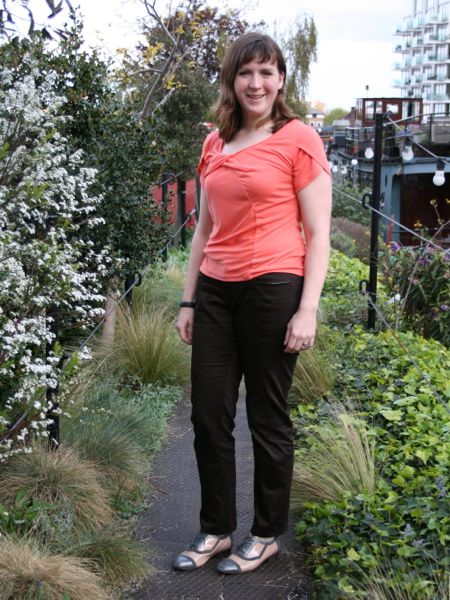
I made this pair in some “denim-look jersey” from Tissu Fabrics (aka Tia Knight on eBay – same stock, same owner, just a different interface!). It’s a jersey that cleverly really looks like it’s got a denim weave, and it’s absolutely perfect for making leggings that appear to be made from denim (I just really hate the j-word is all!).