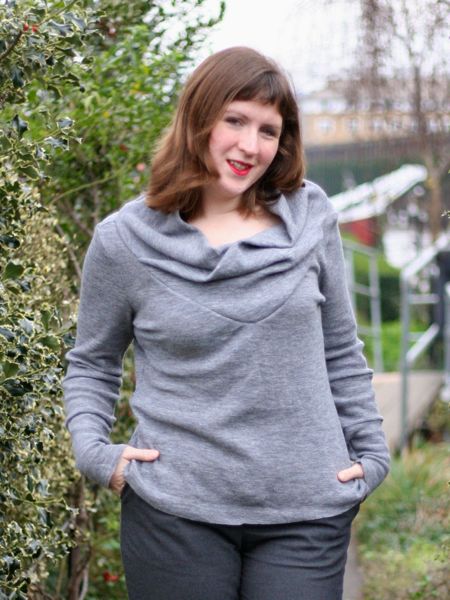
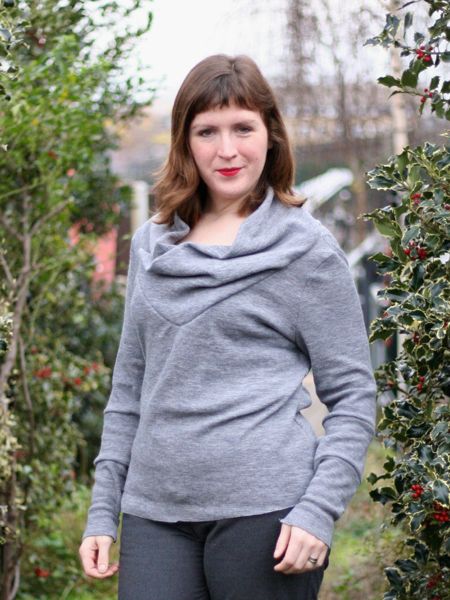
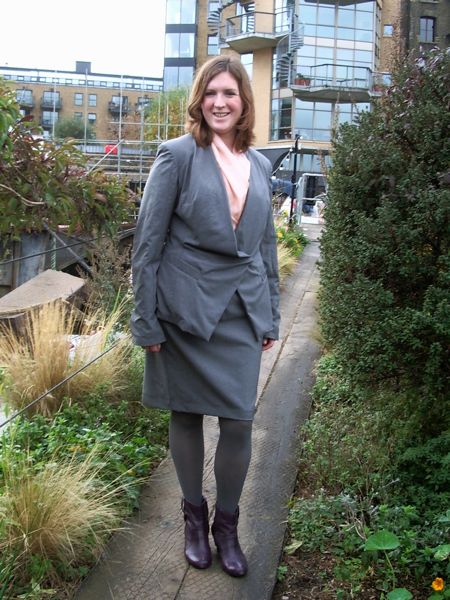
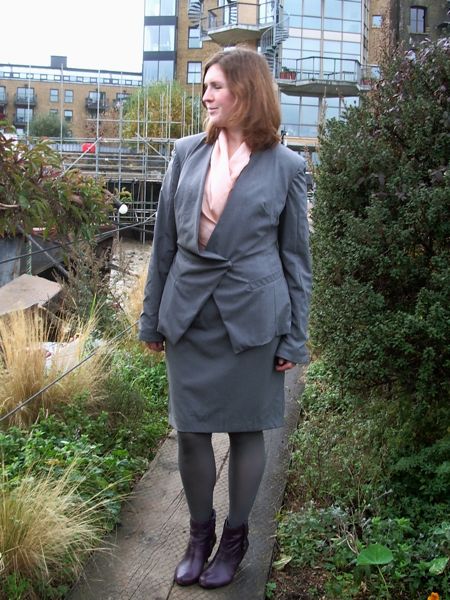
There came a point about midway through the construction of this where it suddenly dawned on me that I was creating my second draped collar sweater with pieced sleeves of the month. Clearly the sweater knits in my stash were calling out to me, and I’m naturally drawn to drapey styles. Though I really must remember when I’m in fabric stores that 2m really isn’t enough for long sleeves and a big collar!
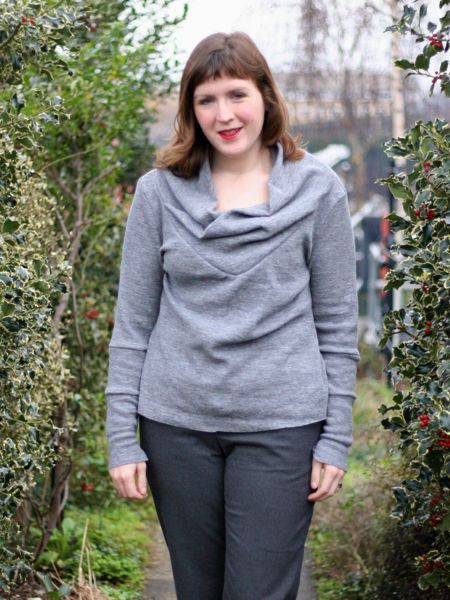
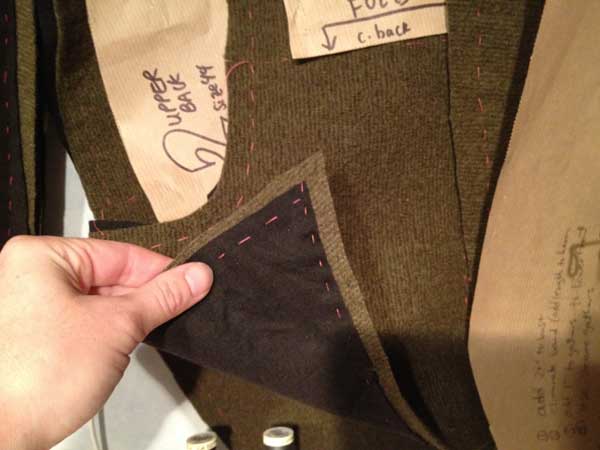
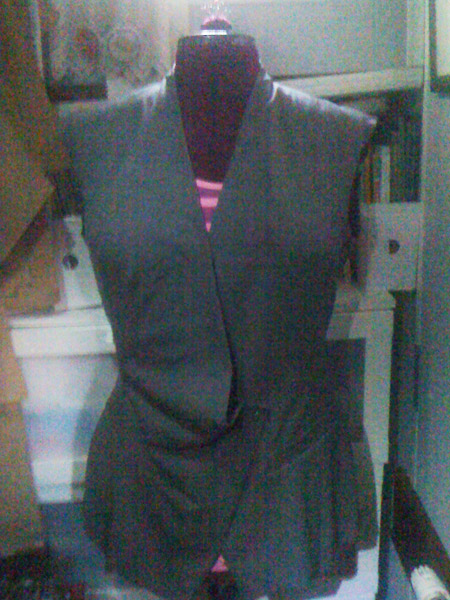
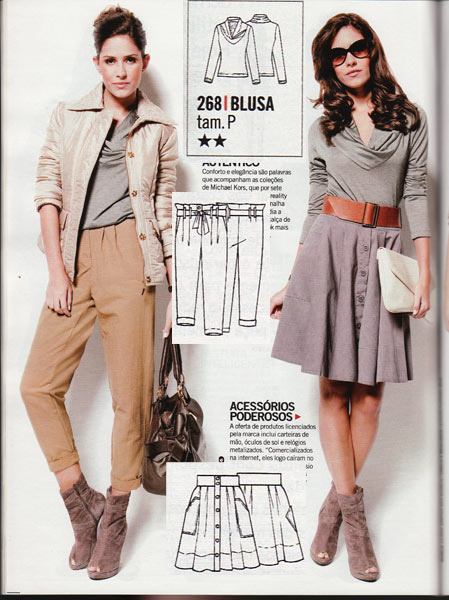
This the Michael Kors-inspired, collared sweater from the June 2011 Manequim magazine. Last week I showed you details on the construction of the various pieces and altering the size “Small” pattern to my basic knit tee pattern.

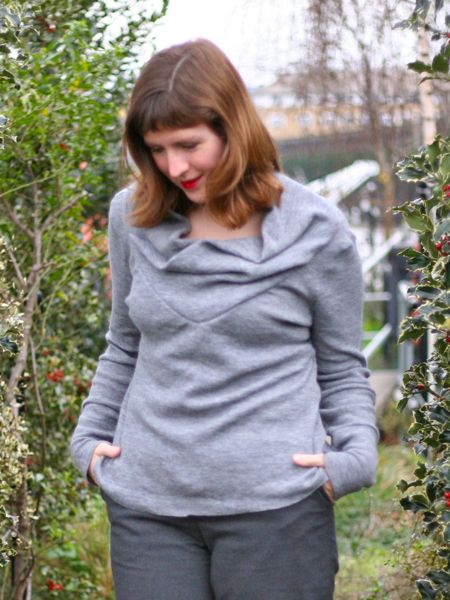
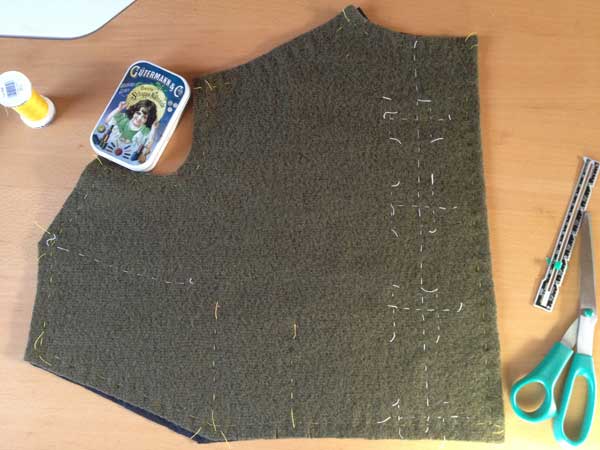
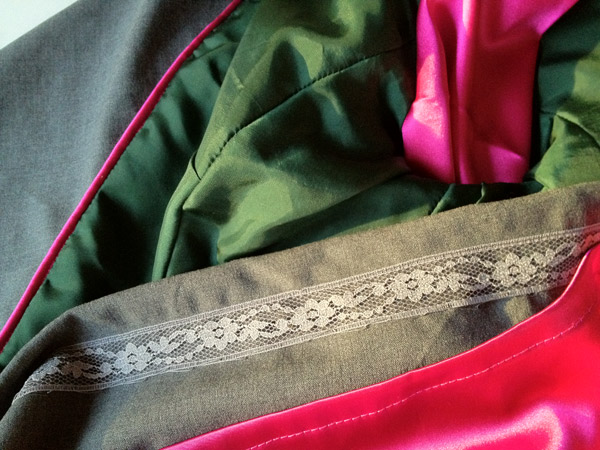
The only problem was, when I was laying out the pattern pieces onto my awesome, ex-Versace sweater knit from Ditto in Brighton I realised that yet again, I didn’t have enough fabric to lay out the sleeves without piecing them, argh! I didn’t want to back down since I’d tried to use this fabric for something else last winter, but 2m of a really narrow fabric really limits your possibilities. So I carried on, introducing two seams in the lower arms. Frankly, sleeves tend to bunch up so much around the sleeves that I find the seams kinda get lost visually around that area anyway.
In the end, I was forced to cut the collar on the bias simply because the fabric was too narrow to place it on the cross grain!