Sorry for the delays in posting these photos, but I really wanted to do some proper photoshoots, and last week I had 8 hospital appointments in 5 days, and it gets dark by 4pm now in London so it makes matters even more difficult!
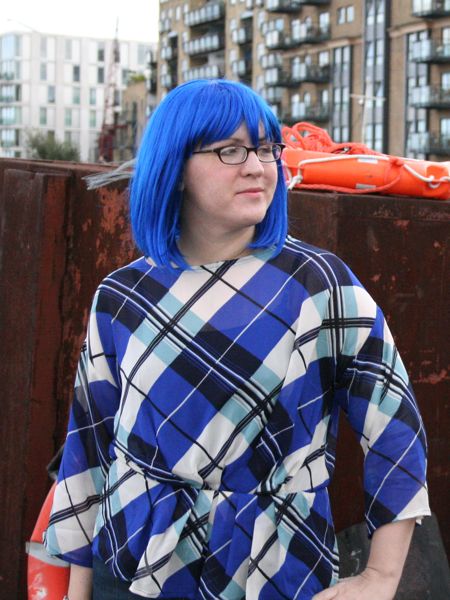
But if you’ll recall, my neighbour Helen gifted me a bunch of fabric from her fashion school days earlier this year. You’ve already seen her wool tweed turned into a skirt, but now’s the chance for the silk to shine! I had a browse through my vast pattern magazine archive and discovered that overblouse 114 from the Nov 08 BWOF (on the right in the first photo below) was the perfect design as it actually called for the exact type fabric I had, and it didn’t have any fiddly button openings that would make a clean finish difficult here, either.

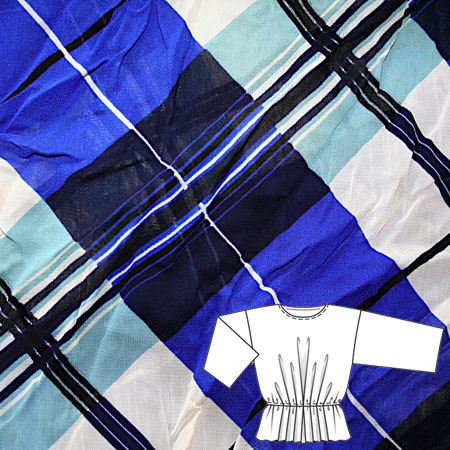
This silk is a semi-sheer crepe chiffon, with a wonderful tartan printed onto it. This was printed onto the fabric after it was made, as opposed to most tartans which are made with the pattern woven into it with different coloured thread. The extra cool thing here is that the tartan is actually printed on the bias, which gives so much more interest to a fairly plain top, without adding any visual width that a wide horizontal stripe might give to the wearer.

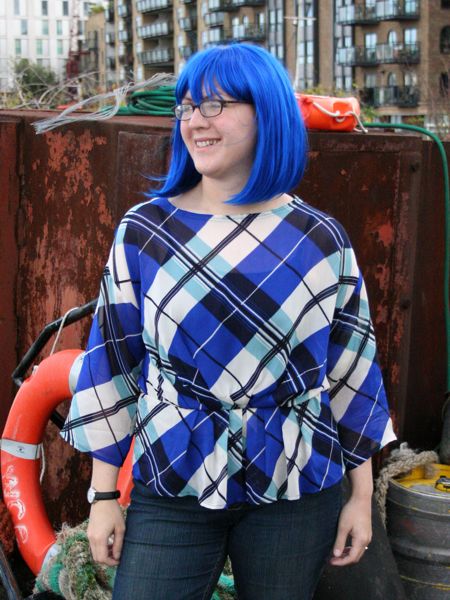
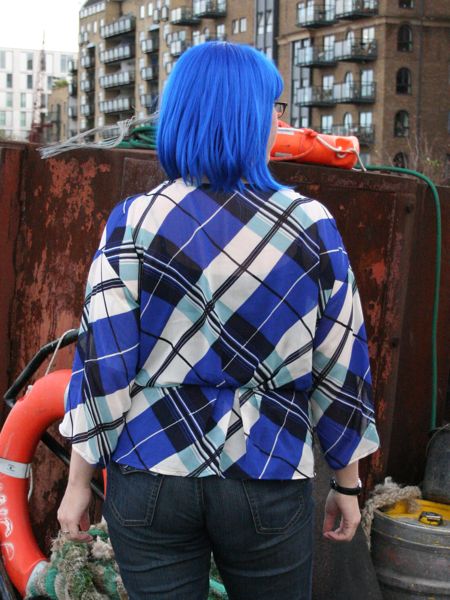
Here you can see how sheer this silk is – if you look at my upper chest you can easily see the outline of the black vest (tank top) I’m wearing underneath:
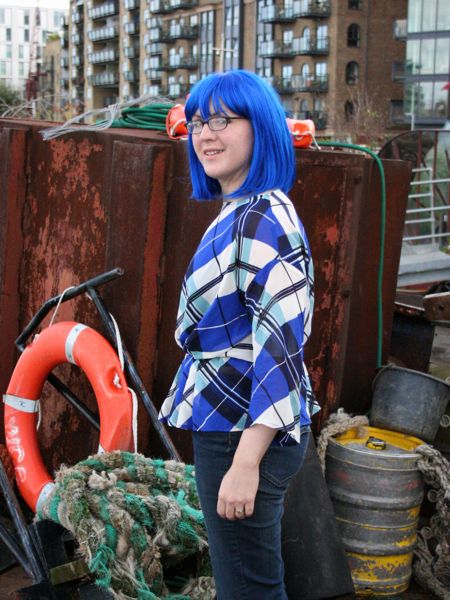
I was expecting this overblouse to be really cold and insubstantial, but I’d forgotten how surprisingly warm silk can, even when it’s thin! The sleeves are cropped, and I debated whether I should add back the 6 inches Burda lopped off (nice of them to stipulate that, though!), but in the end the pieces fit onto my fabric best this way and I really like the end result.
Here’s a closeup of the hem:
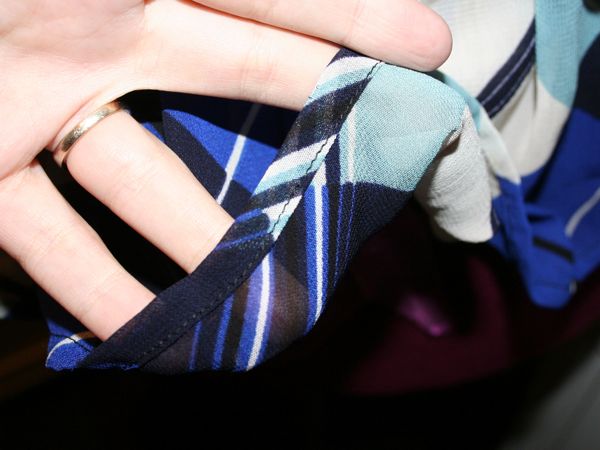
I thought I might try a rolled hem here to get a really scant and weightless edge to the hem and sleeves, but after fiddling about with the “time saving” rolled hem foot and getting all sorts of messy, horrible results, I decided that the old fashioned way was better and just created a neat 1/4” hem since my silk pressed so well.
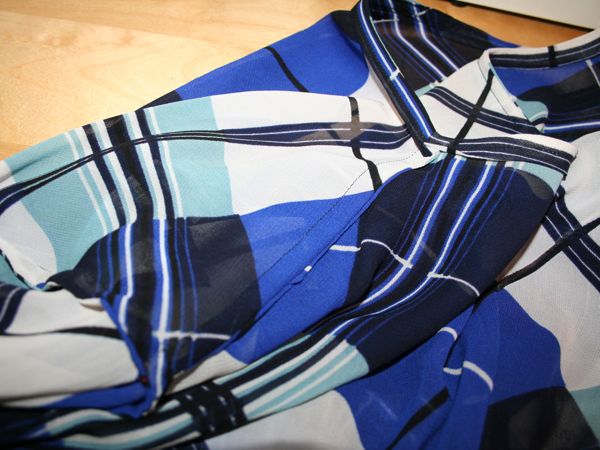
Since the silk was so sheer and prone to fraying, it was a complete no-brainer to use French seams everywhere in its construction. It was actually a perfect pattern for this, too, since the overall shape is really boxy and the armscye was almost entirely flat (the sleeve-body seam is usally a huge PITA to do a French or flat-felled seam on – David Page Coffin has a cool shortcut in his “Shirtmaking” book but having a straight seam makes things infinitely easier).
One thing that bothered me, though, was how Burda instructed to finish the waist seam that becomes a casing for the thin elastic. They say to sew the seam, then from the inside, sew the seam allowances together 1/4” away from the seam line and then insert the elastic there. But this creates a really messy raw edge that stays on the inside of your top, and actually holds the elastic away from the top by a little bit.
Whereas I realised that my French seams had plenty of space for the thin elastic to go through anyway, so I just sewed the waist seam as a normal French seam, but left an inch open on the second pass. I threaded the elastic through with a safety pin bodkin, stitched the elastic ends together, then sealed up the hole.
Et voila, a waistband casing with no fraying edges!

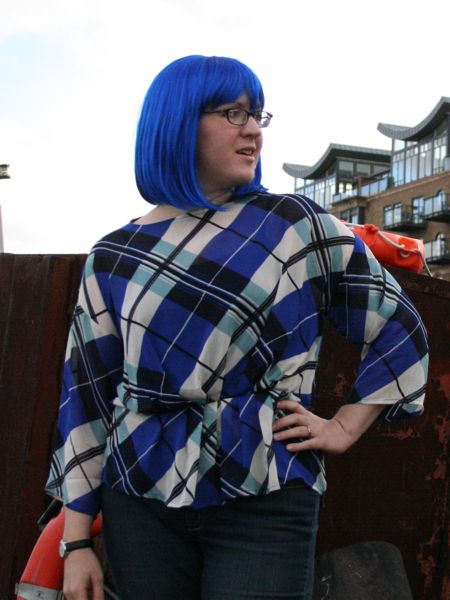
I’m super happy with the way this blouse turned out – it’s not a style I’d normally pick out in a shop or sew for myself, but I absolutely love wearing it! In fact, I’d actually worn it out twice before we had this photoshoot… The only thing I’m not in love with is that the silk has a tendency to wrinkle easily, especially at the elbows and at the back waistband, but that’s the nature of silk. And if it didn’t wrinkle easily, it means it wouldn’t have pressed easily, either, and wouldn’t have been nearly as easy to sew!
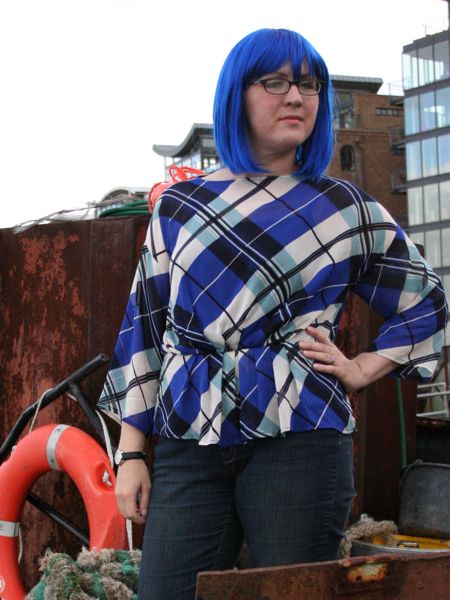
PS: This blue wig is my favourite of the six! Only two more to see now…