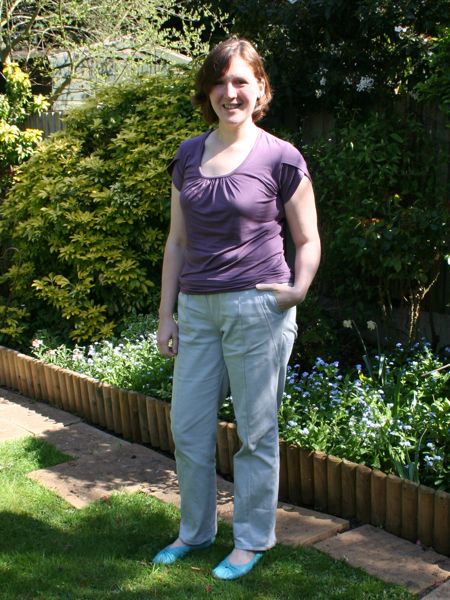
I’m finally over my post-wardrobe exhaustion and able to sew again, so I carried on with my March mini-wardrobe plans and made the seamed trousers from KnipMode Oct 2010 (#8):
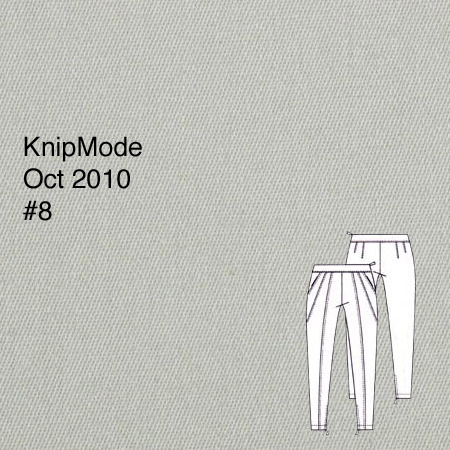
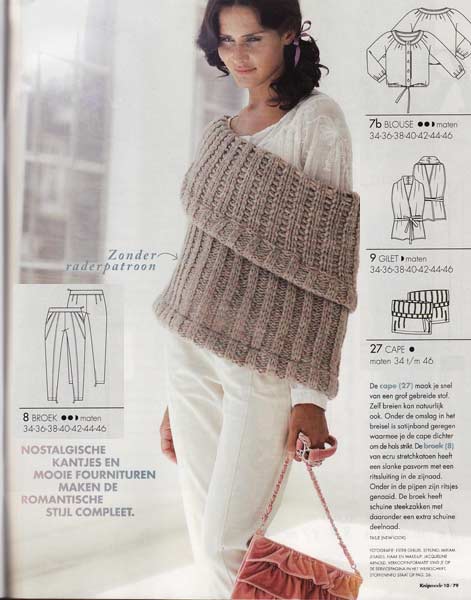
(hmm, why are they covering the waistband in their only magazine photo?)
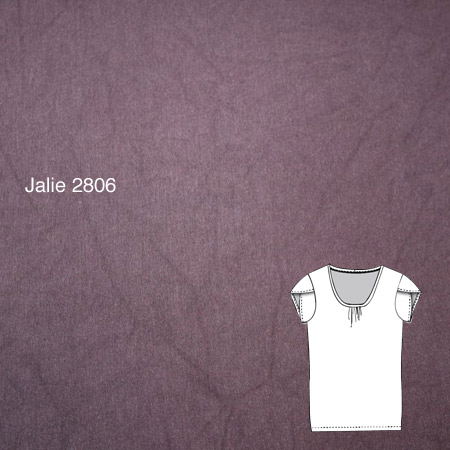
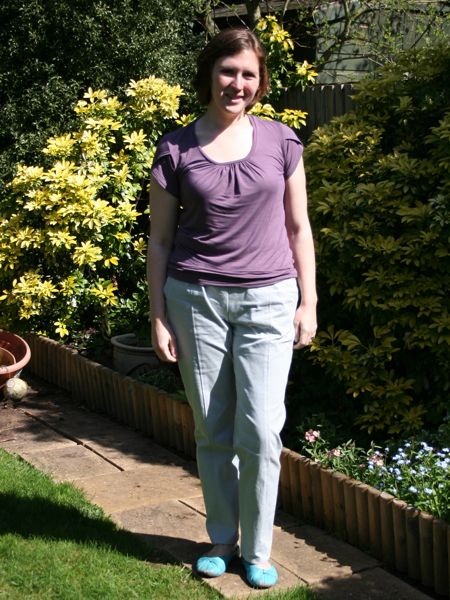
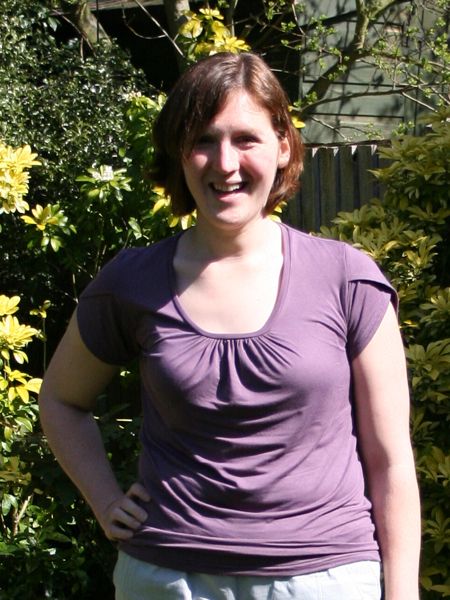
I also thought I was due a “quick knit top” so I pulled out Jalie 2806 (a gift from LynnRowe on PR!) so I could try out those fantastic tulip sleeves, with the thought of maybe using them on the spring/summer version of my Burda September cover dress…
I had just enough of Ditto‘s wonderfully soft and supple plum bamboo/lycra jersey leftover from my plum and green lace top for this, so it was clearly meant to be! For the trousers I used the same Fabric.com stretch twill as in my navy riding trousers, though in different lights this goes from looking pale grey (nice!) to baby blue (not so nice!). But the combo of pale trousers and dark top feels very Spring-like to me.

Included above is my 3000th image!! Can you believe it?
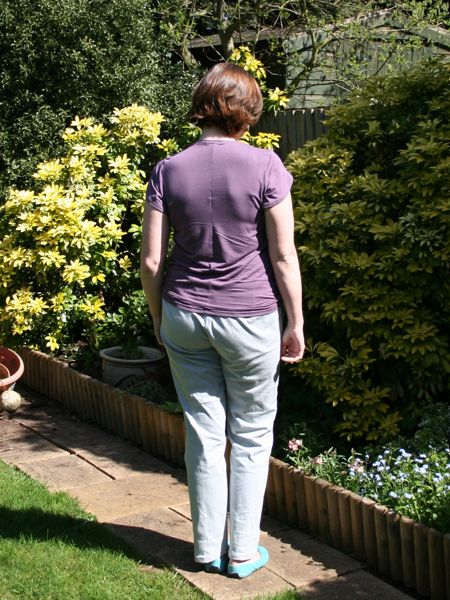
The only issue with using leftover fabric is that I had to introduce a centre back seam due to fabric constraints. But I don’t think it’s terribly noticeable anyway.
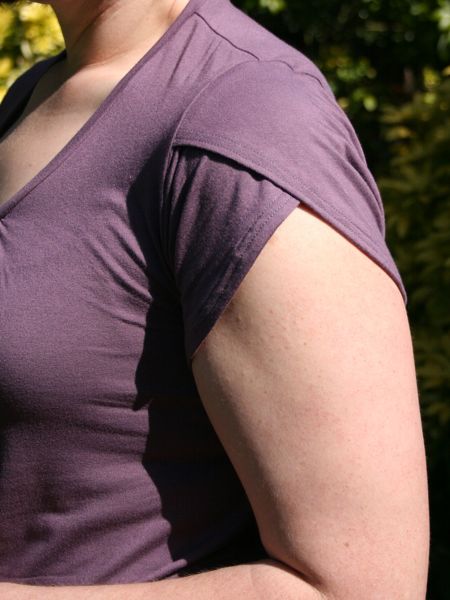
Here’s a detail shot of the gathered, banded neckline:

There were a few comments in the Breton tee with a difference post asking how I do my neckbands. I was going to do a tutorial post, but I seriously don’t think I’m doing anything special here, and this was confirmed by Jalie’s instructions on this pattern being the exact same way I do mine.
My neckband instructions
- Make a rectangle that’s 4-5cm shorter than your neckline’s seam line, and where the width is your (finished width + seam allowance)*2. So for a 1cm finished band width and a standard 1.5cm (5/8”) seam allowance, it’d be (1 + 1.5) = 2.5, then 2.5*2 = 5cm width of rectangle to cut out.
- Sew the short ends of the rectangle so you’ve got a circle
- Fold the whole band in half, wrong sides facing, so the seam you just sewed is hidden inside
- Get four pins – put one at the seam of the folded circle (this is your centre back), one exactly across from it (your centre front), and the other two midway between for your approximate shoulder seams
- Pin your band to the right side of the neckline, with both cut edges of the band aligned with the cut edge of the neckline. Line up the CB pin with the CB of the shirt, and the CF pin with the CF of the shirt. If you’ve got a high neckline, you can line up the other two pins with the shoulder seams, but if your neckline is low, you’ll need to shift those pins forward a bit from the shoulder seams.
- Overlock/serge/zigzag through all three layers around the neckline, stretching the band as you sew! (The band has to be stretched a little bit in order to lay properly!)
- Done! Occasionally, I’ll coverstitch around the joining seam, too, but I actually think these look better without it, and as long as your band is wider than your serged seam allowance (mine is about 1/4”), then the seam allowance won’t show during wear.
The rest of this Jalie pattern is something I’ve seen a thousand times elsewhere, but for me, the tulip sleeves are really the standout feature here:
Here’s those KnipMode trousers on their own. Overall, I’m a bit “meh” on the finished article here.
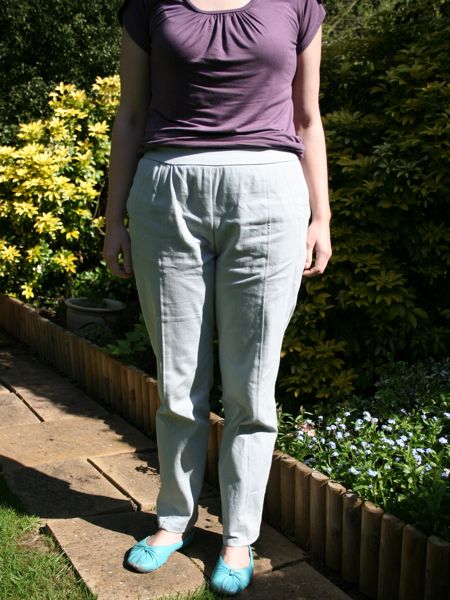

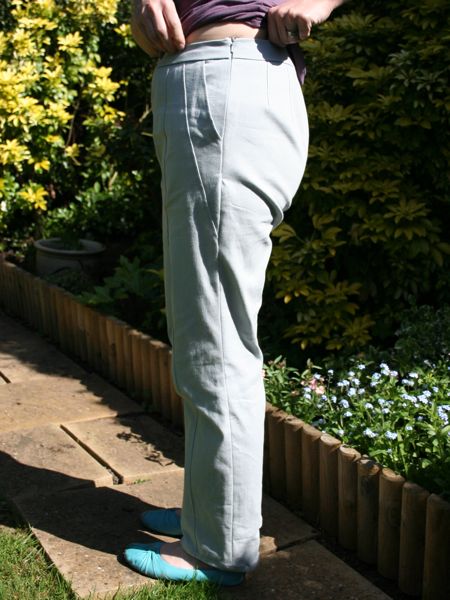
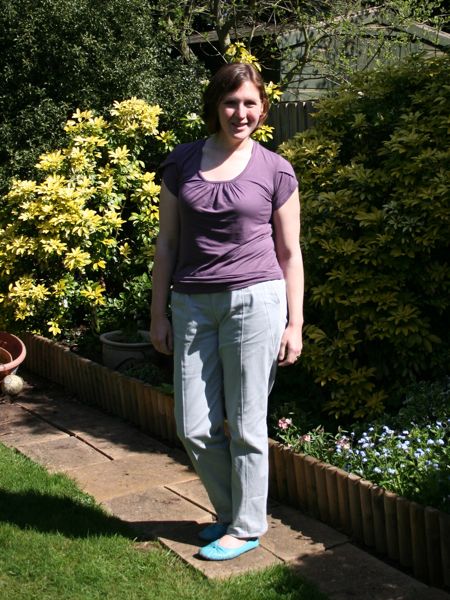
KnipMode call for ankle zips on these, but just looking at the width of the pattern I could tell these weren’t going to be necessary in the slightest. In fact, these are a bit baggier overall than would be suggested by the (supposed) need for stretch fabrics and the tech drawing. And I hate to admit it, but I’m not really in love with these trousers, so I’m feeling that maybe it was right they they weren’t included in my March mini wardrobe after all (since I adore everything in that!).
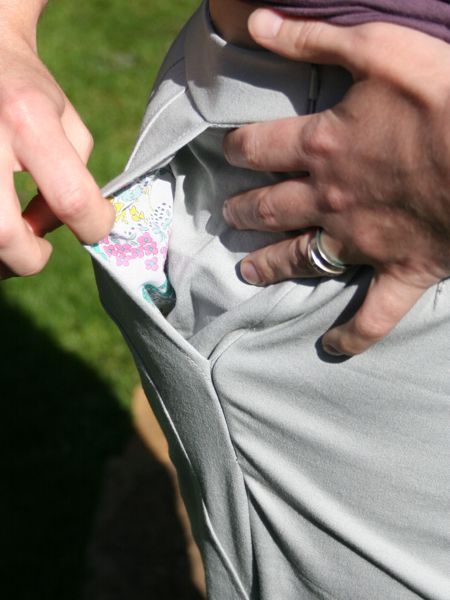
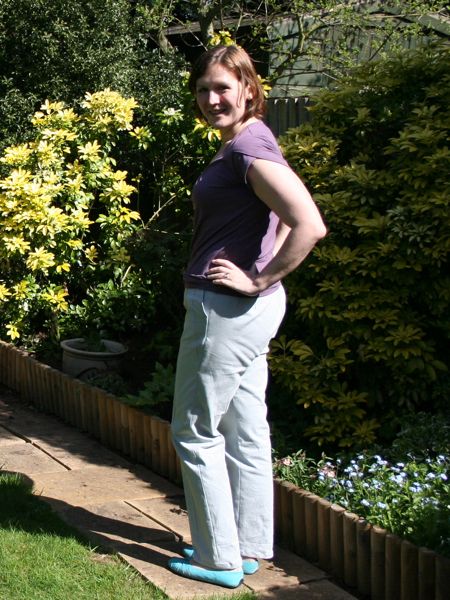
Now only the ugly waistband, and the reason I’m wearing the top covering it (and Knip are in their magazine photo, too?)

Please note that those aren’t gathers in the photo, and they’re not tucks (believe me, it took about 7 passes in places and 30-odd pins per inch to get them to not have tucks there!). What’s even worse is that they’re way more obvious on the right side (left in the photos), which means that I must’ve been a few millimetres off on those section seams, but there was NO WAY I was going to rip out the stitching and topstitching at that point.
But unlike the first Jalie jeans, I’m not really convinced it’s solely the pattern’s fault, as I clearly had some doing in making it uneven but the back is baggy coming into the waistband, too, so I think the drafting just isn’t very forgiving around the waist area on these. In either case, the end result is unflattering, so I’ll not be wearing this with any tucked-in tops.
The radiating seamlines are what drew me to this pattern. I really like that the shortest seamline forms the pocket edge, too, like they really thought to incorporate the pockets into the design.

I used this opportunity to get out my vintage hand crank Singer for topstitching duty again, too, since I already had matching pale grey upholstery thread ready to go! That machine just makes such nice topstitching…
And finally, I was able to use some leftover fabric from Granny’s Alexander blouse as the pocket linings and inner waistband!