As I mentioned earlier this week, I bought the new Colette Patterns Clover trouser pattern and I just had to try it right away!

There’s only four pattern pieces (five if you count the pockets) so this is about as simple as trousers get, and Colette have rated this as for Beginners, too. My first step was to make up a quick muslin in some super cheap stretch viscose I had on hand, but I hadn’t realised that the stretch was lengthwise until midway through cutting it, meaning there’d be no stretch around the body.
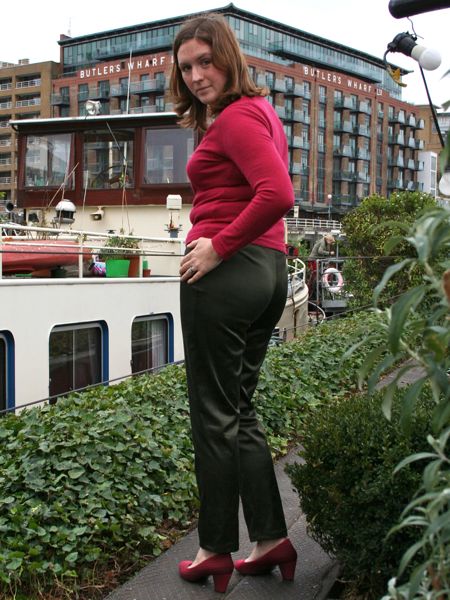
And you know what? These trousers still fit like a dream, with zero fitting wrinkles! I kid you not! It’s like Sarai came and measured me in my sleep or something (really, that’s bordering on creepy right there!). The only alteration I made with this final version was to add 2” to the leg length at the indicated line. Otherwise View A (the longer length) were still above my ankle bone when unhemmed. I’m not sure what height Colette drafts for, but I usually have to lengthen Burda trousers, too (but not Knip!) so I’d guess it’s around the 5’6” range.
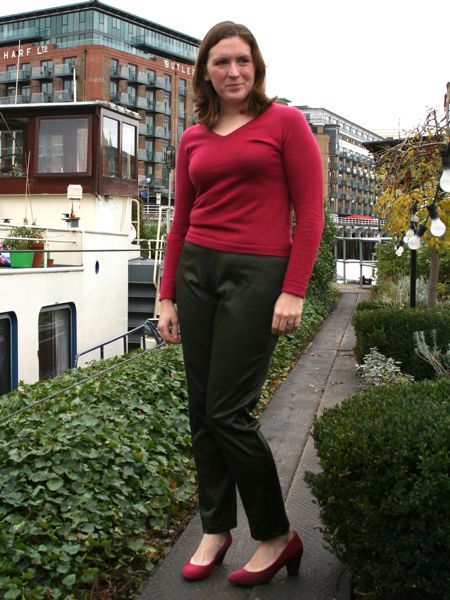


I’m happy to say that this version in a nicer (but not terribly much more expensive) fabric fit just as well around the waist and hips, and are now the perfect length, too!
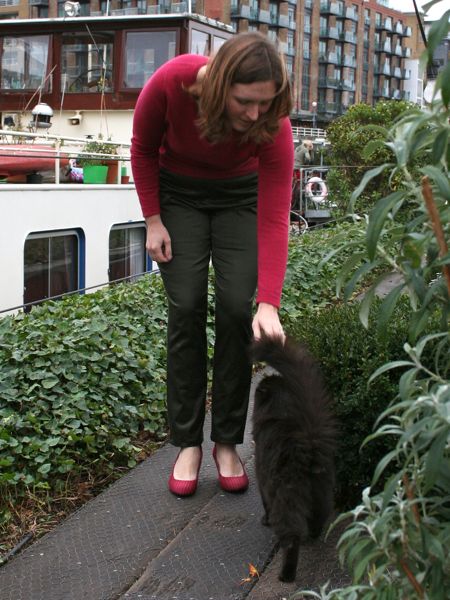
Even Bosco couldn’t resist coming along to rub up against them!

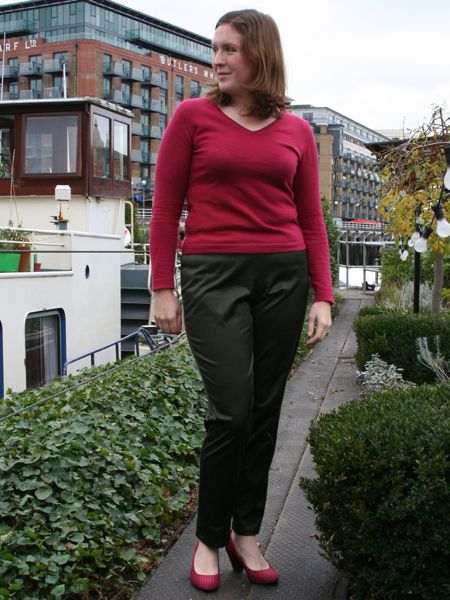
Th fabric I used here is a very dark green stretch cotton sateen which I bought off eBay, paying £3 total for 3m! It washed up fine but is looking a bit mottled and furry already, unlike the stretch cotton sateen I used in my aqua skirt, which still looks pristine. So clearly there’s a quality divide among cotton sateens, which is good to know for the future.
The only real deviation I made to the excellent instructions was the overall order of construction, as I always prefer to construct trousers by sewing the centre front and centre back seams, then the inseam, and then the outer seam. The instructions here construct the inseams, then the outer seams, and then finally do the crotch curve in one go. There’s nothing wrong with their way for trousers with a side closure – I just prefer mine!
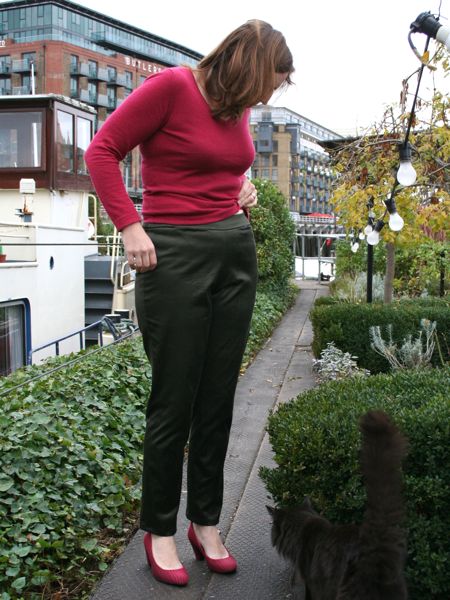
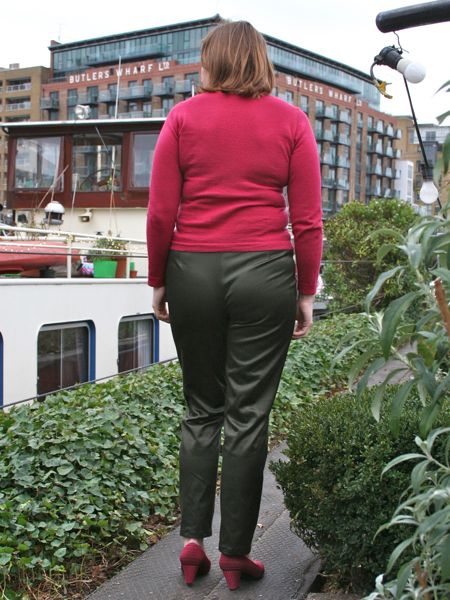
Here you can see the side and back:
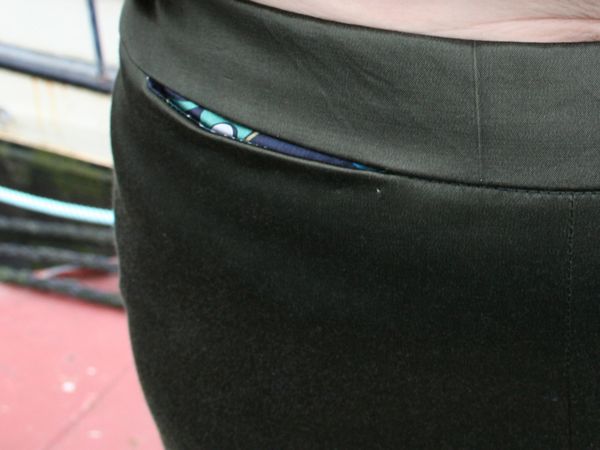
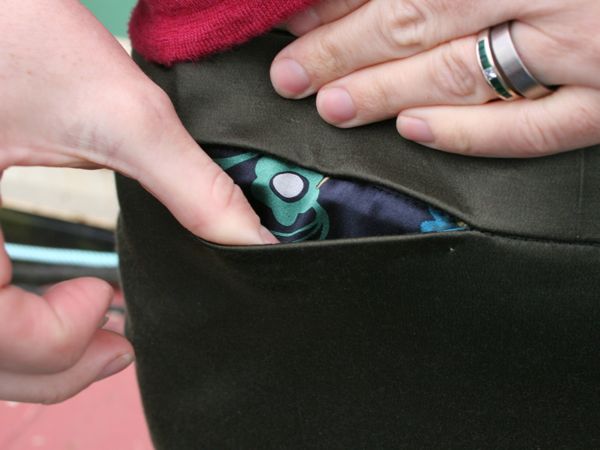
I decided to try the pockets on this pair, even though they’re a bit unusual – they’re hidden, inseam pockets set into the waistband joining seam. Mine are made from silk satin scraps leftover from my Irish silk blouse, but, as luxurious as these feel, I really don’t think I’ll be doing this style of pockets any more.
First of all, it’s really awkward to put your hands in them because of the angle (and I’m always fiddling with trouser pockets while I talk to people!), but also the silm fit of the trousers plus the small size of the pockets means they’re not really useful for holding anything, either.

On top of that, the only fault I can find in the otherwise amazing Colette instructions is that they neglect to understitch the pocket linings, and as a result, they pop out unless you do that (or carefully prickstitch by hand after they’re constructed, as I did here!).
My next pair of these trousers will have slant pockets, and I’m fully planning on showing you how to alter the pattern to do so because it’s super easy and then I’ll have happy, non-gappy pockets I can sling my hands into nonchalantly as I stand with the cool kids in Shoreditch bars.
So… great fit, great fabric, great pattern, and pockets that I can improve next time, everything’s going fine, until…
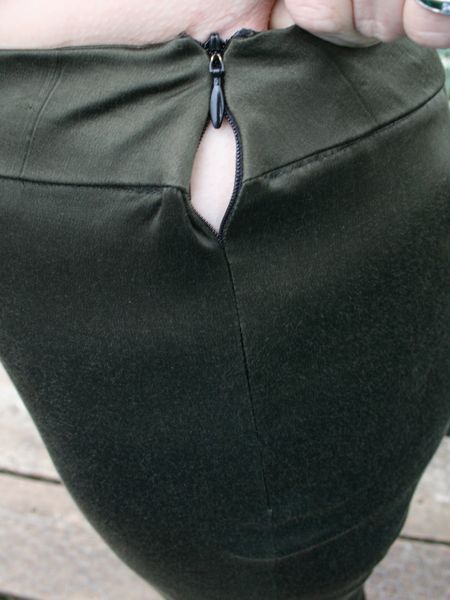
The freaking invisible zipper broke!
This is the first time this has ever happened to me, and it broke during the first wearing, during this photo shoot! I actually had to get out the shears and cut through the coils to free myself! I’m just SO thankful this happened at home, and not, say, in the toilets (bathroom) at work!!
I have zero enthusiasm to replace it, but James loves the shiny fabric, so I’m torn. What I really want to do is just make another pair altogether and chock these up as a loss. Yes, I really do hate repairs that much! Stupid cheap Amish zipper! Maybe I’ll unpick this and stitch another one in by hand (somehow it seems less work then re-doing it by machine) since I’ve got some travel time coming up in a few weeks, but I’ll see how I feel by then. With fabric as cheap as this, I’m not sure if it’s really worth my while.
I don’t do side invisible zippers on trousers very often, and I prefer centre back zippers on skirts. Maybe there’s too much stress there? Am I tempting fate to put another side invisible zip on my next pair? Maybe I should do a side lapped (regular) zipper instead..? Or put a fly-front on them (ooh now there’s a thought – Clover jeans!) What do you think?