I finally got the muslin fixed and finished! Thanks for all your advice, though I haven’t had a chance to reply to hardly any of you, for which I do apologise…
Muslin #3 changes –
- Unpinned the shoulder change, took off the waist stay, and since it seemed to be pulling everything upwards before, I reasoned that it must be too low. I repinned it a little higher and everything seemed to sit nicely and correct those weird problems it threw up before.
- I’ve said it before but I’ll say it again – I detest Rigilene boning! Only someone who hates women could’ve come up with those tiny, needle-like implements of torture. My spiral steel boning for the finished dress arrived and it just feels wonderful.
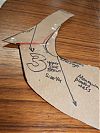
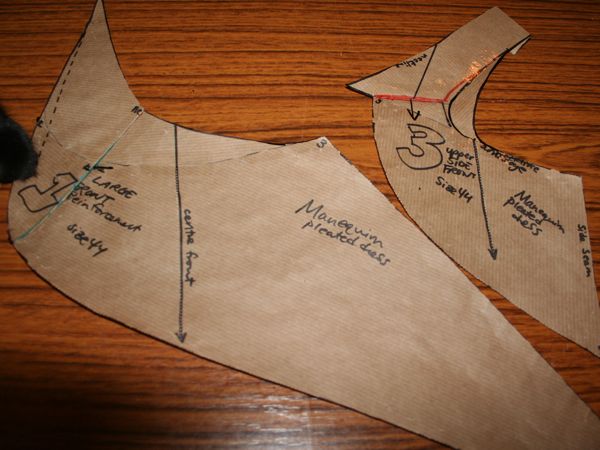
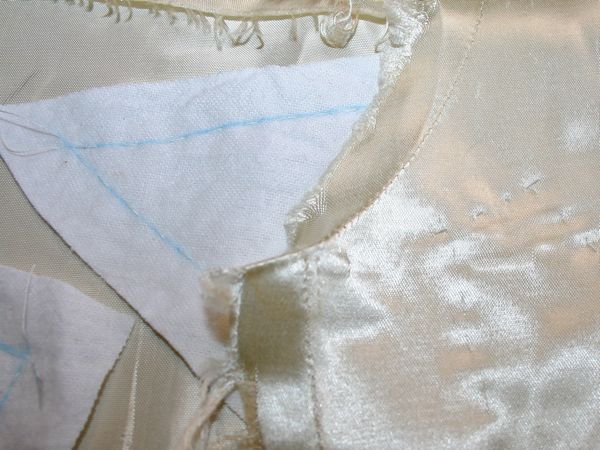
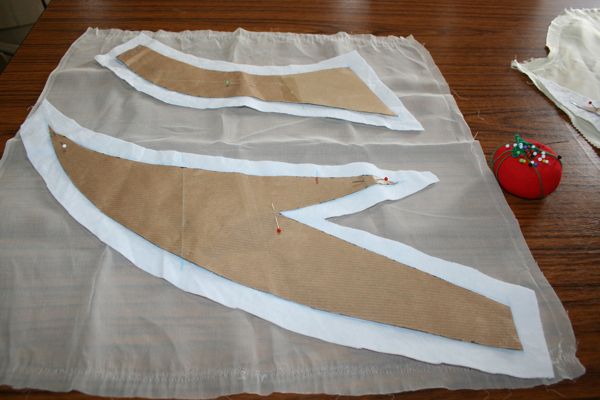
- No one actually came up with the fix I needed for piece #3’s weird bubble. As it turns out I just needed to flatten the curve a bit below the inset corner. (Before and After are below)

- There’s no way I’m muslining the skirt. It’d literally take a whole week of sewing time to even approximate the panels on the existing skirt, plus the drape and weight of the muslin fabric is totally different, and it won’t achieve much of anything I won’t learn in the actual skirt attachment anyway. End of story.
- Yes, I know about wearing proper undergarments. I’ve been wearing the bra I intend to wear on the day all along (though I got sharpie on it during my muslin marking process so I need to buy another copy of it, boo.). I was not being serious about the push up bra.

So with the muslin done, on with the dress itself!! Hurrah!
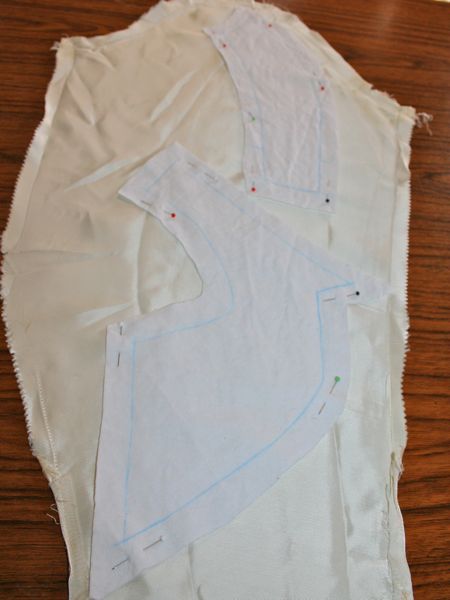
First step was to lay the pattern pieces onto the wrong side of my flannel underlining, fuzzy side down (I’d been transferring all my changes onto them and I prefer paper with no seam allowances over muslin with allowances). Once pinned in place, I then chalked the seam lines, waist, centre back and fronts, and the two notches onto it. Then I cut out the pieces with eyeballed seam allowances (when you’re dealing with seamlines, the size of the allowances are largely unimportant).
Next I laid the flannel pieces onto the wrong side of the satin, pinning only in the seam allowances because all the pin holes show on this fabric.
Then, using silk basting thread and a tiny, sharp needle, I basted along the seamlines, simultaneously holding the underlining and satin together as well as marking out my seam lines exactly (I learned in my PR Underlining class to baste 3/8” from the edge, but in this case I opted to go on the seam line and unpick any basting stitches where they show through). Basting threads are left unknotted, and you never, ever turn the corner (ie: keep thread tails at the corners to prevent pulling)!
Only after the pieces were safely together did I cut the satin around the flannel pieces. I’d been saying all along that I’d only cut into the train of the skirt if I had to, and well, as it turns out, I had to. The largest pieces of fabric were the two big peplum rectangles, and neither of my biggest pieces (#2 and #7) would fit onto those. So it was either a case of introducing a seam on each near the strap, or cutting them whole from the train. And I decided I didn’t want the unplanned seaming, especially not near my face, so I took them from the train instead. I’ll need to redraw the hem curve after it’s reattached, but I’m fairly certain I’ve still got at least a foot of train left anyway, so I’m okay with that.
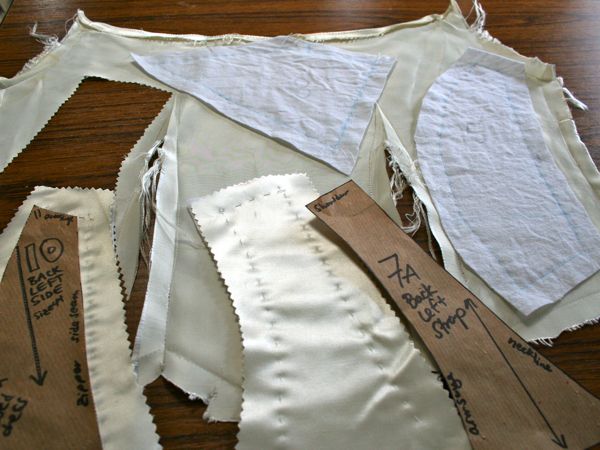
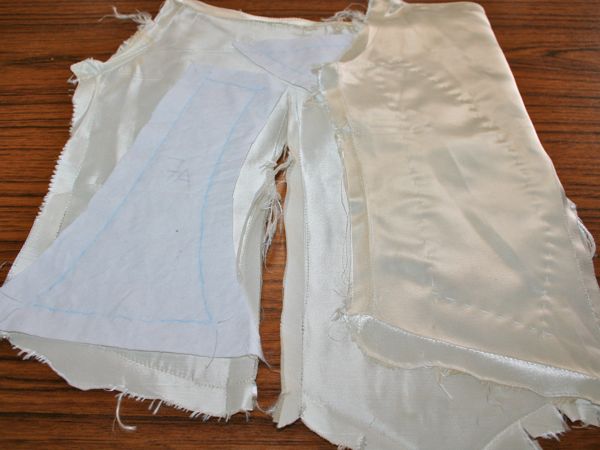
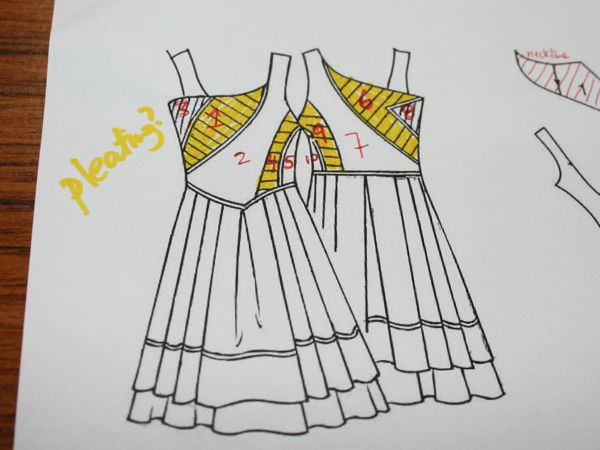
But remember how the original patten had some pieces that were pleated? I wasn’t sure if I’d have enough fabric for all that pleating, and Neighbour Helen thought the thickness of my satin might make me look “uneven”, so I was trying to come up with a way to make some of the pieces contrast a bit with the plain satin. First step was to determine which pieces would be targetted…
…and then I realised that I’ve got quite a bit of netting from the original dress’s illusion neckline, but also from inside the huge peplum pieces, so I made a test of what that looked like overlayed on the satin:
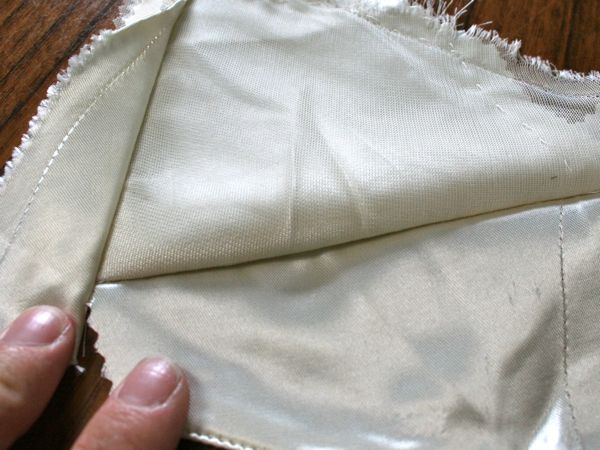
It’s a bit hard to see here since the camera’s flash makes the netted side shinier than it is in real life, but I really liked the look. It makes for a subtle textural difference but without a brash colour change, and it still uses the original garment materials. Win!
And it was pure luck that I had just enough netting to cover the pieces I’d picked out in yellow above, too! So for those pieces I made a sandwich: netting, satin, and the flannel, pinned them together as before, and basted through all three layers before finally cutting off the excess.
So by the end of Sunday I had all my pieces cut out and prepped, ready for assembly. Coming down with an awful cold threw a bit of a spanner in the works (when I get a cold, apparently I get prescribed antibiotics, an inhaler, and codeine cough syrup as a matter of course!), but I was able to proceed with the next steps on my day off, in between stops to lie down, which you’ll hear about on Friday!