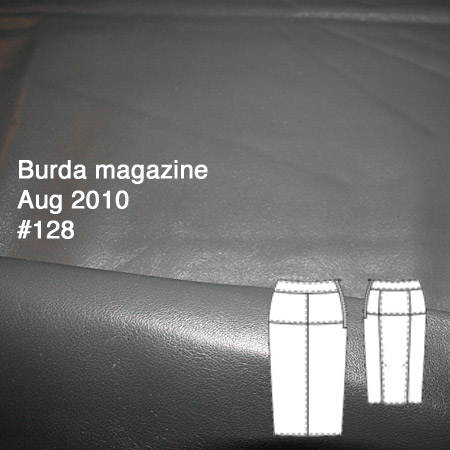
You’ll get to see my Manequim silk blouse tomorrow, but in the meantime I thought I’d give you a progress update on the fourth item in my March Mini Wardrobe, the leather skirt (Burda magazine 08-2010 #128 – though #127 is nearly identical).
I’m making this skirt in some utterly luscious grey leather I bought while on honeymoon in New York, and despite having sewn with leather loads of times before, this is my first real leather garment. So knowing what I know, I knew I had to make a muslin first because once you sew leather, it’s done – the needles holes are permanent so you can’t rip out stitches!
I made up a quick muslin at the end of February, and, unusually for Burda, the size 42 was too tight over my hips. Rather than trace a bigger size (boring!) I drew two long lines up the front of the skirt on either side of the centre front. On the waistband and yoke pieces, I added 2cm width to each line, and for the lower skirt piece, I made a triangular wedge which tapers to nothing at my marked hem.
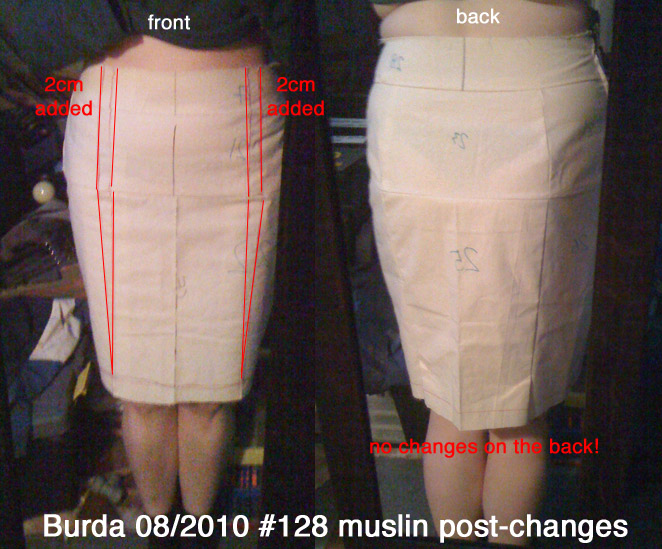
As you can see, the fit is now great – I could get the zipper closed with ease, and it felt fine sitting down (the big test for pencil skirts). It shouldn’t be a surprise that I also shortened the hem to be above the knee rather than the awkward calf length. As a result, the back vent is a bit too short to be useful now, so I’m just ignoring that.
I hardly ever dismantle my muslins to use as pattern pieces, but here it made a lot of sense because I’d have had to double all the pattern pieces which were “on the fold” anyway in order to get a flat layout for my leather skins. So after taking these photos, I took a seam ripper to it (though not on my red lines!), and laid these muslin pieces out on my two big leather hides and cut out all my pieces with my rotary cutter and some weights.
In Burda magazines of past years, patterns #127 and #128 would’ve definitely been referred to as a View A and View B of the same pattern, since they use the exact same pattern pieces. The only difference here is that mine (#128) calls for lapped seams with exposed raw edges, which is perfect for leather as it reduces bulk and adds some extra interest. I just hope that my design choice to omit the vertical centre front seam doesn’t add to much emphasis on the horizontal!
I’ve got a guest staying over and a busy weekend, so I’m hoping to make some good progress on the construction here before the 31 March PR contest deadline. The rules have been clarified such that we’re only allowed to make four items, so my KnipMode seamed trousers will be made off-contest in April.