One of the biggest misconceptions about sewing your own activewear seems to be that you need to have a serger/overlocker to do so. Even people who don’t sew end up asking me about this immediately after they find out what I do, and it’s just not true! You really can make sturdy and functional activewear even if you just have a regular sewing machine, and there’s no better time to get started than right now!
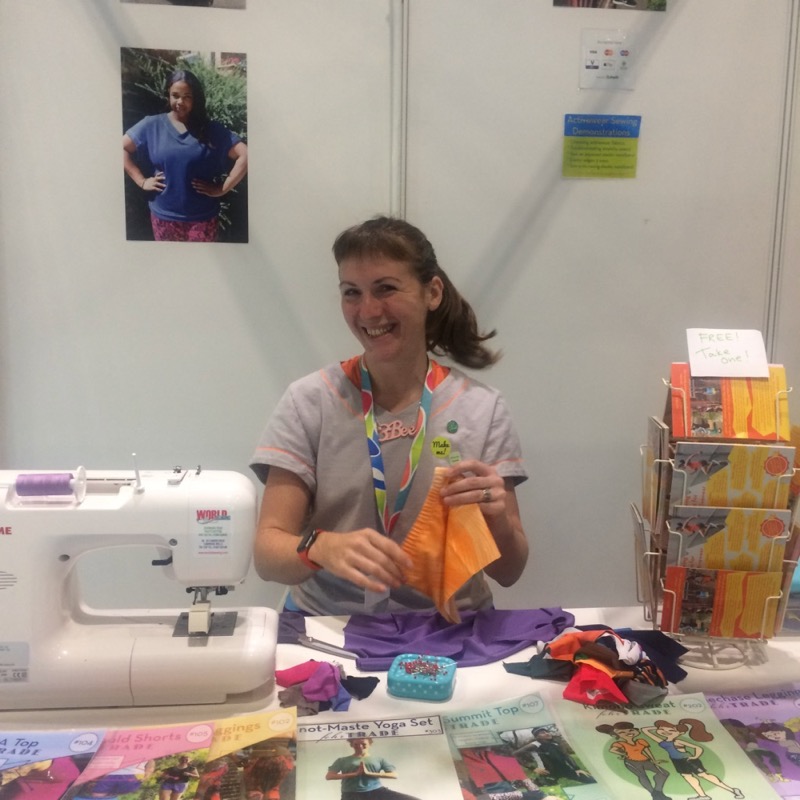
On my stall at the Great British Sewing Bee Live show last September I had a list of about ten different activewear techniques I was ready to demonstrate to visitors. I showed a fair few how to do the basic three elastic edge finishes, but I pretty just spent all my time showing people how easy to is to sew basic activewear seams using a regular sewing machine – over and over again!
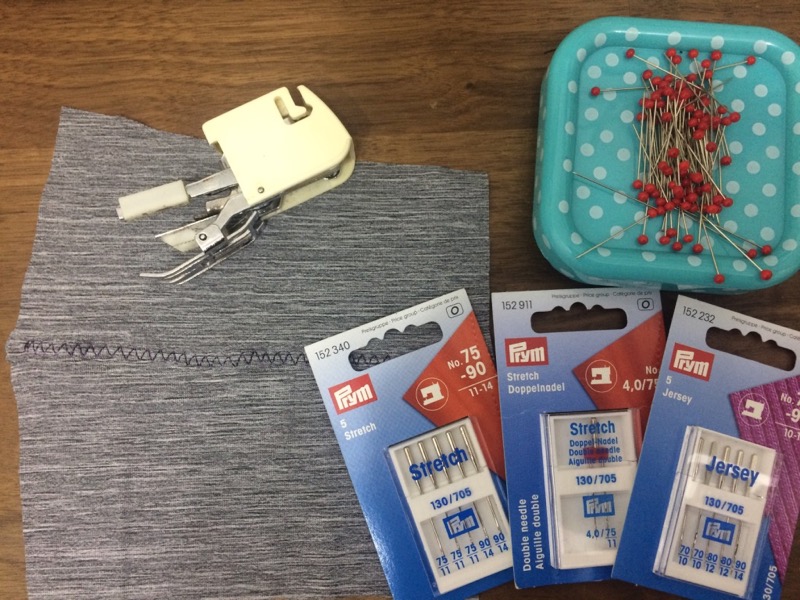
The two biggest pieces of advice I can give you are to get a walking foot attachment, and to test your fabric scraps against a range of sewing machine needle types each and every time you start a project.
Walking foot
A walking foot is an absolute game changer for sewing activewear. Without it, your fabric can stretch out as you sew, leading to wavy, rippling seams. But the walking foot ensures that the fabric isn’t stretched as you sew, and it honestly makes things so much easier! It was almost embarrassing demonstrating this at the show because I was barely even touching the fabric as it sewed! Not only does it allow you to sew stretchy fabrics without wavy seams, but it also works a treat on pretty much any other “tricky” fabrics, too. These will usually cost about £30, but are worth so much more than that, I promise.
Sewing machine needles
Before starting on your main garment, always test your stitches on scraps of your fabric first. Every fabric behaves slightly differently, so it’s a good idea to adjust your tension and stitch settings before moving on. If you are experiencing skipped stitches, it’s almost always a needle issue. Either replace your needle with a fresh one of the same type if it’s been a while(!), or try a different type of needle. The general wisdom is that you should use a Stretch needle with high elastane fabrics, a Ballpoint (aka Jersey) needle with knitted fabrics, and a Universal needle with wovens, but in my experience it’s not always so straightforward and sometimes the best needle type will surprise you! So try to have a pack of each on hand in just in case of a tricky fabric.
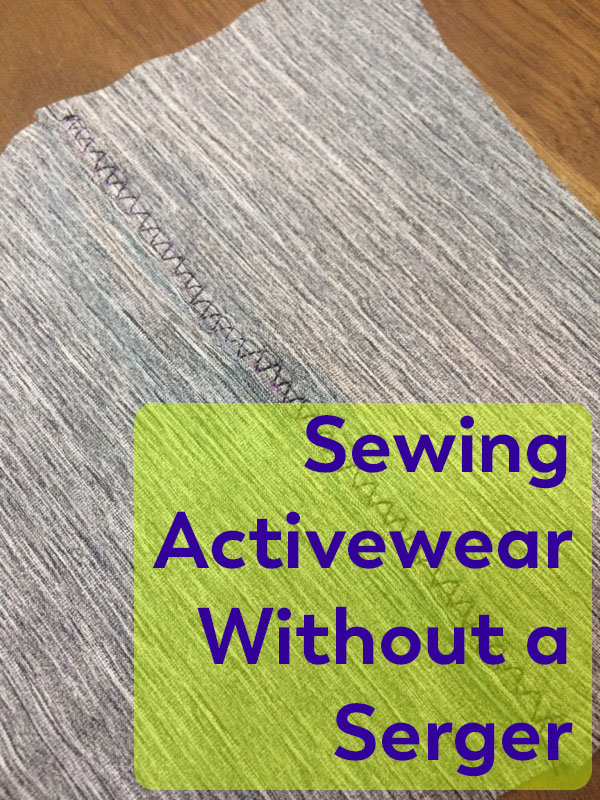
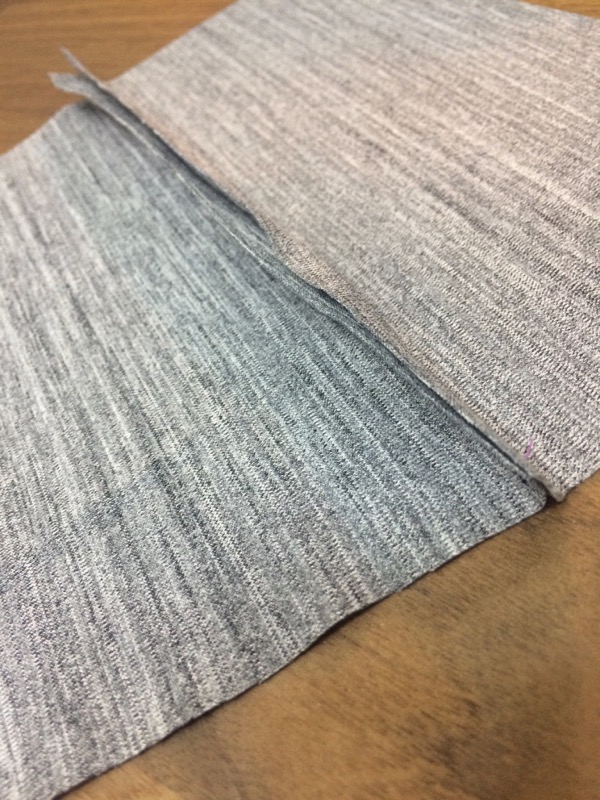
Basic zigzag
If your sewing machine has a zigzag stitch, you can sew activewear. If you’ve got a range of zigzag widths, select a narrow one and a stitch length of about 1.5, and sew a basic seam along two pieces of your scrap fabric (wrong sides together), remembering to reverse at the start and finish to secure the stitches.
Take your scrap sample and stretch it as hard as you can along the direction of the stitching line. If the stitches break, you need to shorten the stitch length. Then, take your stitch sample and, holding both pieces, stretch it away from the seam as hard as you can. If the stitches break, you should make the zigzag narrower (if possible. If not, just know that you’ll definitely want to topstitch your seams – read on!).
Keep repeating the above steps until you can’t break your stitches anymore, and now you can move onto your main garment if you’re just making your on-the-road test version (there’s more about this in my book!). Yes, you may have some lumpy and bulky seam allowances but a) you won’t need to exercise for long to diagnose any movement-related fit issues, b) you won’t be exercising long enough to really have any major wardrobe malfunctions, and c) if you do need to make any fit alterations to your test garment, you really won’t want to have to unpick topstitching as well as your seams!
But back to your sample stitching! Flip your sample over to the wrong side and have a feel of the seam allowances with your hands – they probably feel a little bulky, especially if they may be standing up straight or even rolling up on themselves.
Topstitching
With your fingers, fold the seam allowances over to one side…
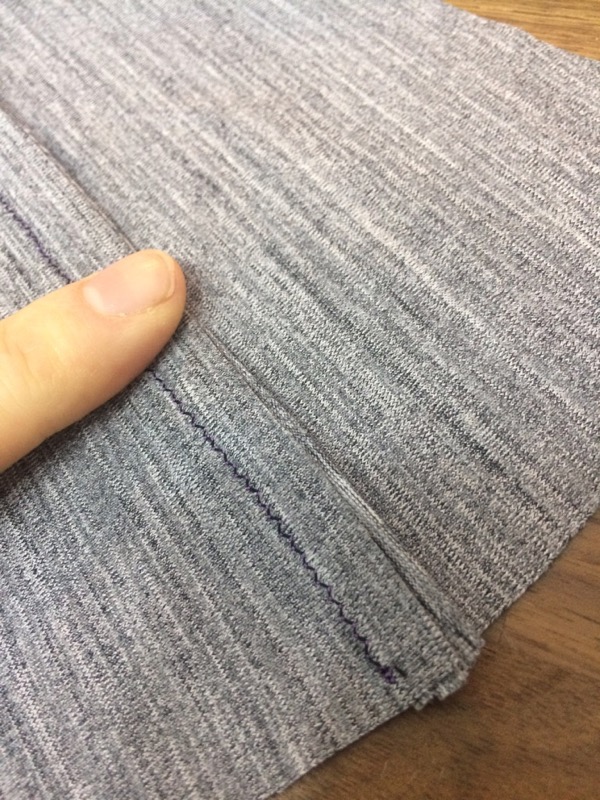
…and pin in place from the right side.
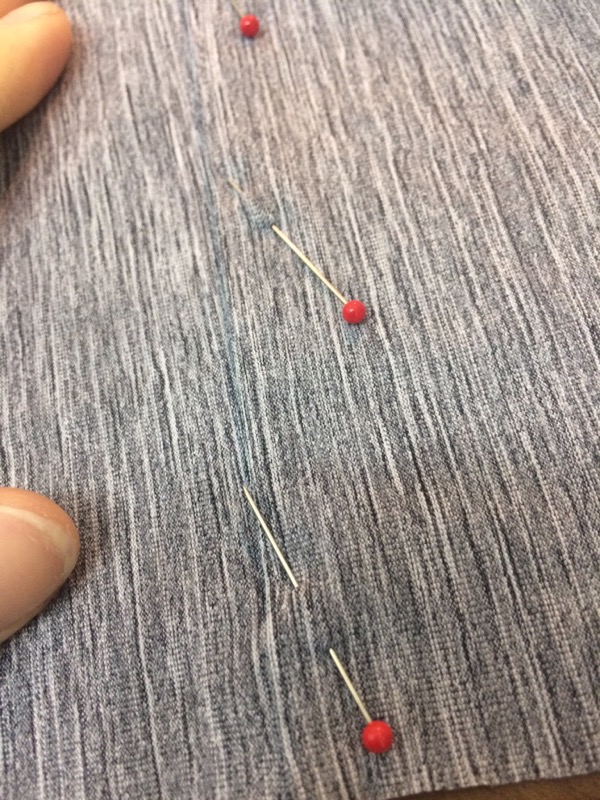
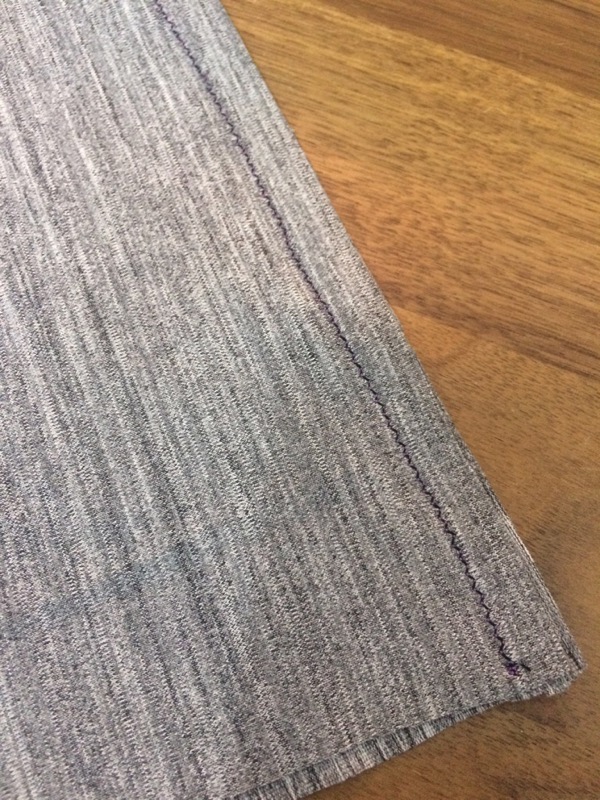
Assuming you’re now mimicking your final activewear garment, you’ll want to topstitch the seam allowances flat by stitching close to the seam along its entire length, taking care to sew through the seam allowances underneath. You can choose to topstitch with any stretchy stitch – like a triple zigzag, regular zigzag, twin needle, lightning bolt stitch, or coverstitch. I’ve chosen to show the triple zigzag here because it’s particularly good for flattening seam allowances (less so at making the seam in the first place!). You can choose to topstitch in contrasting thread or something that blends in with your fabric, and if you’ve got a particularly tight curve, you may find it useful to use a temporary adhesive tape instead of pins.
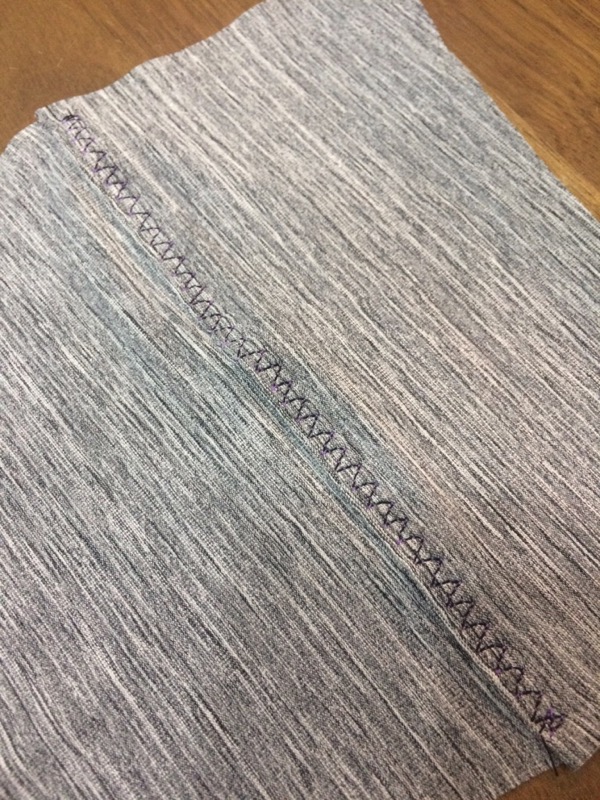
The end result is a seam with one row of stitching on the right side and two on the wrong side.
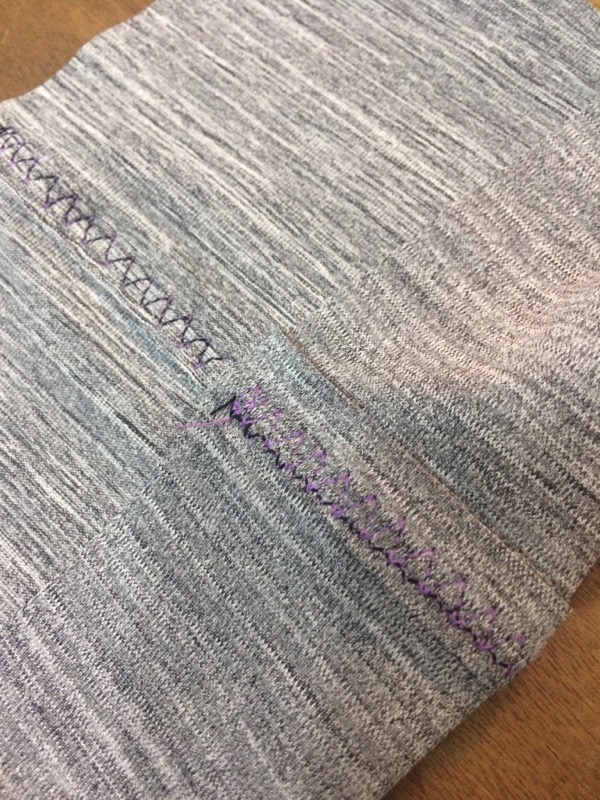
And that’s pretty much it – your bread & butter of activewear sewing really will be to just sew the seams with a regular zigzag, then flatten with a row of topstitching afterwards. Sure, there might be some cases where you need to do something different, but the above method will give you robust and stretchy seams with two lines of stitching to protect you against holes (another common misconception – everyone seems terrified that their stitches are going to break and they’ll expose everyone, but I’ve never had this happen in all my years of sewing activewear!).
If you’d like to learn more, I can recommend this Seamwork article as well as this Craftsy course, too!