Some of you may remember that last year I took a course at Morley College on Pattern Magic 2 (my first actual sewing class, believe it or not!) and it was so interesting, useful, and inspiring that I just had to take the course on the third book, Pattern Magic Stretch Fabrics. I booked this something like 9 months in advance, I was that excited to take it!
The first two books are based on woven slopers, but since this third one is all for knits, I used my own knit sloper instead of the book’s – I’m rather proud of this bit of forward-thinking! I also got to show off my pattern drafting gadgets plus it was great to see so many familiar faces and meet new ones, too (hi Clover & Ingrid!!). For the second class though, Claire had taken the initiative to digitally grade up the book’s blocks to larger, more standard Western sizes! She says she’s going to share these on her site very soon, so keep an eye over there if you want a short-cut to a bigger knit block.
Over the course of two consecutive Saturdays, we drafted three designs from the book (chosen by our amazing tutor, Moni), and a fourth of our choice, plus a bit of time at the end to sew up a sample so we got to see the range in real life.
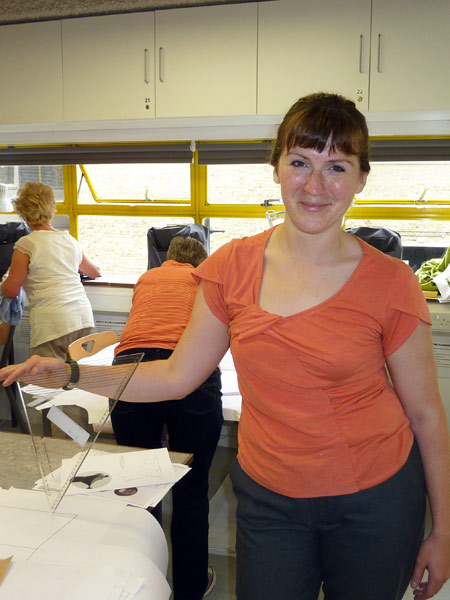
Here you can see me & Claire from the first Saturday! (I’m totally brown-nosing by wearing a design from the second Pattern Magic book!)
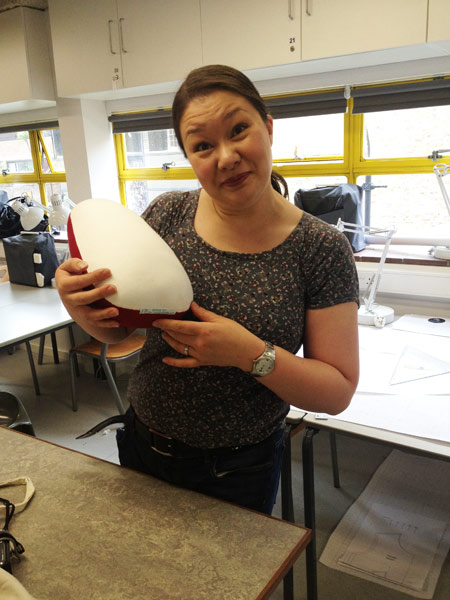
The first design we all drafted was “Crescent Moon“, essentially a giant donut that you wear. It’s so avant-garde that it doesn’t even use a knit sloper, just circles!
This did look a bit better once we got out a smaller, female mannequin, but it’s still not something I’m finding particularly wearable.
The second design we all drafted was “Sharp & Snappy“, which I dubbed “the stegosaurus”. The gist here is that you shift the side seams forward and add triangular points in the seam line.
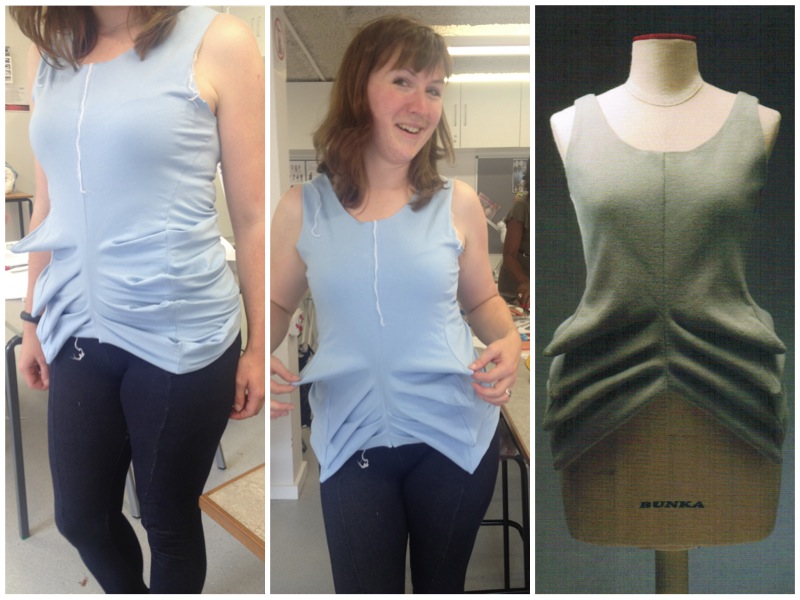
I made up the sample for this one so I got to model it, wee! We tried styling it with the points pushed in like pockets, which felt cool but looked weird. While wearing it with the points-out, I did particularly feel like a sow ready to feed her piglets, which wasn’t really the body image I was going for. Still, it was fun to draft.
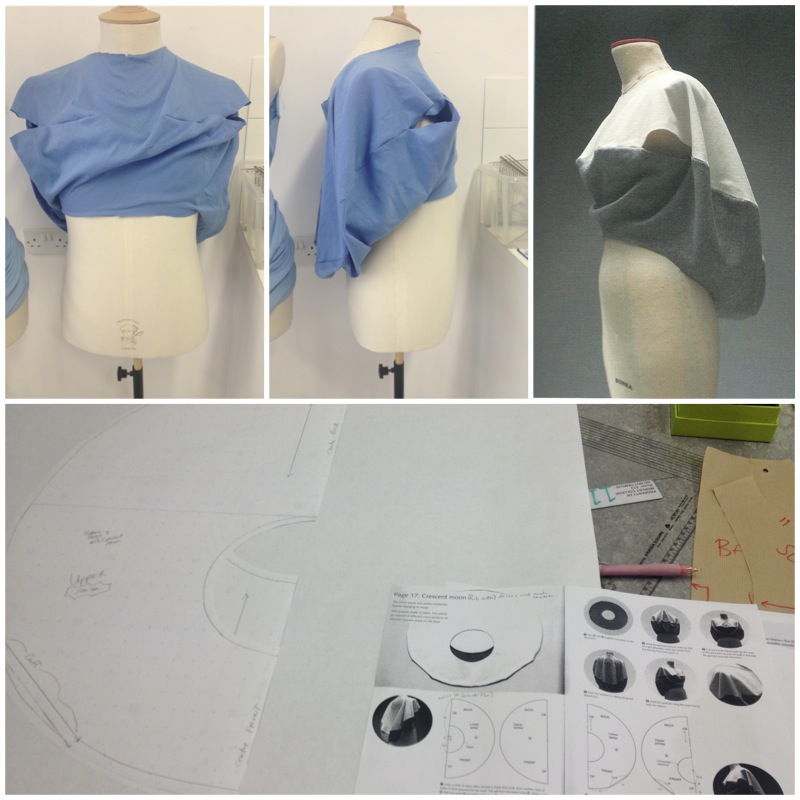
The third design was for “Jutting Edge“, a dress which has a point protruding from the front hip area. I had a bit of problem in drafting this one, as it turns out that if your sloper is any bigger than theirs, in the final step you’ve got to increase the spread of P along the top edge (further than they state), and decrease the spread of the skirt piece (to less than the 8cm they state). Otherwise the pieces are impossible to line up! (If I didn’t have this class, I would’ve given up and thrown this in the bin!)

This one was the big surprise hit of the course! You can see from Tracy modelling it here that it’s so freaking wearable! Instead of being a weird protrusion, if you make it in a drapey jersey and push the point inwards, you get a soft cowl effect that is really elegant! I’m actually really keen to sew this up for myself now!
The fourth design was our choice, but most of the students either chose the Apple Peel leggings that I made last year, or “Loophole B“, a shirt with an off-centre loophole in the front hem. I really like that the tie and left loop come from the back piece and hold everything together nicely!
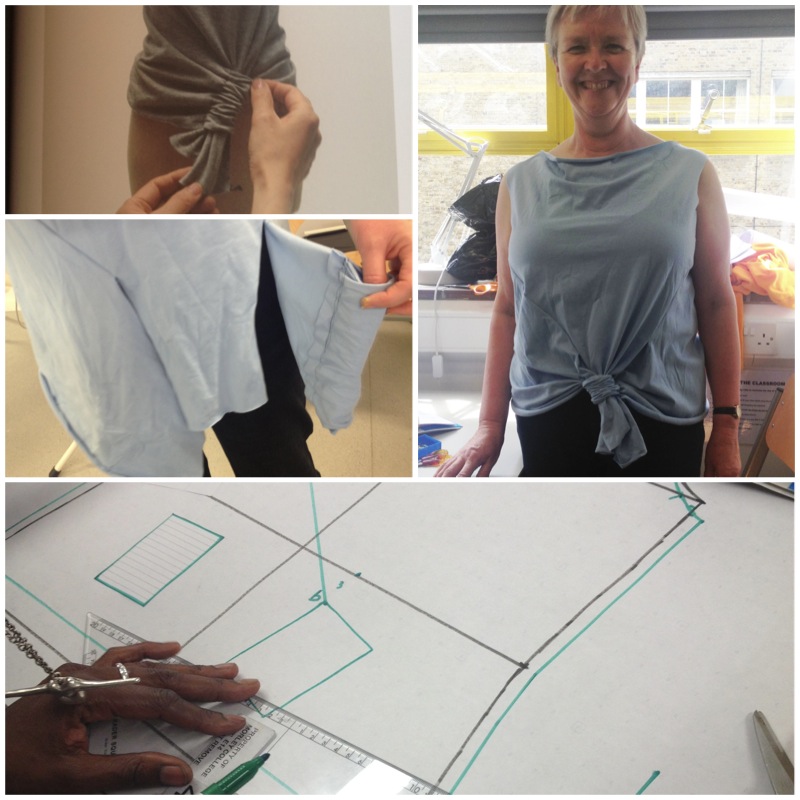
This one was fairly straightforward to draft, but it took up SO much paper! You had several steps which needed to be traced off before slashing and spreading, and each of the pieces (front, back left, and back right) took a fair amount of paper on their own. But, as you can see from Kim modelling it here, it’s so wearable and flattering as a teeshirt!
I really wanted to take hold of the enthusiasm from the class, so the next day I traced off clean versions of Jutting Edge and Loophole B, then made myself a muslin of Loophole B using some cotton jersey in my stash that wasn’t quite what I was expecting, and the result is goooood!
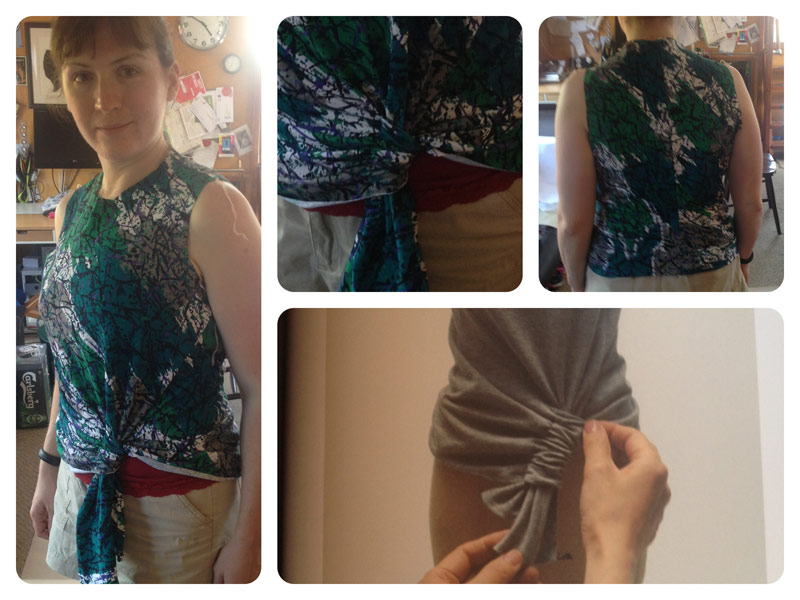
If you noticed my neckilne is different from Kim’s above, well spotted! I kept my armscye and neckline unaltered as I thought I might want to add sleeves to my design, and I wasn’t that into the “semi-cowl” in the book’s design (not on a knit, anyway).
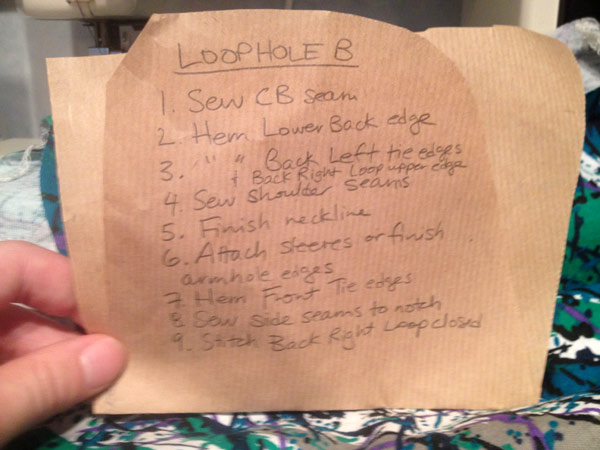
And of course during the sewing of my muslin, I scrawled down an order of construction for myself, which should make this very quick and easy to sew together once I decide what fabric to use (this easily took under a metre of fabric, too!).
I’m definitely going to make a version of Jutting Edge for myself, too, but not right away – I’m thinking a long-sleeved version for cooler weather might be just about perfect!
If I’ve inspired you to either tackle some of these designs yourself, or take some courses at Morley, sit tight, because I’ve got my picks from their new season courses coming up later this week!