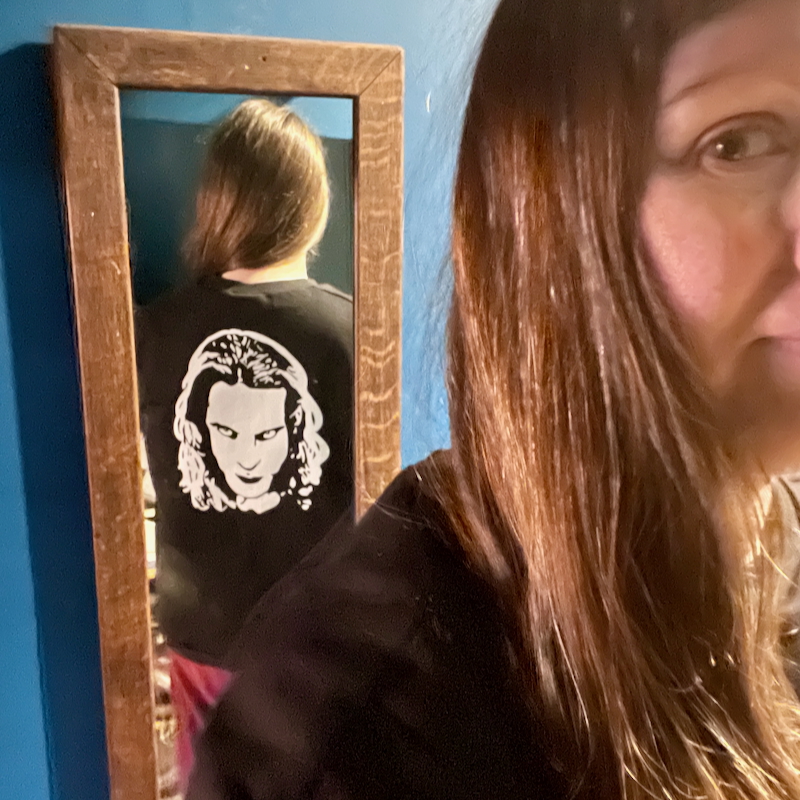
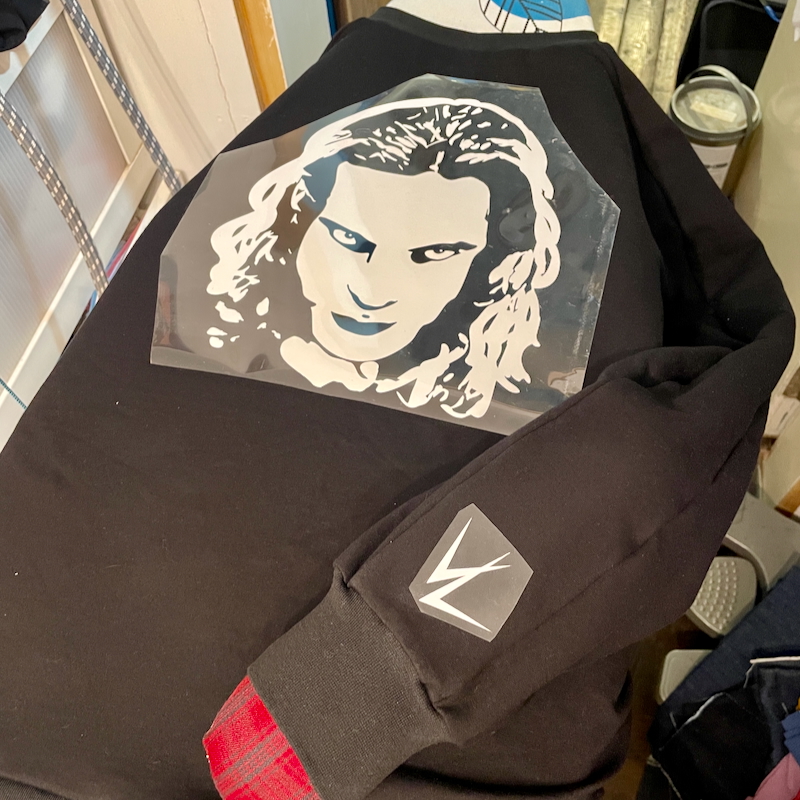
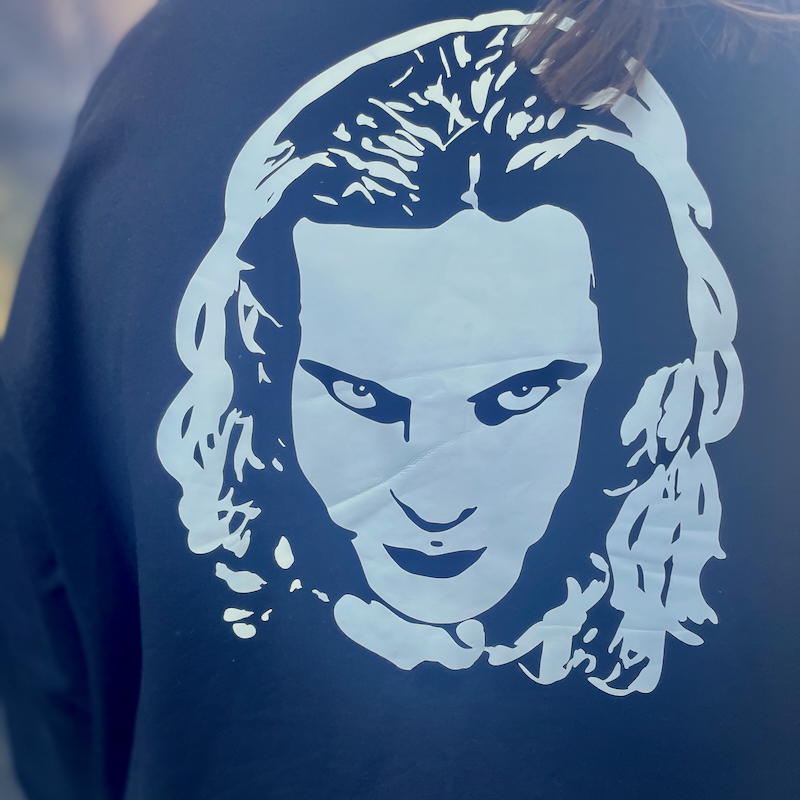
I’ll be honest – I sewed this sweatshirt mostly as a vessel for a bit of heat transfer vinyl I cut out way too big back in the summer. I wasn’t really thinking of the measurements on a shirt when I cut it out, and was more thinking to just make it as big as the vinyl roll, forgetting that my roll was nearly 24 inches wide instead of A4! So I ended up with a Lestat head (same as on this grey shirt), but absolutely huge – way too big to put on the front of a teeshirt. But I didn’t want to throw it away either, so I figured it’d go nicely on the back instead.
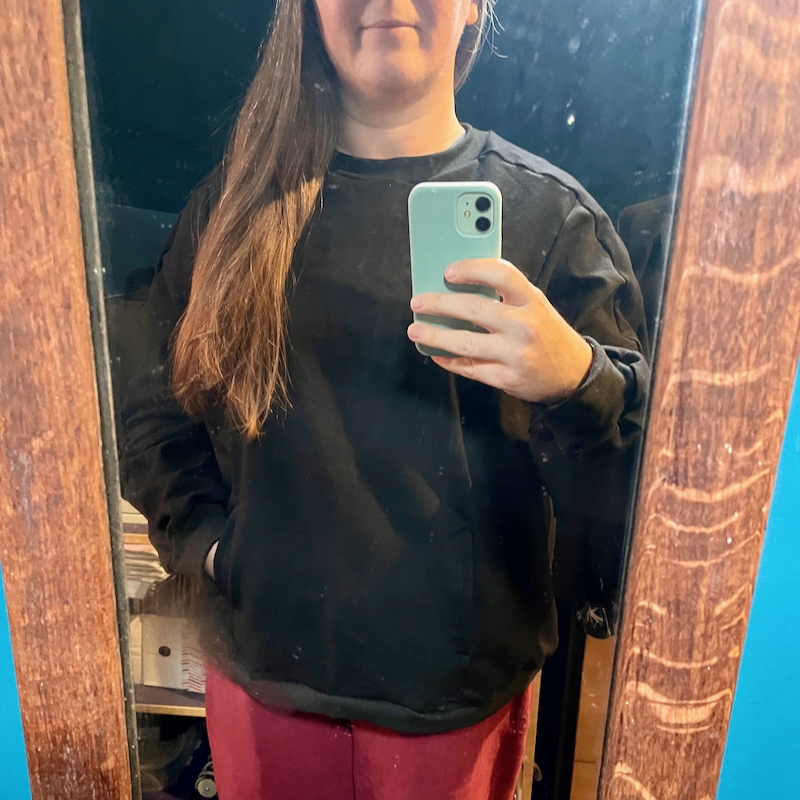
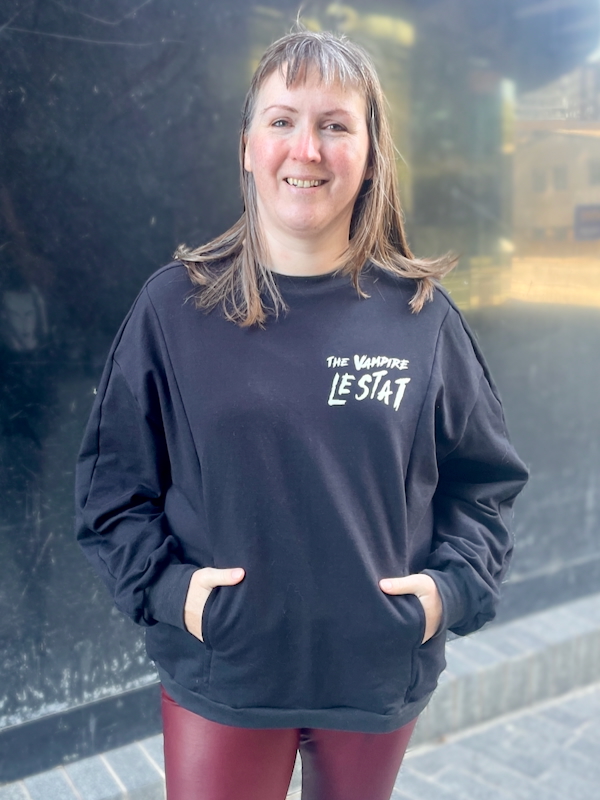
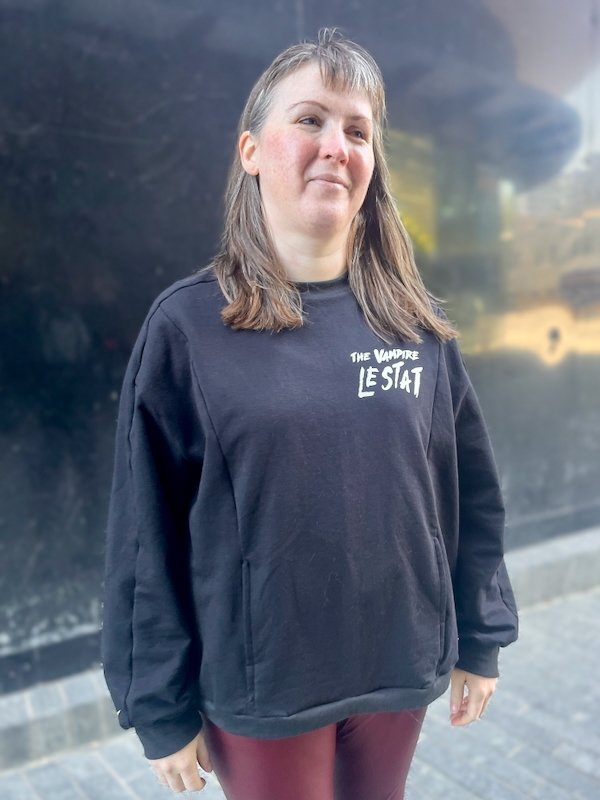
I’ve been meaning to sew the FibreMood Lara sweatshirt for a while now. It’s from the fabulous FibreMood “Essentials” magazine that I’ve sewn so much from already! It’s an oversized sweatshirt with great sleeve seaming, and the option to either sew the fronts and backs as one piece each, or each with princess seaming and a kangaroo pocket. I chose to have the princess seams and kangaroo pocket in the front, but no seaming in the back (so that no seams would interfere with the big vinyl). I selected Size XL based on my bust measurement, but tbh it’s so oversized I could’ve easily gone down a size or two and still been fine.
I didn’t have any suitable fabrics in my stash (I tend not to keep extra sweatshirting around as it takes up so much room!) so I bought this black stretch sweatshirting from Fabrics Galore. It’s a really lovely soft fleece inside and with a nice stretch – I’d totally buy this again, and I’m half thinking to buy more to make another pair of Named Ruri Sweatpants (now OOP). At £14/m it’s not super cheap, but not overly expensive either. 2m was plenty but it turns out 0.5m of their narrow tubular ribbing wasn’t quite enough, so I chose to make the hem band about a third narrower to fit it all in.
I’m just going to cut to the chase here and say that the pocket instructions SUCK. It’s weeks later and I’m still annoyed at how bad they were, partly because FibreMood’s instructions are usually good so I trusted them, but also because I would’ve had a much better result had I just ignored them and sewn it how I thought it should be.
My problem is that on Page 13, you can either follow their written instructions OR follow their illustrations, because they don’t match pu (but essentially they want you to do a burrito seam on the pocket layers). I followed the illustration because I thought maybe it was a translation error, but no. 🤬 Following that results in a twist in the inner pocket!!
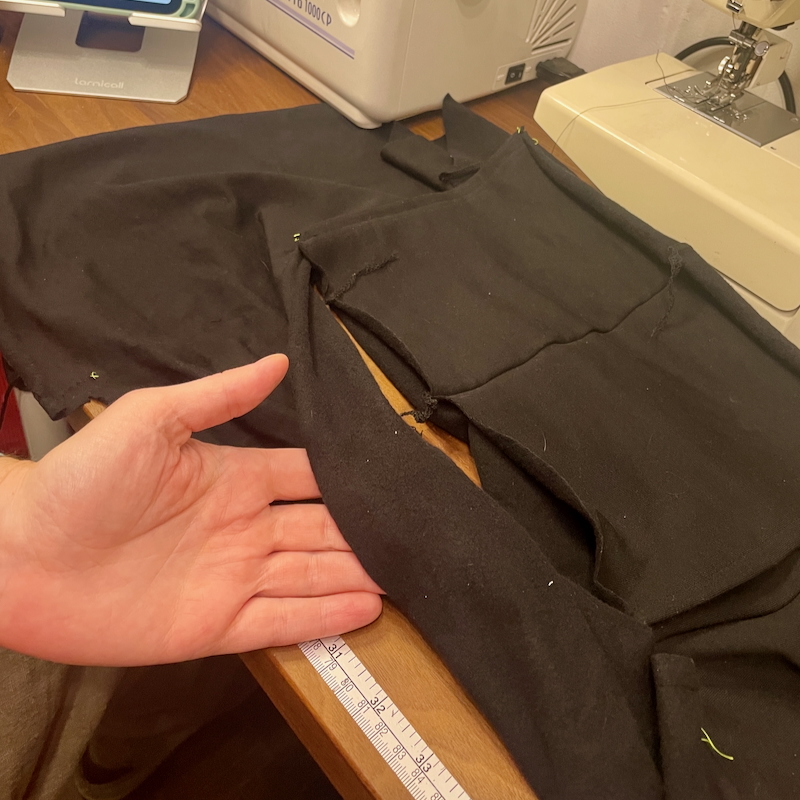
So I could either unpick all the overlocking on the princess seam (aw hell naw!) or I could cut the inner pocket to untwist it, then sew a seam there. Which is what I did, since the seam would be hidden inside anyway.
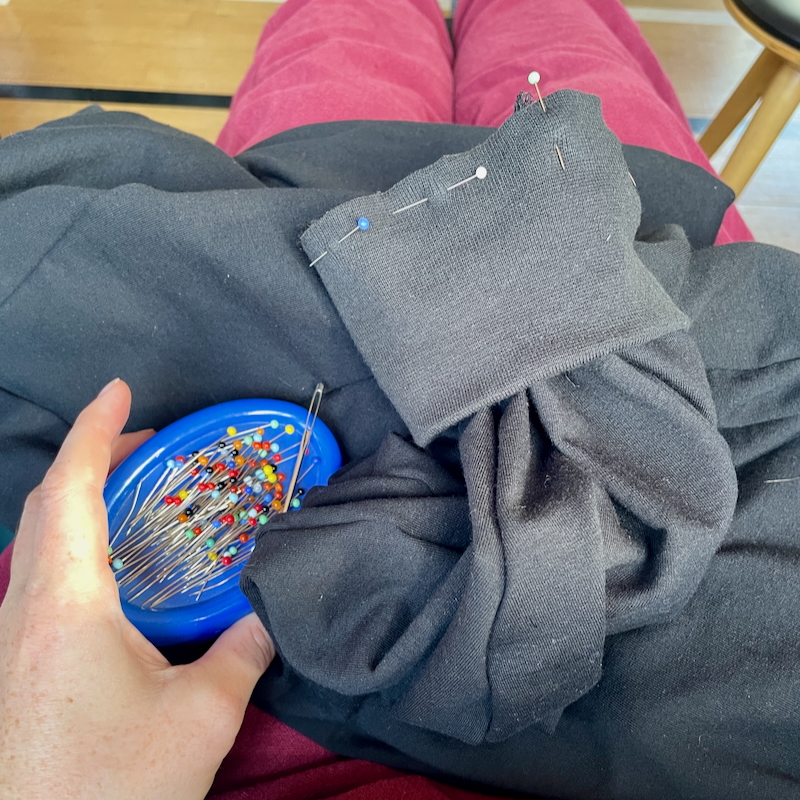
I also hate the finish on the pocket openings. Having the instructions saying “align to the marks” or “start/stop at the marks” means you have a couple of millimetres leeway with the size of your thread tacks/chalk marks. Which can make the openings pucker and look awful, with no real fix. Saying to “align to the previous seam line” and “start/stop at previous stitching” would’ve resulted in a much better finish!! And yes, I’m still annoyed at the puckers. 😒
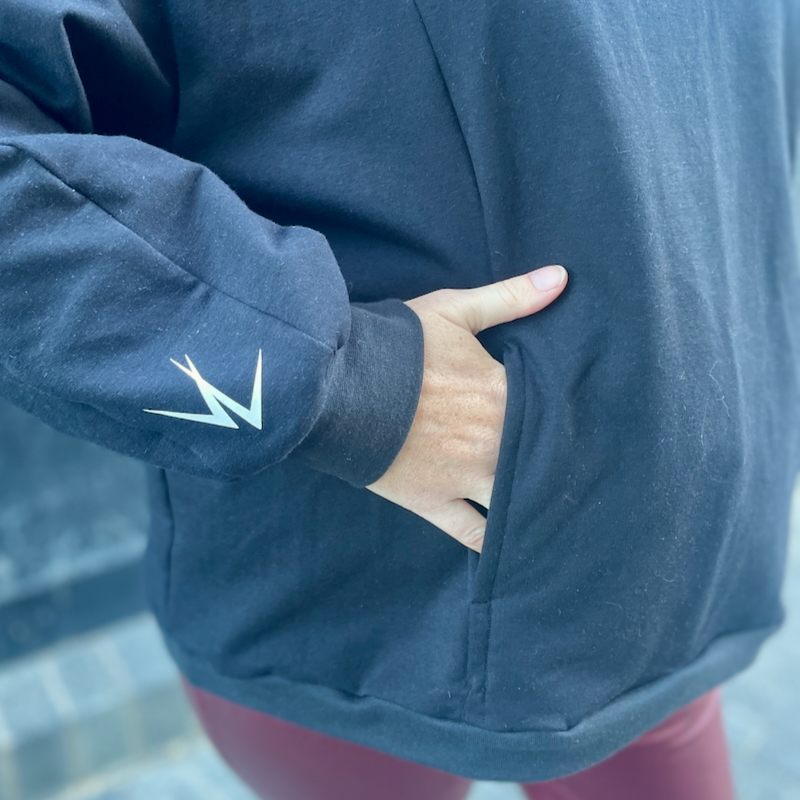
Also, the pocket openings go the whole way down to the bottom of the pocket, which means stuff can fall out really easily. The openings are much bigger than my hand width, so I sewed up the bottom few centimeters to lessen the chance of my phone flying out!
Otherwise, the instructions were fine/basic/as expected. The shaping on the neckband was a nice touch, and I like the unique shoulder panel and the overall shape. I left off all the topstitching of the seams because it didn’t really need it imho.
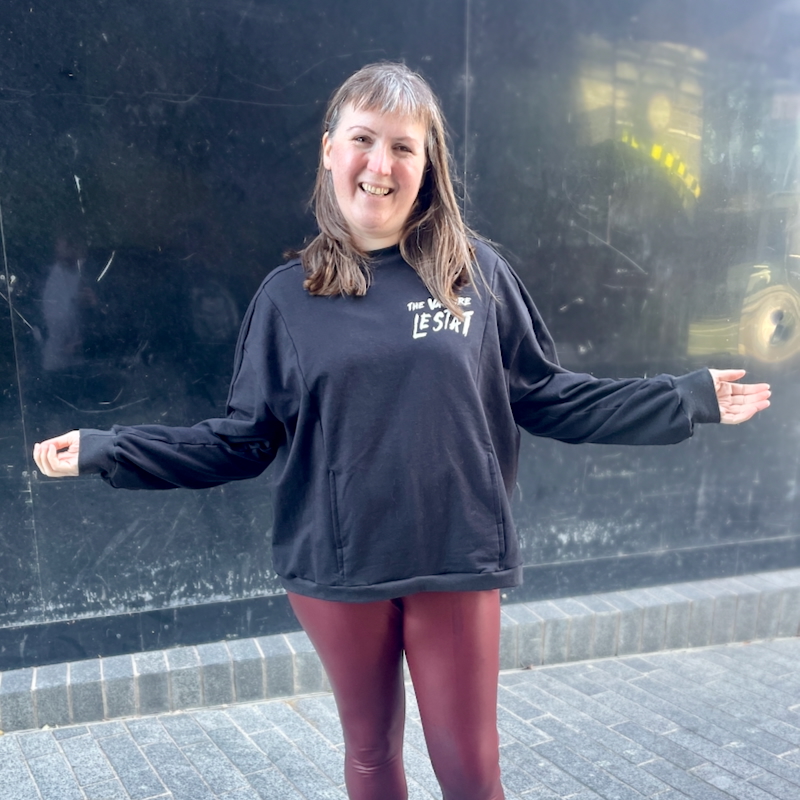
I ended up taking in the hem band by 9cm to make it a bit less loose on my hips, but it’s a very oversized fit anyway. Very comfy! Even after making the hem band smaller, it was still nearly 1:1 with the bottom of the sweatshirt, so the instructions saying to use gathering stitches before joining is just laughable. Err, ribbing is stretchy – just stretch it to fit the bottom edge…
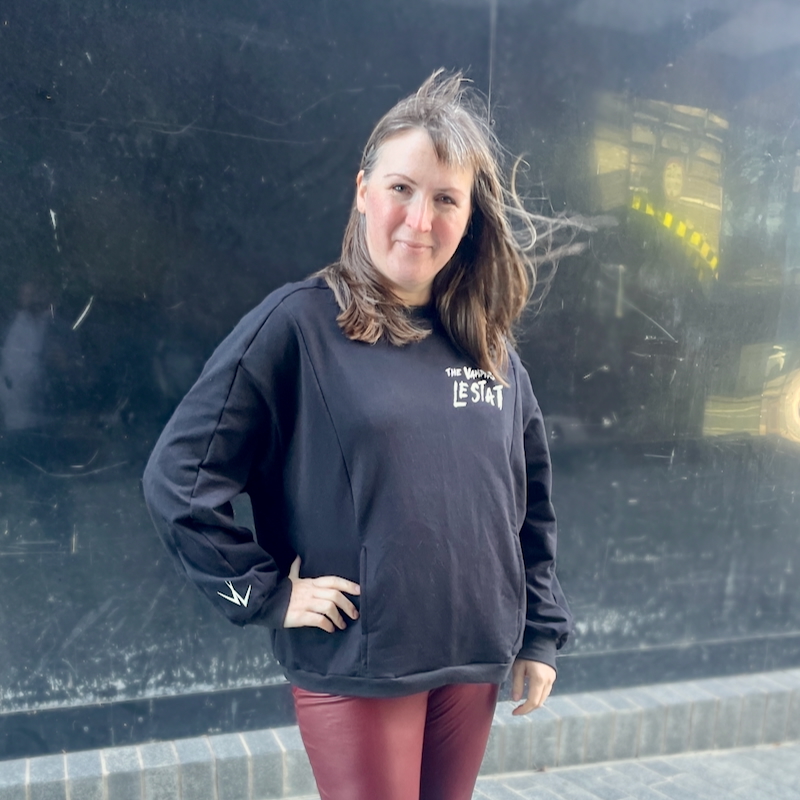

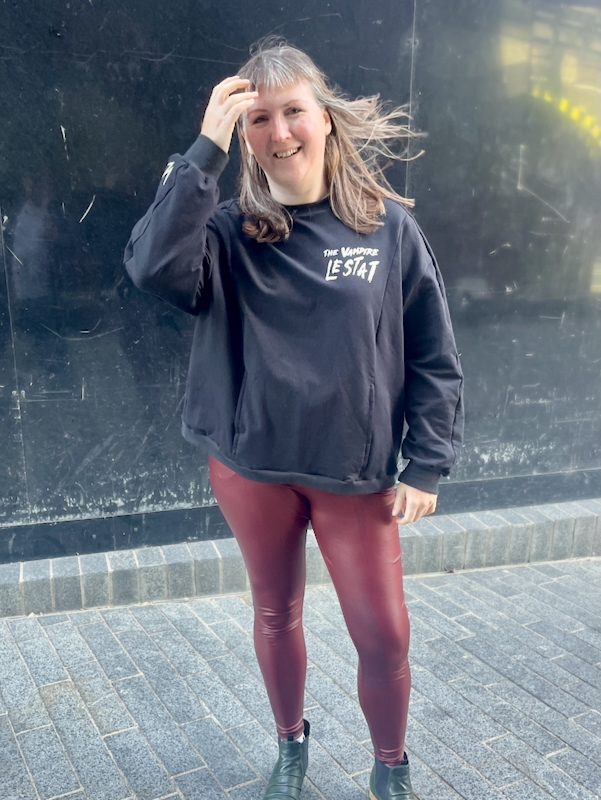
Once the sweatshirt was finished, I could then apply the heat transfer vinyl of the mahoosive Lestat head in back, and the small, new The Vampire Lestat band logo on the front chest. Just for a bit of fun, and because I’d already had a few cut, I also added a little VL logo on the right sleeve. I love that I can do this so easily with my Silhouette cutting machine (so much better than a Cricut and with no monthly fee!).
I love the detail of the sleeve being in three parts, with the central piece connecting over the shoulder. And I love the overall slouchy fit too! Perfect with leggings and curling up over the winter…
So, despite all my issues with the pocket construction, I absolutely would sew this again. I’d just ignore their method entirely and just sew it as a burrito seam.