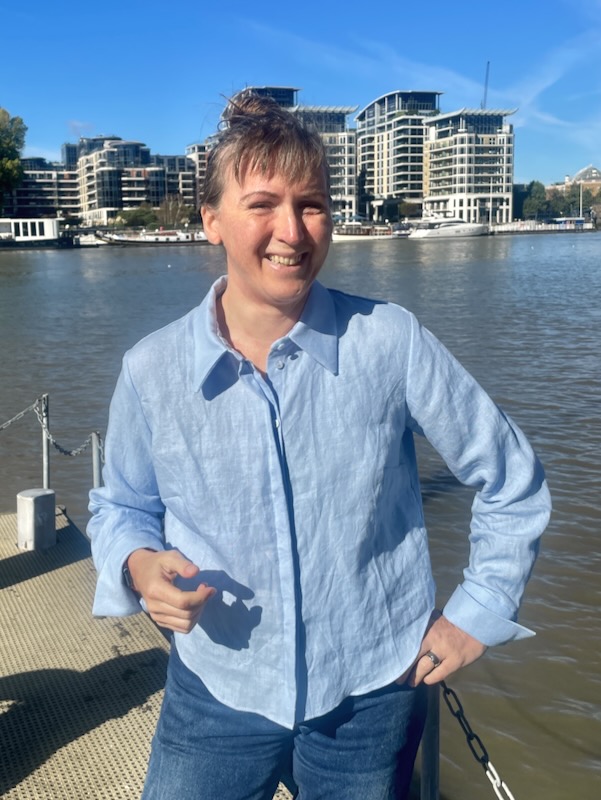
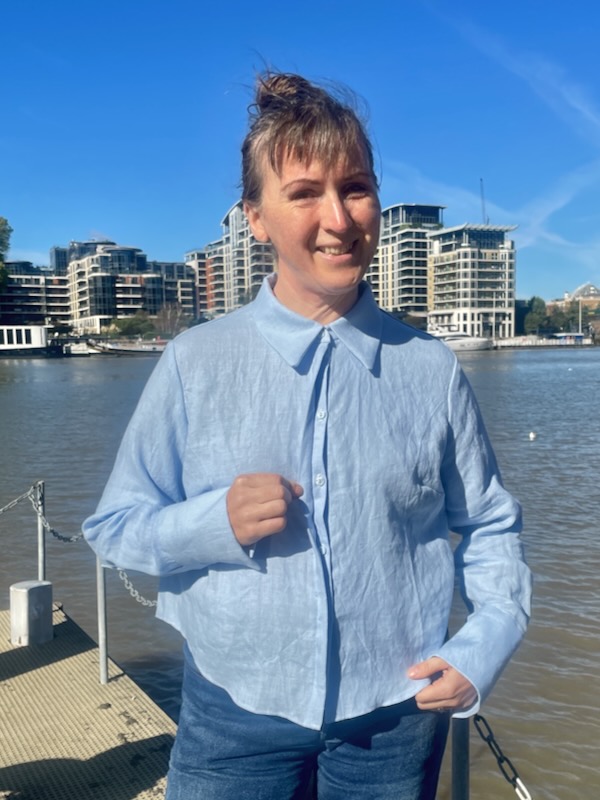
Furthering my quest to find the perfect buttondown shirt to be the base pattern for Lestat’s pink silk shirt (and his rust velvet shirt too), I’ve moved on to another Burda magazine pattern in my stash – 09/2024 no101. This pattern is a pretty basic buttondown shirt with bust darts, back yoke & pleats, collar, and long cuffs. It’s also got added ties at the neck that are just topstitched in place, but I omitted these.
I used a pale blue linen/cotton(? Again, it’s all natural fibres in a burn test but hard to narrow down definitely) from the IWTV props auction. This piece was a full 2m and miraculously without any holes, and the pattern took nearly all of it. I’d bought some pale blue shell buttons at my last trip to MacCulloch & Wallis, which are a perfect match.
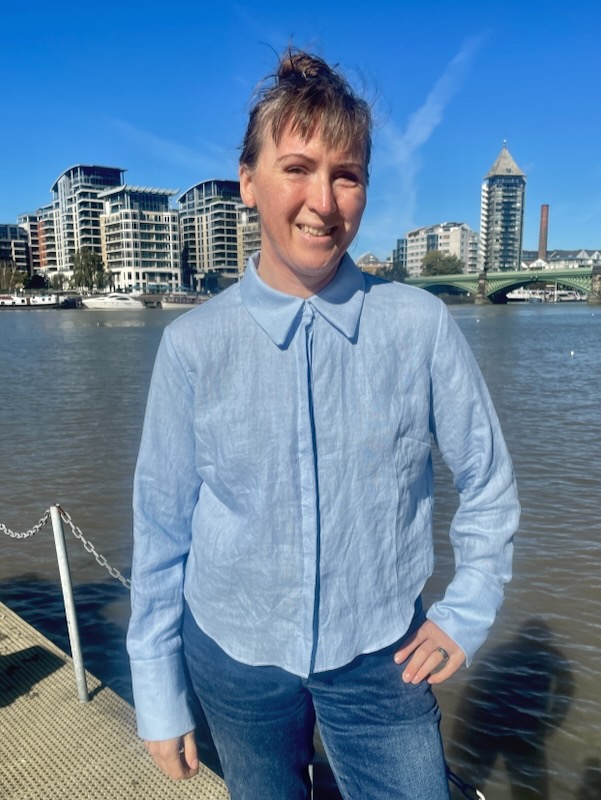
You can’t really appreciate that much though, because again I grafted on the concealed button closure from Burda 12/2023 no106, just as with the recent shoulder pleat top. I realise now that I need to NOT add seam allowance when cutting on the “left edge” line, as my left band turned out a smidge too wide and is seen when buttoned. At least I took note for the next one!
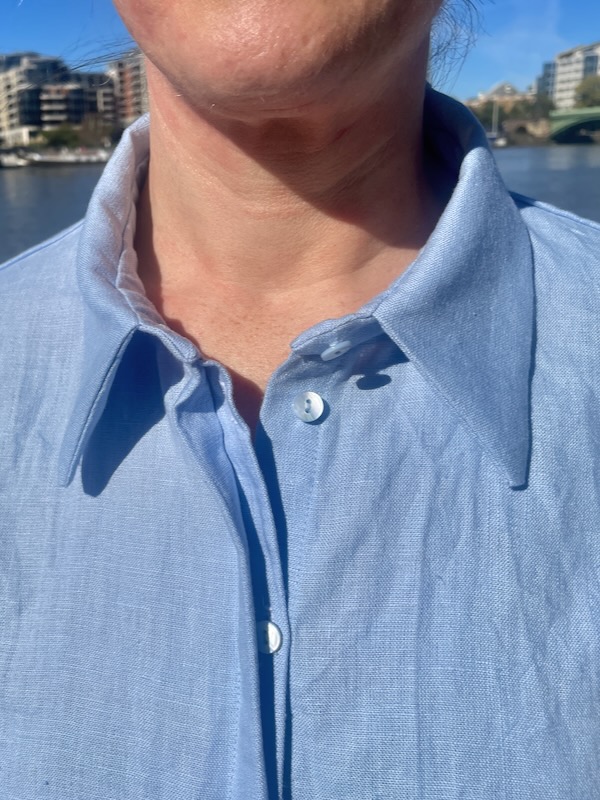
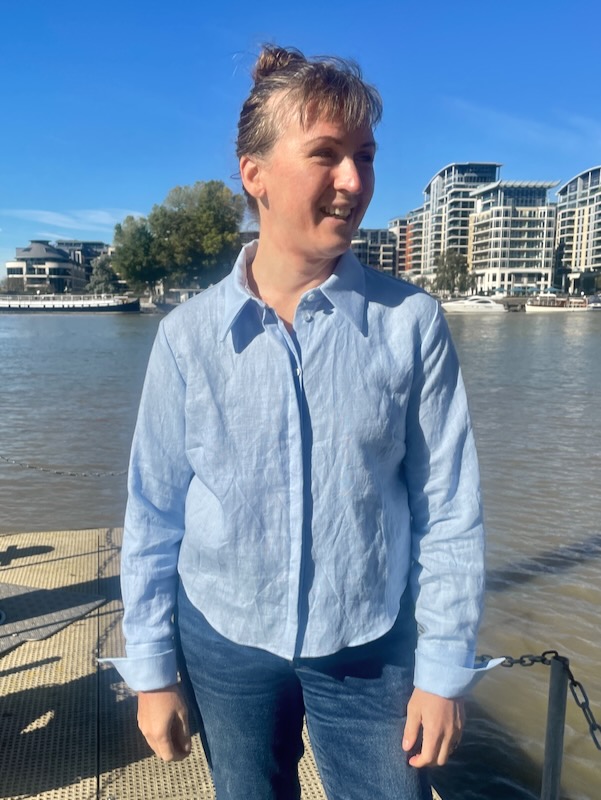
The collar is standard here so I just used my preferred construction method. However, the fit around the neck is looser than the other Burda patterns or Named Saraste, which surprised me. It’s comfortable without looking odd when either buttoned fully, or unbuttoned though, so I’m not too bothered.
The construction was very straightforward and I barely looked at the instructions for most of it, just using my preferred order of construction. I ignored sewing the side seams before the back yoke because a) why so early? And b) I’m not rolling up the joined side seams into the burrito if I don’t have to!
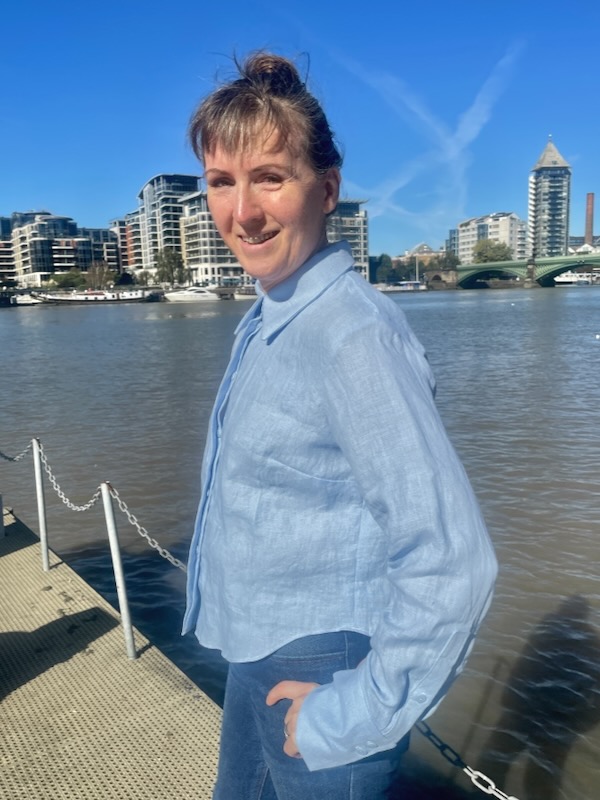
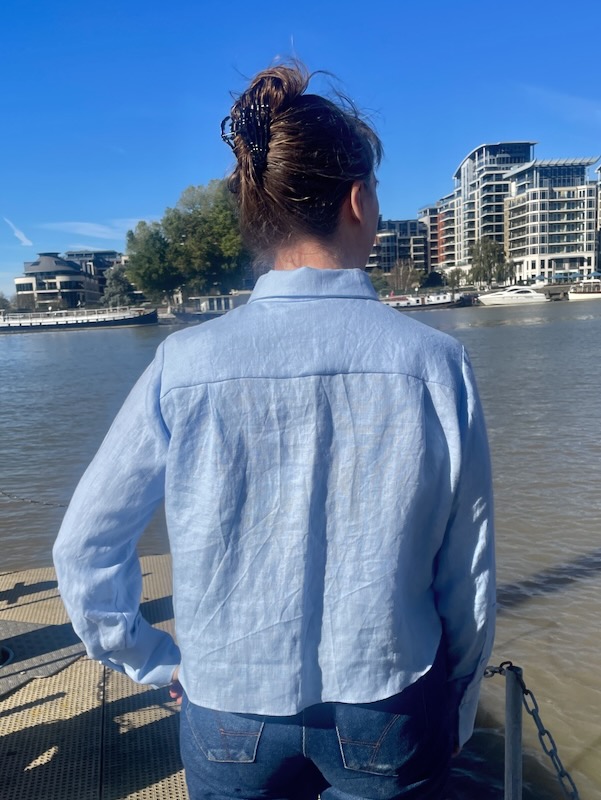
It wasn’t until I got to the sleeve vents that I went HUH? and truly wished this was a later Burda issue that at least had a few illustrations. I’ve sewn lots of sleeve vents with a bias bound slit edge, or a full placket (David Page Coffin’s “Shirtmaking” book has a brilliant template), but none with a rectangular placket and half of it just a double folded edge.
I was truly flummoxed so I moaned to my sewing group chat. Like a miracle, Sue recognised the construction as similar to a Kwik Sew pattern she owned and sent me the illustrations from that! My hero! So, armed with those I could actually attempt what Burda WTF struggled to say in words. And using a mixture of Kwik Sew & Burda (because their method included some nuance the KS was lacking), I actually got some good looking vents!
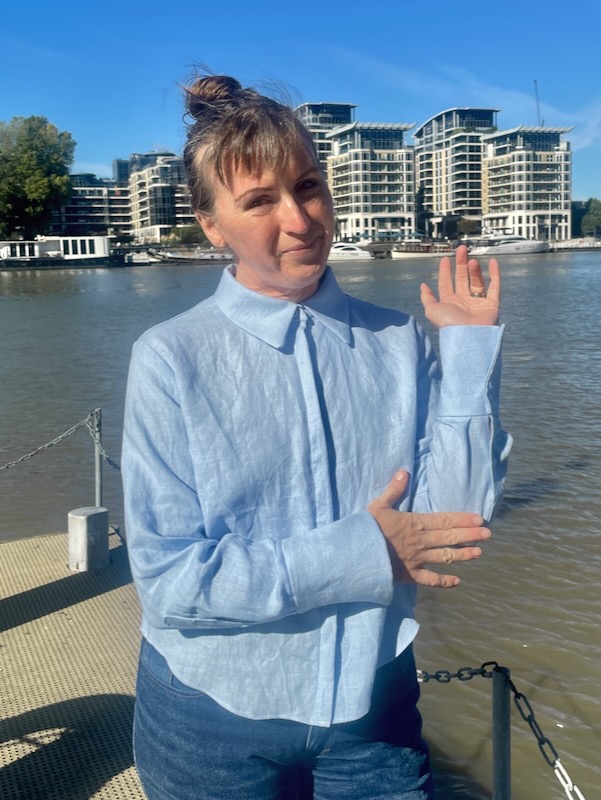
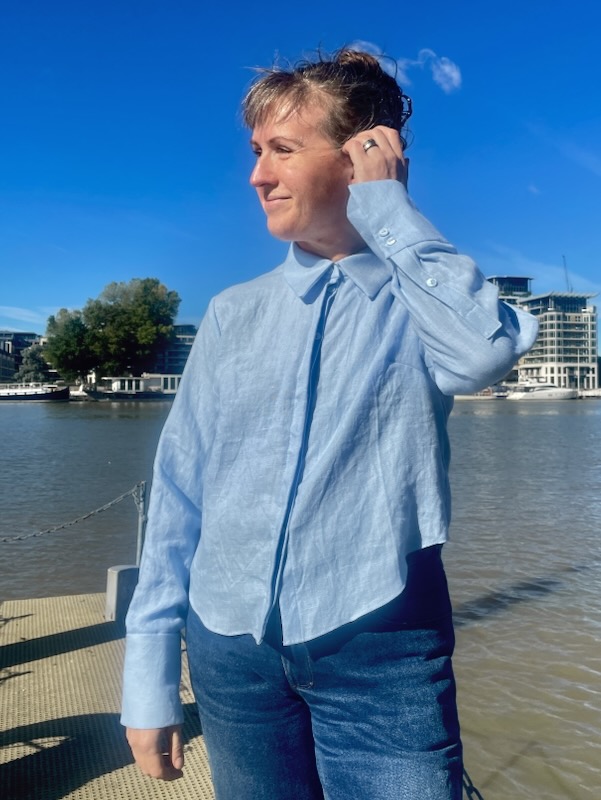
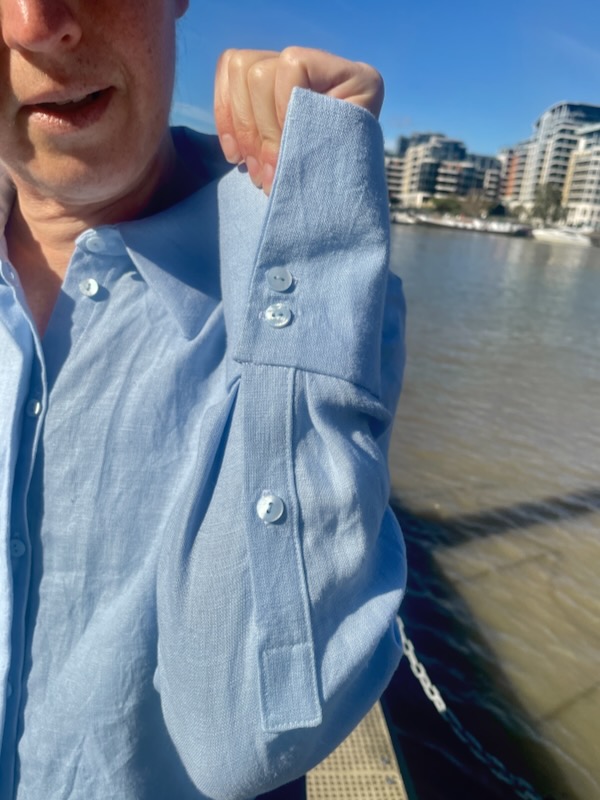
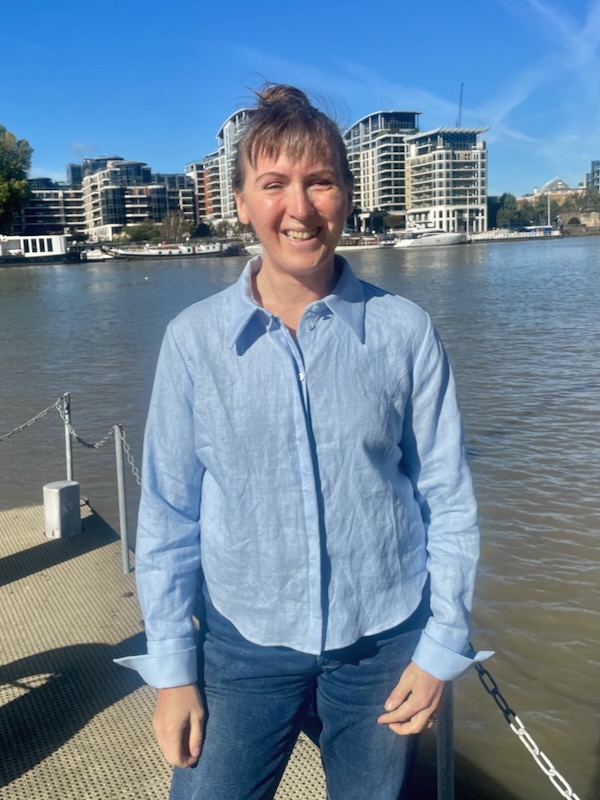
But of course there’s never a dull moment when sewing with Burda – the cuff measurements forgot to include an underlap so I had to unpick and sew the short ends with the world’s smallest seam allowance… 😒 And the cuffs themselves are really long – long twice the length of those on the shoulder pleat shirt or Sarastes. It means the cuffs are well over my hands when buttuned, or I can fold them back onto themselves for a different look. I’m not sure I’d want them this long on every shirt I sew, but coincidentally enough, Lestat’s pink silk shirt actually does have extra long (and double!) cuffs so I don’t need to modify these much when I sew that shirt.
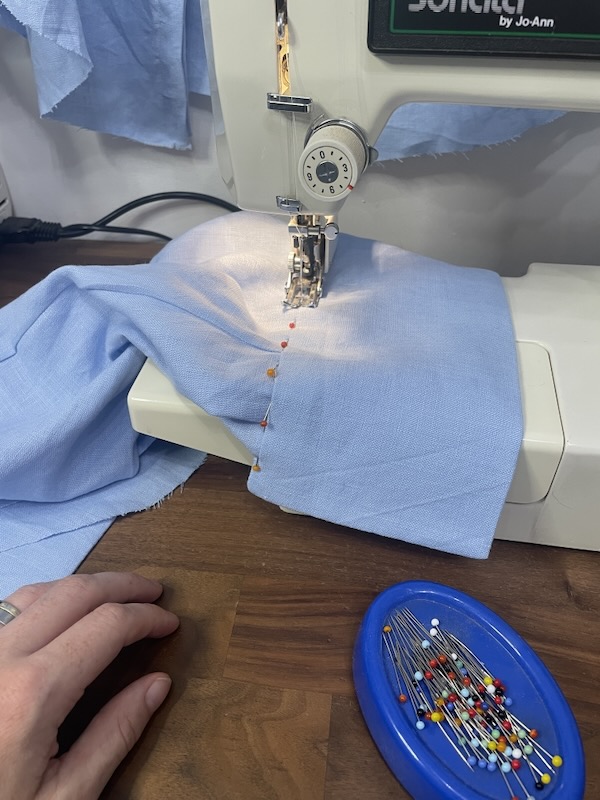
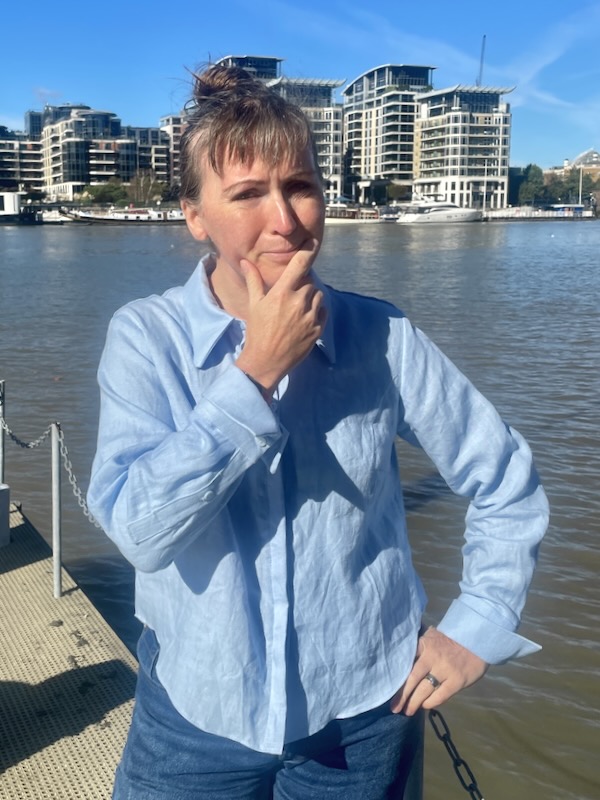
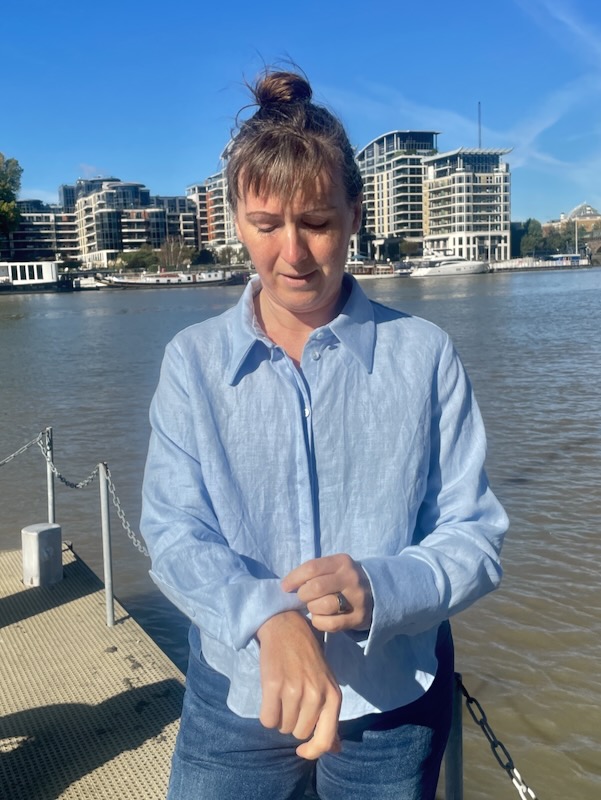
The hem on this shirt was SO LONG as drafted – the front was just below my crotch!? So I removed 16cm (6 1/4in) length from the hem, maintaining the curve. I like the cropped length of it here, and I think it’d pair so well with my pleated burgundy trousers I sewed a few years ago, but I’ll add a bit of length back on for the Lestat shirts.
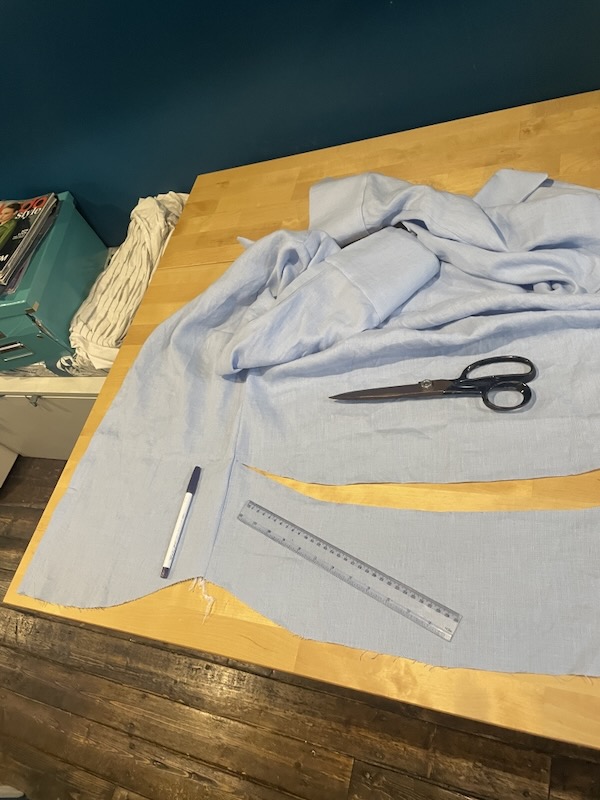
I know it’s been a while since I blogged, but I’ve been sewing along in the background and now have a ton of backlogged projects to share over the coming weeks. I actually sewed this shirt during London’s crazy heat wave in August, but then it was far too hot to wear, even for a photoshoot. So I kept it aside and we got perfect weather for it in October…
I’m sorry to report that we had to say goodbye to Nishi after fourteen wonderful years together. I posted a lovely tribute on Instagram if you’d like to read it.
Plus, a trip to A&E in August resulted in my getting a nasty cold, which I then recovered from, only to have it morph into a horrific post-viral skin condition which I’m still battling now (which has meant I’m not feeling my best for photoshoots). In happier news, we also celebrated the wedding of two very good friends in September, and I’ve been doing BIG sewing for another wedding and trip to Ireland on Halloween… I’m super excited for both the trip and to show you my costume, because it’s one of the favourite things I’ve ever sewn and it was SO worth the three muslins and solid month of work that went into it!
Speaking of the Halloween costume – it’s comprised of three garments, each which will have their own separate blog post about the making of (because there’s a LOT to say about each!), plus I’ll do a post with the photoshoot of the full outfit. I’d normally wait until the full photoshoot to post the “making of” individual blog posts so I can incorporate nice posed photos in all four posts, but I’m not sure I want to make you wait any longer than necessary, til we get back from Ireland. Does anyone really want to see costumes in mid November?
So please let me know in the comments if you’d prefer: a) I post the three “making of” garment posts now, then the full photoshoot outfit after Halloween, or b) wait until after Halloween to post the full photoshoot outfit plus the three “making of” posts?