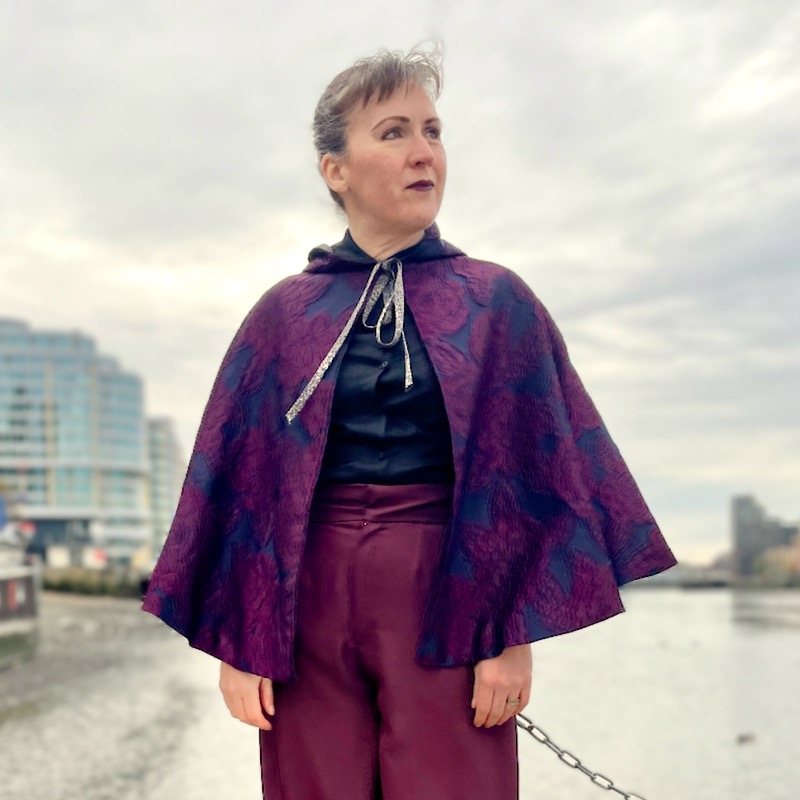
After yesterday’s post detailing the inspiration and fabric sourcing for this outfit, today I’d like to talk about the standout piece – the cape!
As I mentioned in the earlier post, I sourced the exterior cape fabric from MacCulloch and Wallis’s Soho shop after finding a few that I liked online. But before I cycled up there, though, I noted that all of my candidate fabrics were a) expensive! and b) 140 or 135cm wide. Because of both of these, I didn’t want to buy too much or too little fabric, so I drafted my pattern pieces first to ensure I only bought exactly what I needed.
I drafted this cape myself, using the same principles of a standard circle skirt, except the “waist” would be my neck, and the length would be my neck to wrist measurement. The fabric width meant I couldn’t get a complete circle, so I kept changing the angle until I could fit it into the 140cm.
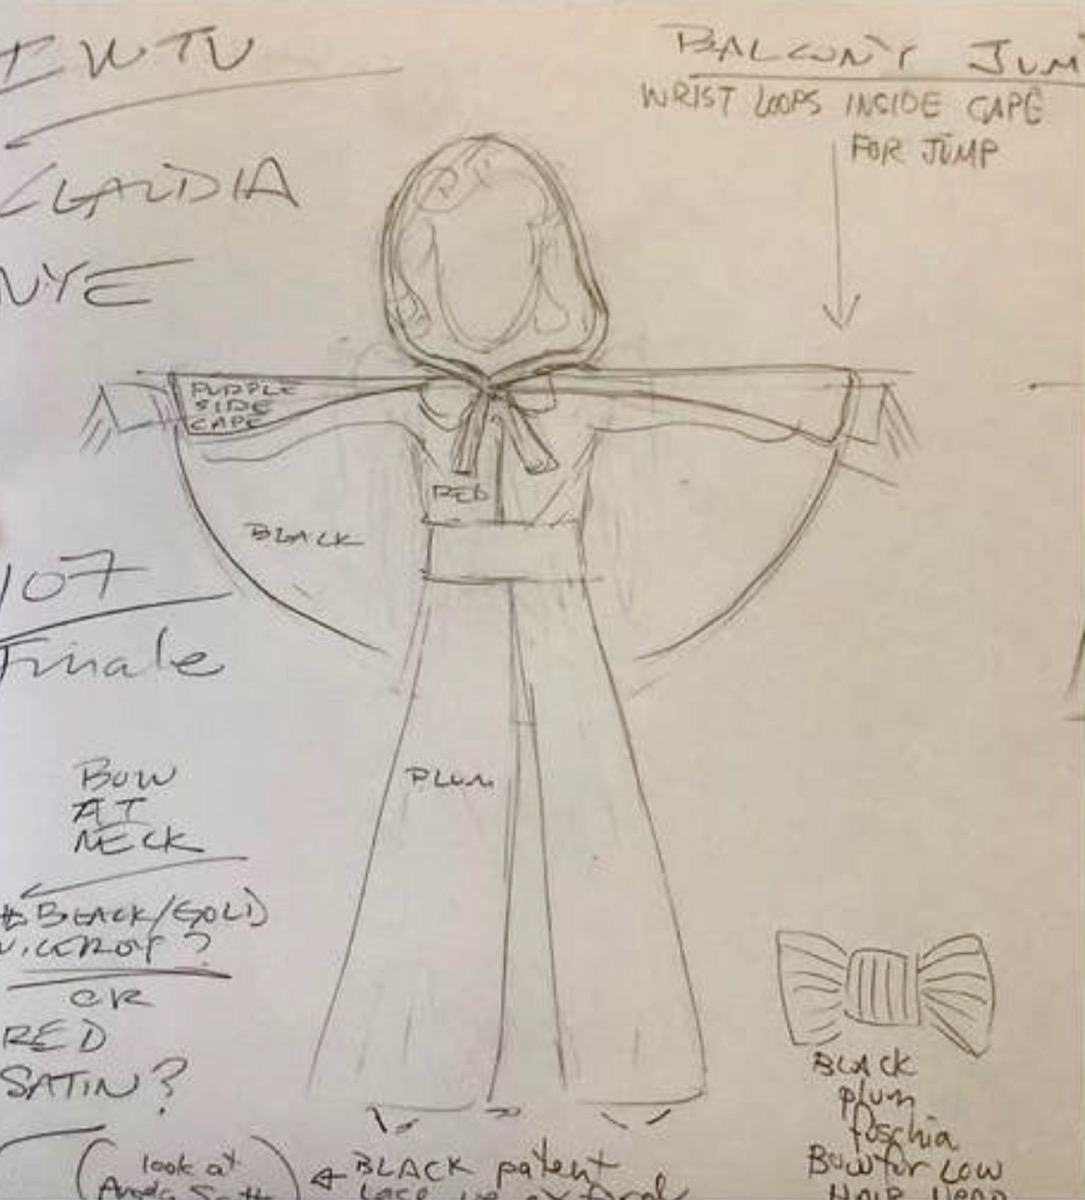
There’s a hood in the costume designer’s sketches but you can’t see one in the finished cape in the show. I wasn’t sure whether to add one or not but I figured the neckline would look more polished with one. I squeezed a modified hood from the Hoodie design in my “Sew Your Own Activewear” book into the excess space and concluded I’d need exactlty 1.6m of fabric.
I ended up loving the Italian silk & polyamid floral cloqué fabric so at £40/m this alone cost me over £60 (plus VAT)! While I was there, I also purchased a hook and ribbon for the front of the cape, so it was good that the lining was coming from my stash and essentially “free”.
The fabric actually has an equally beautiful right and wrong side, but I decided I liked the plum flowers on the navy base better, so used it as the exterior (which I think might be the “right” side anyway?).
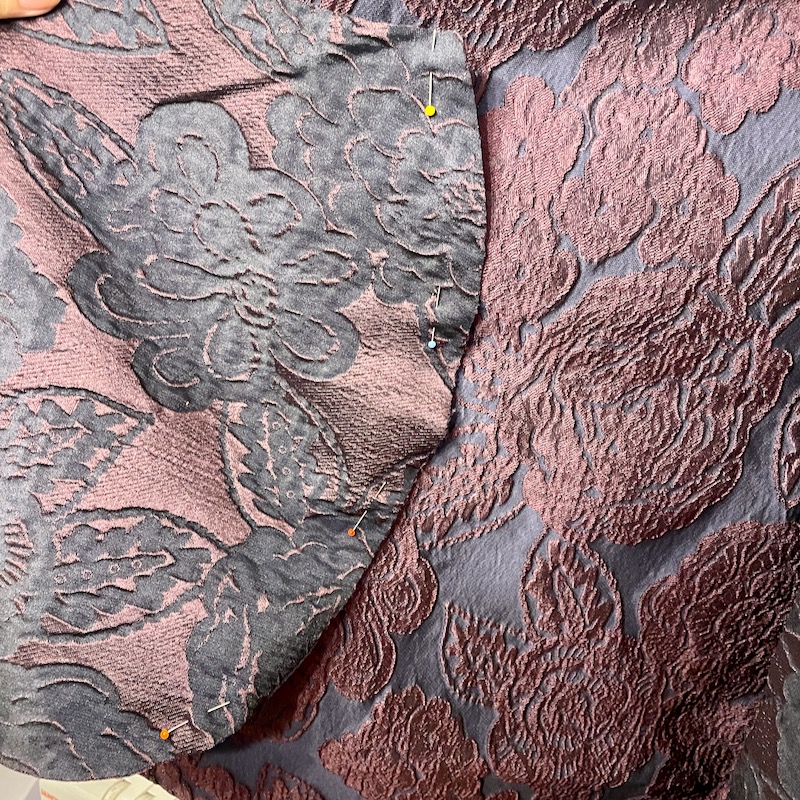
I used an old trick when working with expensive fabrics (and too lazy to make a muslin first!) and I cut and sewed up the black satin lining first to check the fit. I only needed a slight tweak to the hood shape but overall I was really pleased!
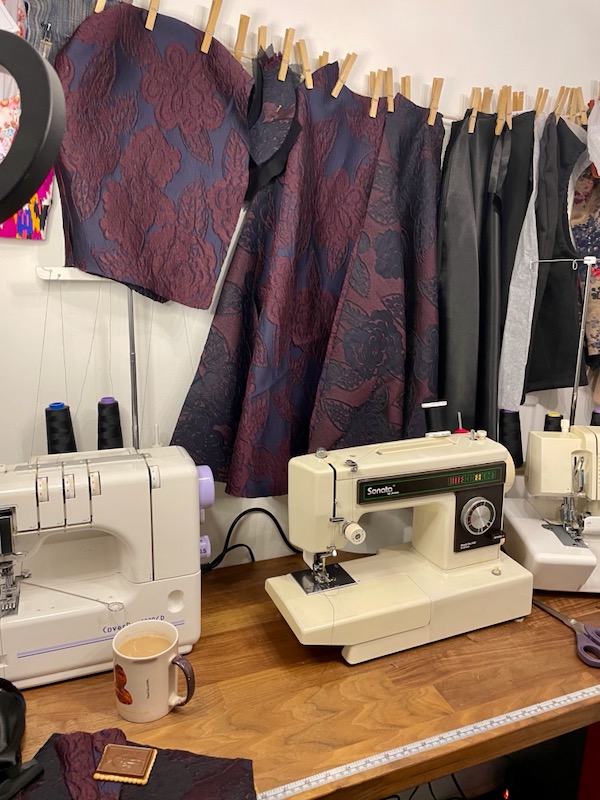
When I cut out the cloque (and the satin) I made sure to cut the fabric so that the CF opening edge and CB were on the straight grain to get the nicest drape. I think it shows in the way the final cape drapes so beautifully whether my arms are down or extended.
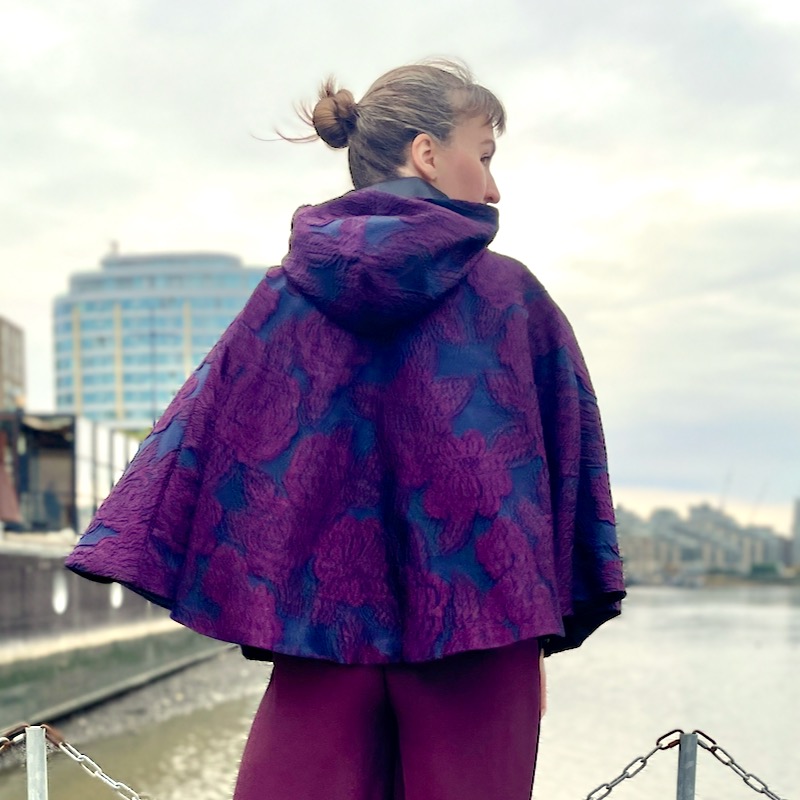
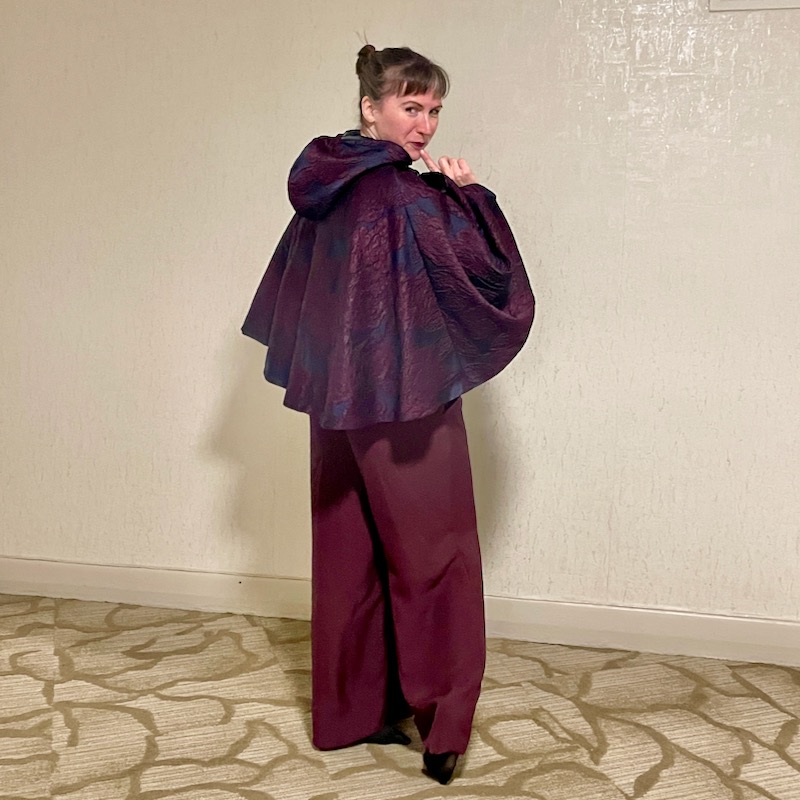
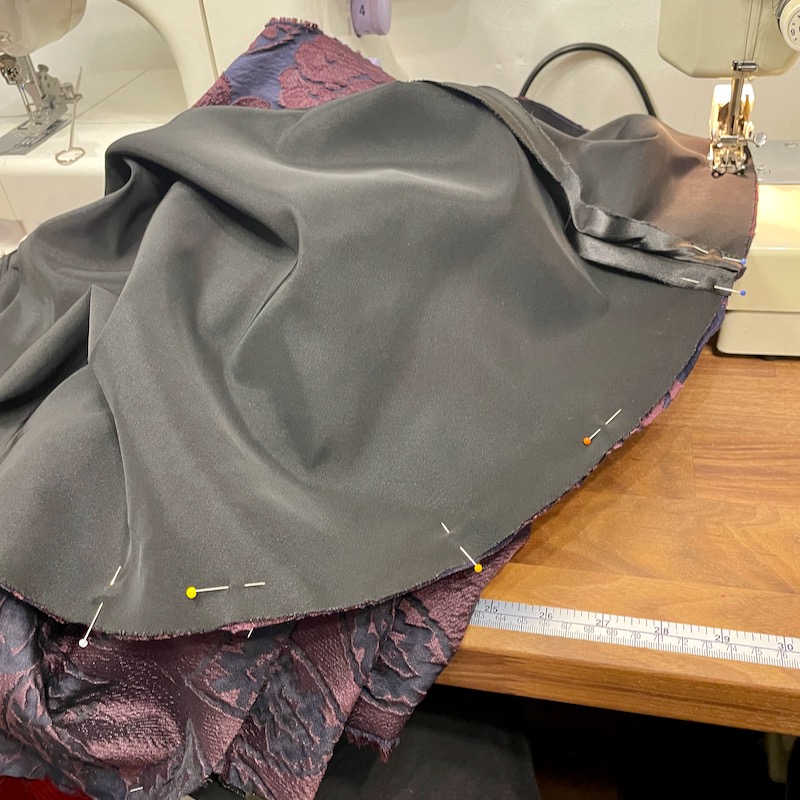
The problem with such a full cape is that the hem does seem endless! Thank god I bagged the lining so could sew it by machine rather than hand stitching the entire thing.
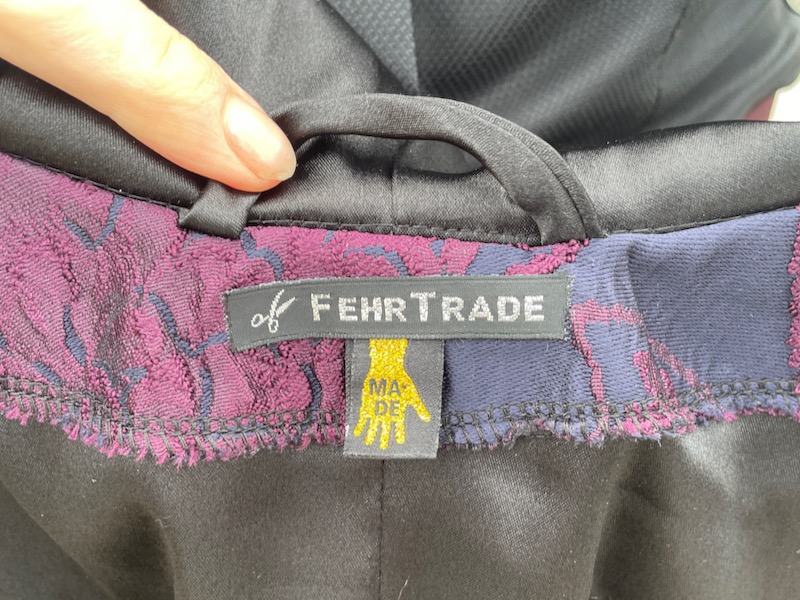
I added a hanging loop as otherwise it might be difficult to keep off the floor if I’m somewhere without a clothes hanger. Of course I added some fun labels while I was at it…
I also added a metal hook at the neck to take the strain off the ribbon – I attached the ribbon over it to conceal the hook. It means you don’t notice it hanging against your neck and also that the ribbon is easy to untie and not really tight from the weight of the cape.
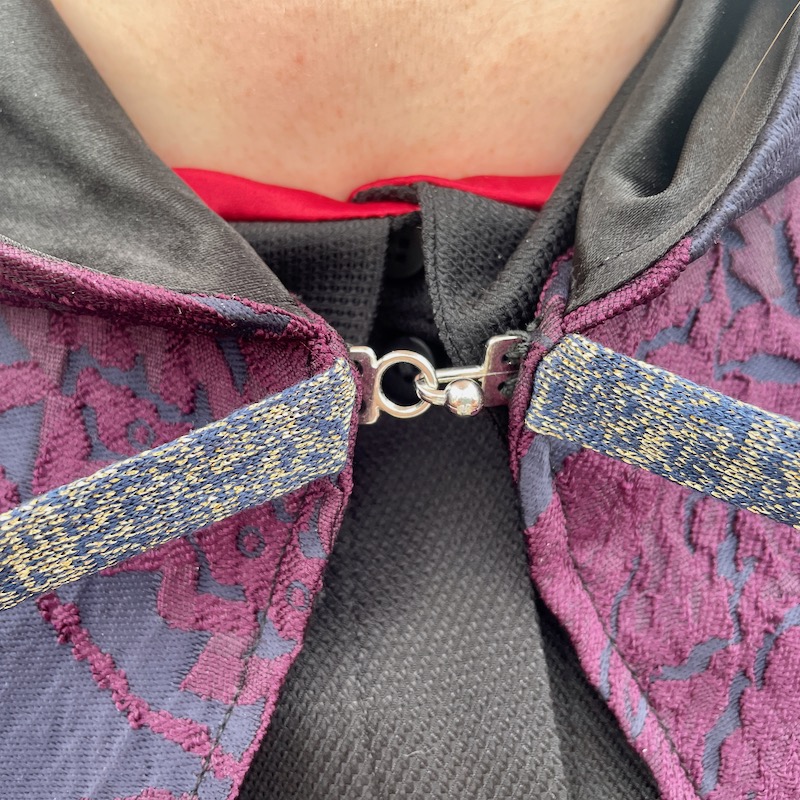
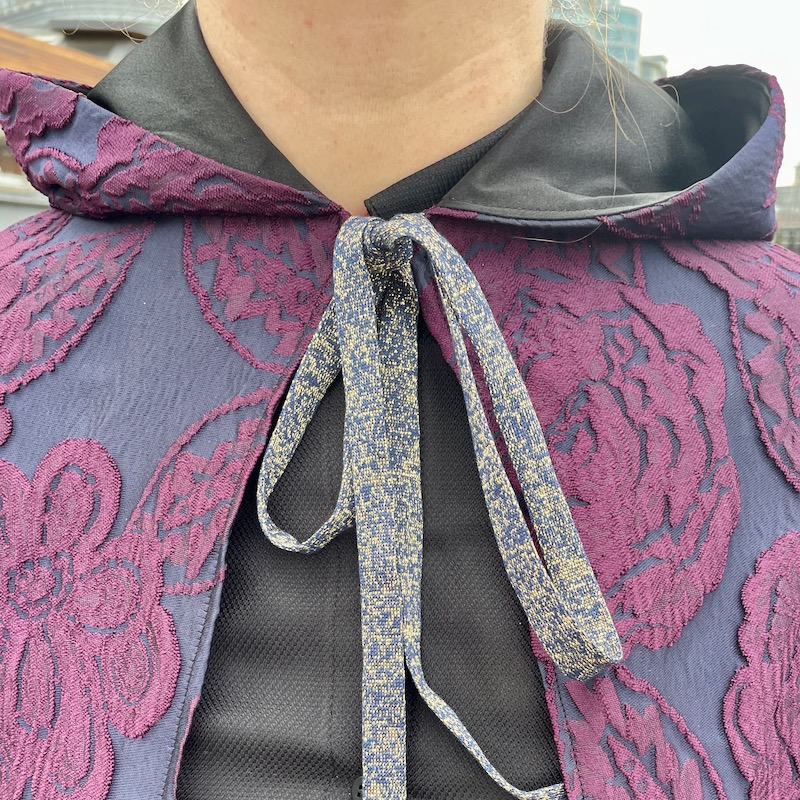
Another detail revealed in the costume sketch was that there are wrist loops so that the cape stays attached to the wrist as she jumps from the balcony, making it look like a little bat!
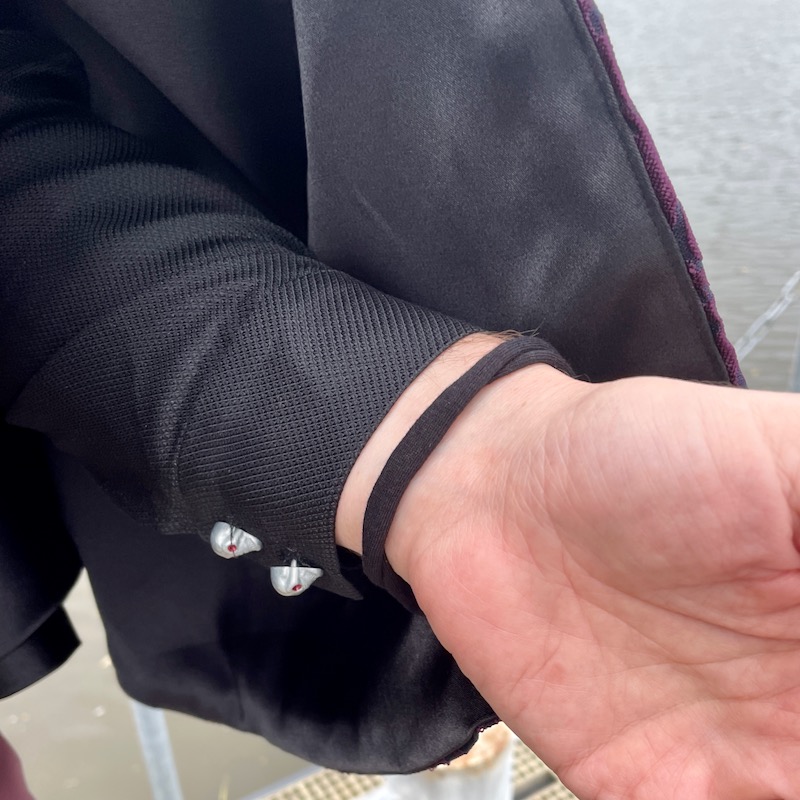
For these I just hand sewed loops of jersey yarn I had lying around (leftover from all my mask sewing in 2020) so that I can just put my hands through easily but not be noticeable from the exterior.
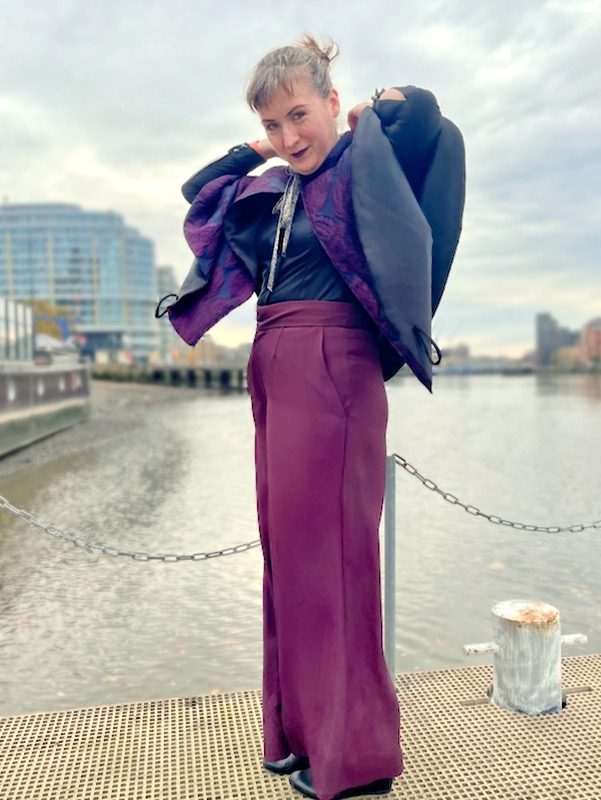
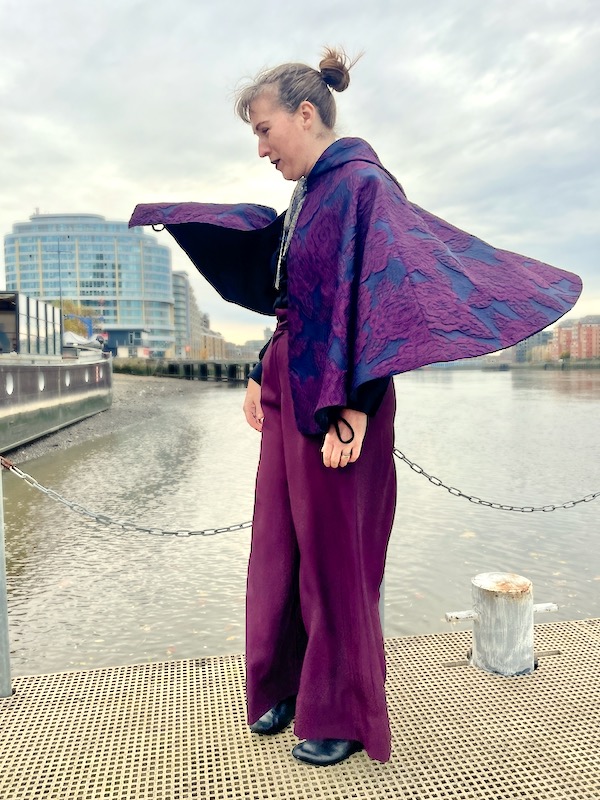
This cape really is a showstopper – it’s a fancy piece that adds something special to whatever I wear underneath it. And there’s something so fun about a cape that makes everyone want to try it on and give it a twirl whenever they see it in person!

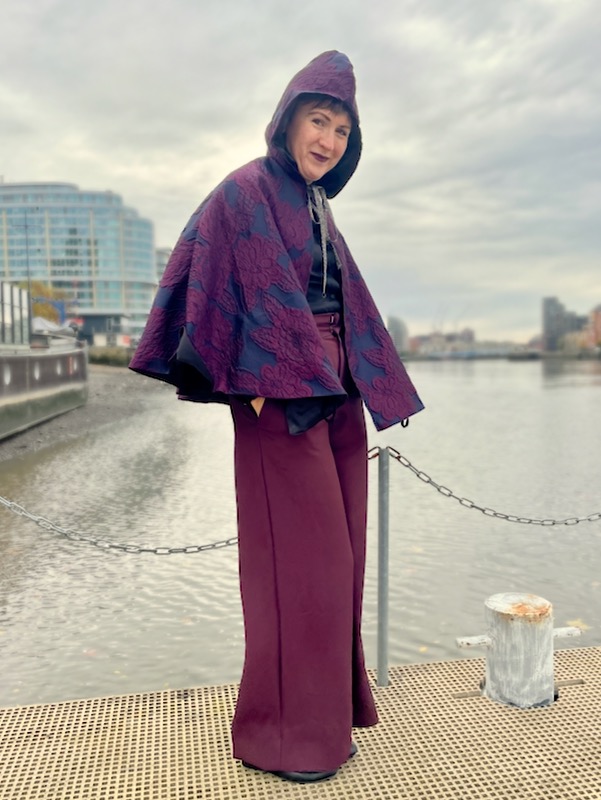
Next up: the black silk shirt!
