Earlier this week I talked about my inspiration and goals for this project, as well as taking a deep dive into the making of the cape, and today’s it’s time to talk about the shirt!
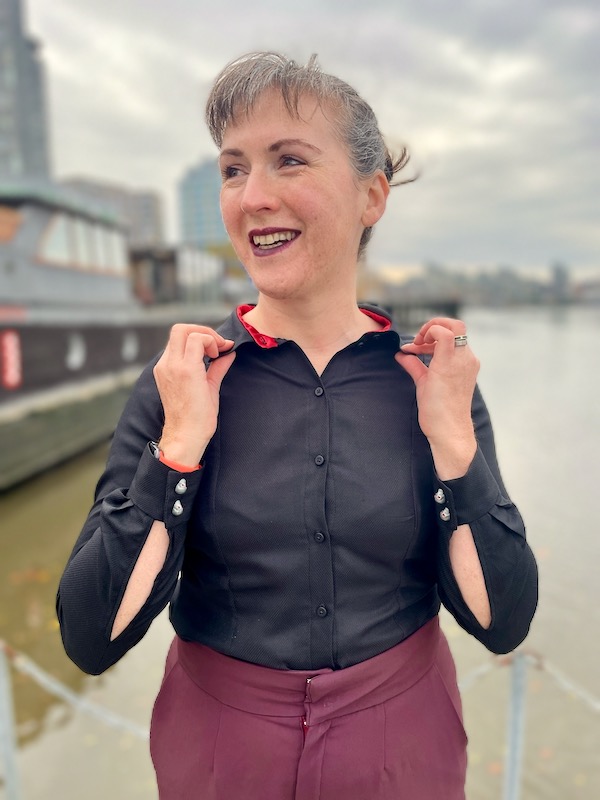
The shirt was the garment I could see the least details of in any of the reference photos or sketches, so it actually meant that I gave myself the most room to make what I wanted here, and one that I would want to wear again and again! I already had some beautiful textured black silk in my stash for a number of years, so it seemed the perfect opportunity to put that to good use.
Whenever I need a woven, button-down shirt these days, I tend to reach for the “Saraste” pattern from Named’s first book, “Breaking the Pattern”. I’ve made the dress version twice now, and the swing top once (with another planned), but I’d somehow not made the classic long sleeved shirt yet. One nice detail I love about the sleeve pattern is that they’ve shifted the long seam so that it falls at the side of the arm rather than the underarm. It means you can just fold the seam allowances under rather than faff around with sewing a full sleeve placket, making it much quicker to sew.
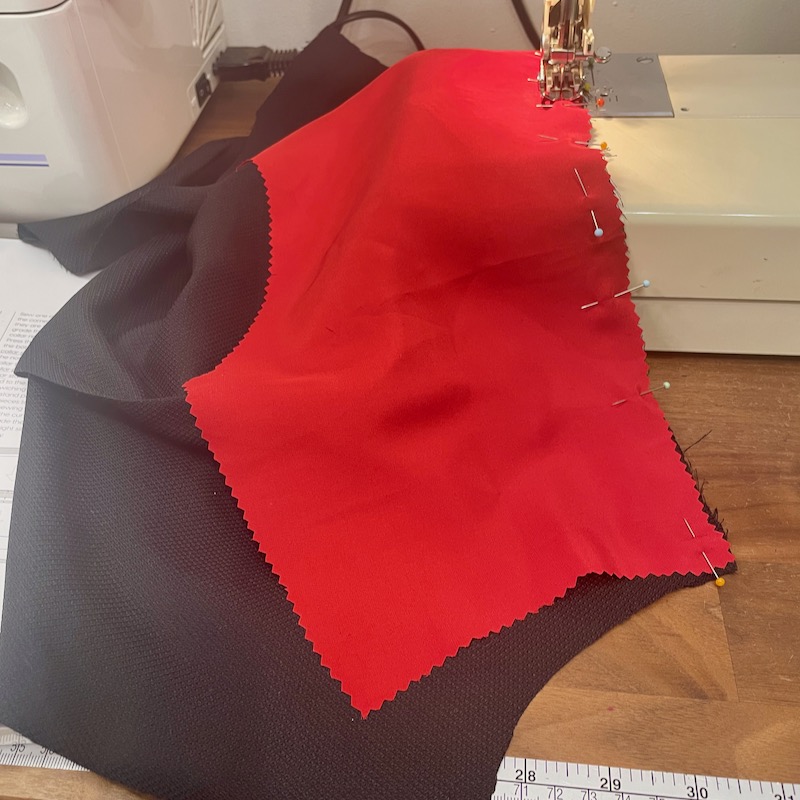
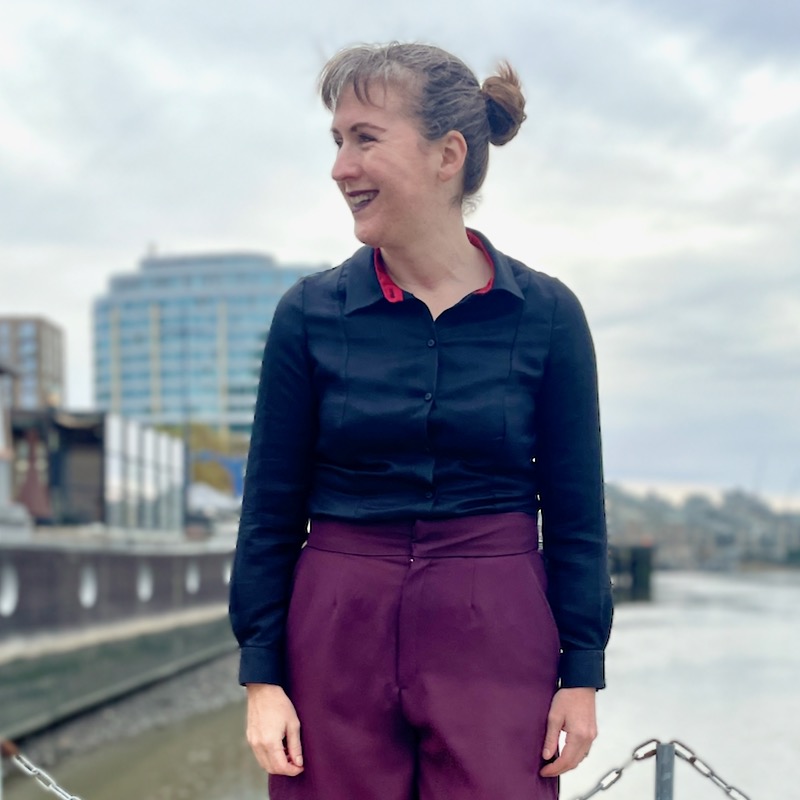
I found a small piece of red silk satin in my stash and I had the thought to make the shirt more “vampire-y” by adding a red accent around the neck. Having a red silk yoke and undercollar really gives it a pop when I’ve got the collar open, but it means I can conceal it when I’m wearing it with the plum trousers or cape when the colours clash.
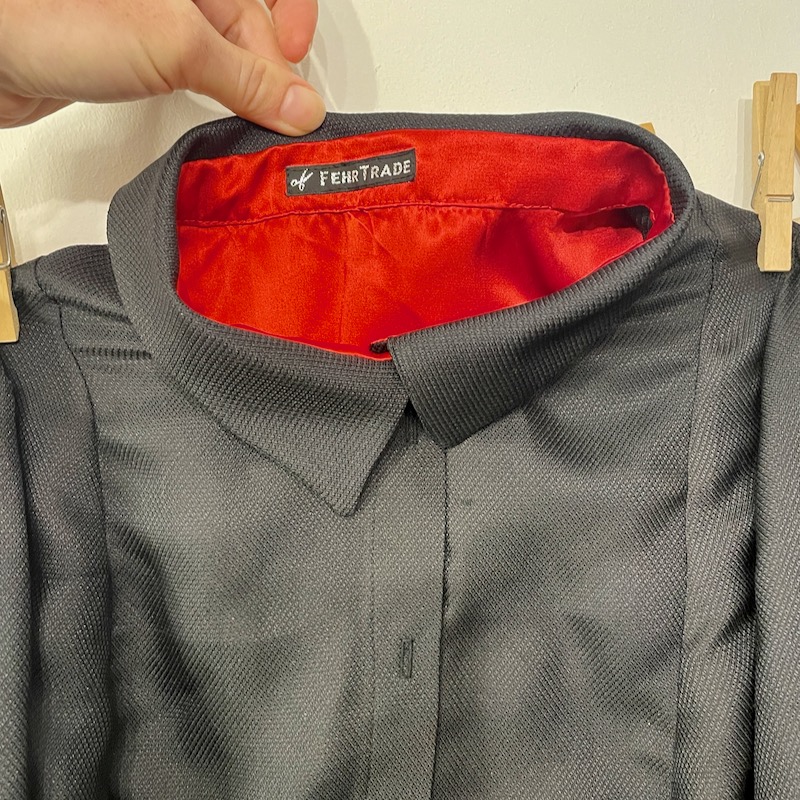
I love having a nice nod to the vampires by having a red neck!
I made size 44 as I usually do, but this shirt is definitely a little too small – I’ve gained so much weight being sick and stuck in bed for the past 10 weeks but it should look a lot better once I can start exercising again!
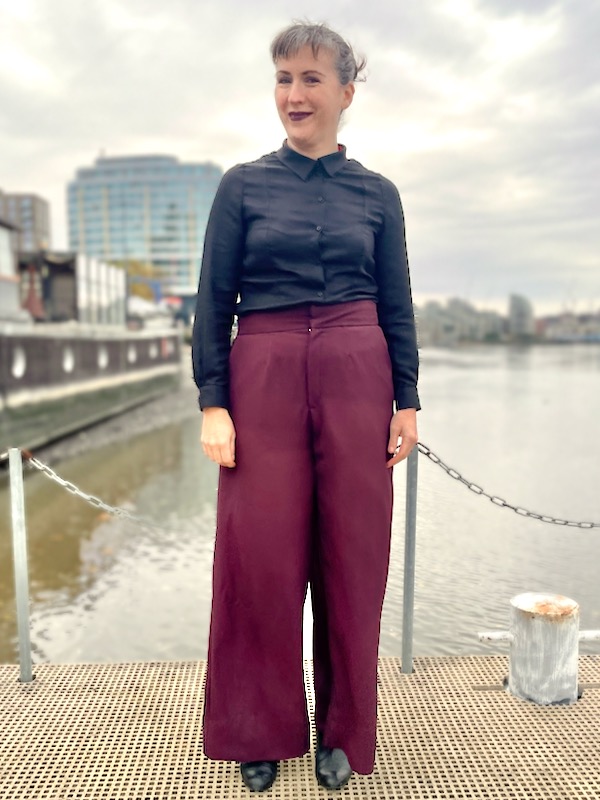
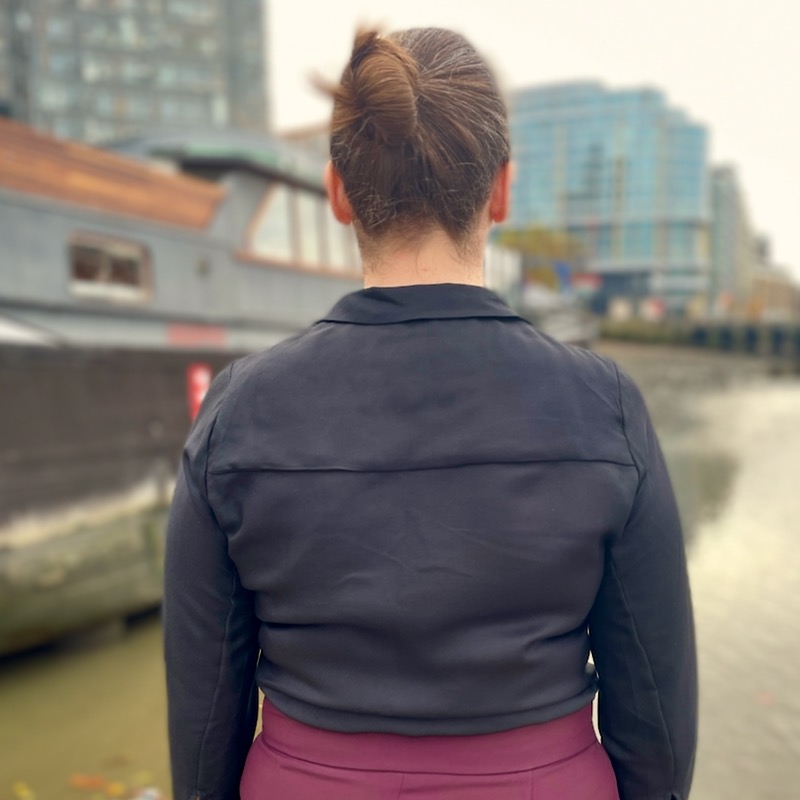
Even after unpicking the waist darts in the back it’s still a bit more snug than I’d like and it shows a bit in the photos here.
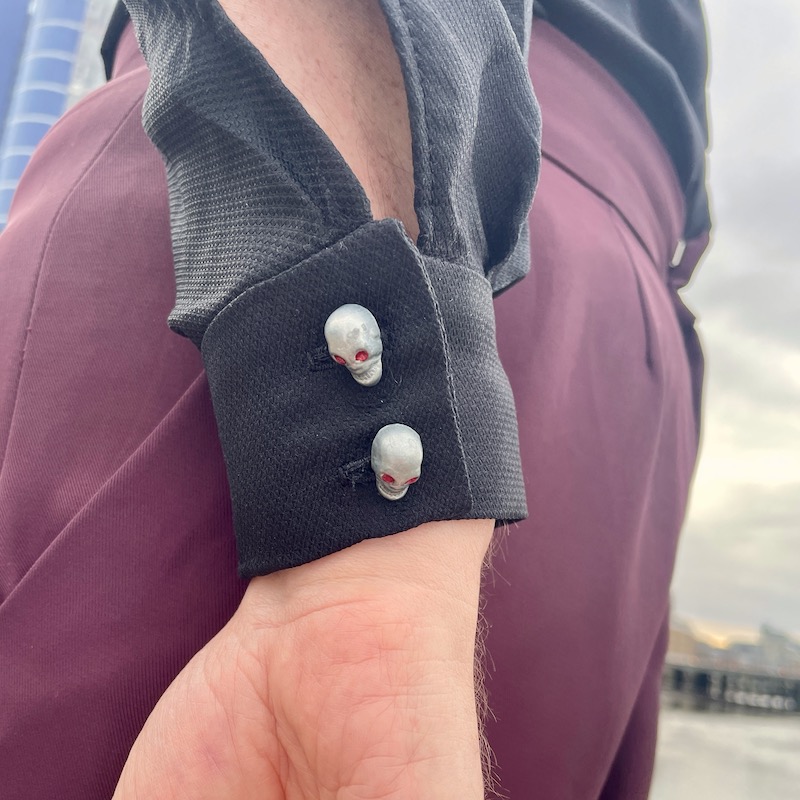
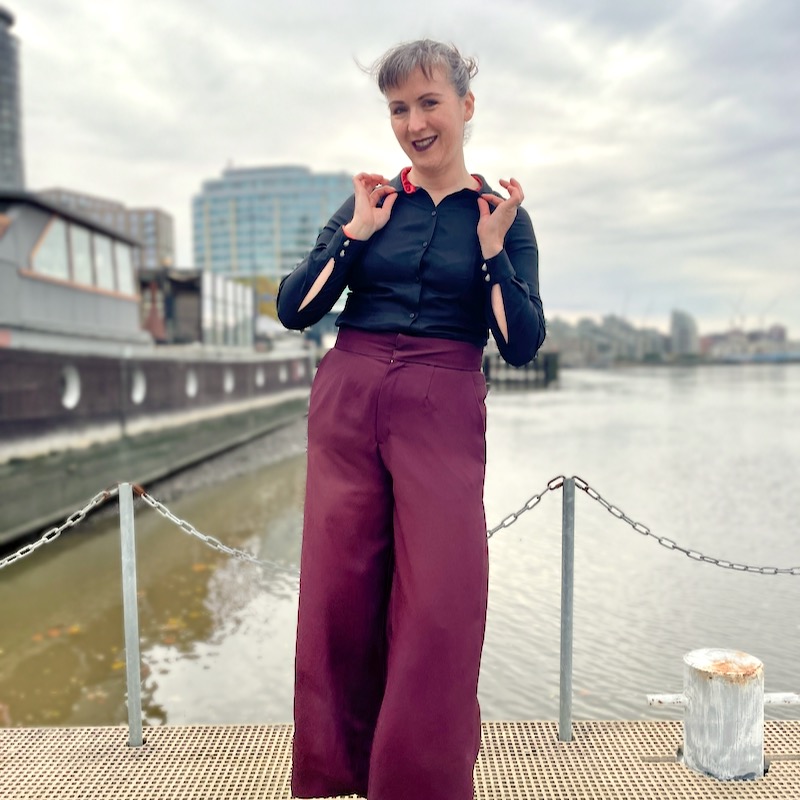
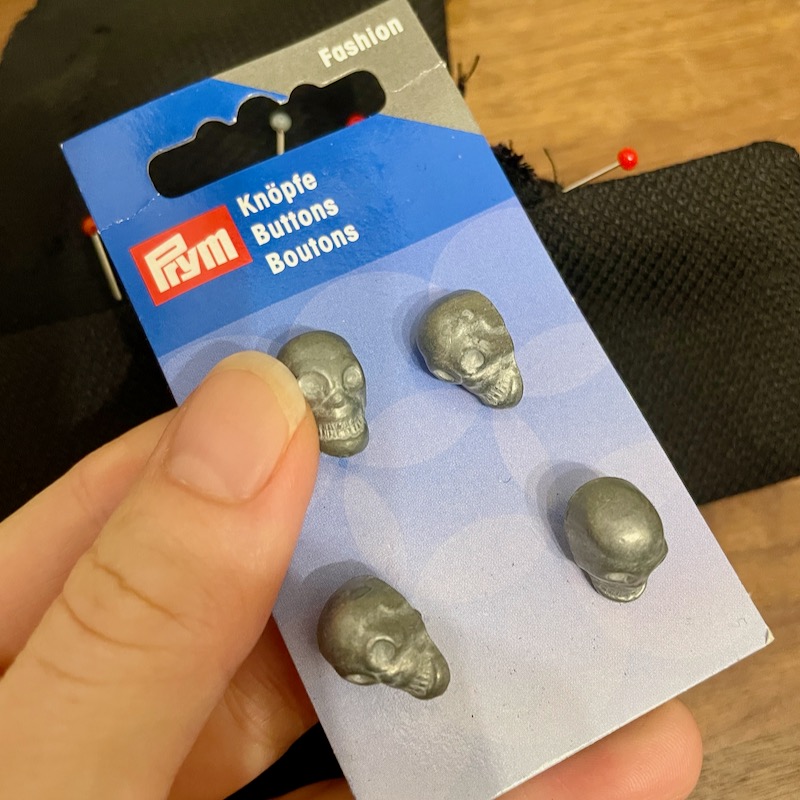
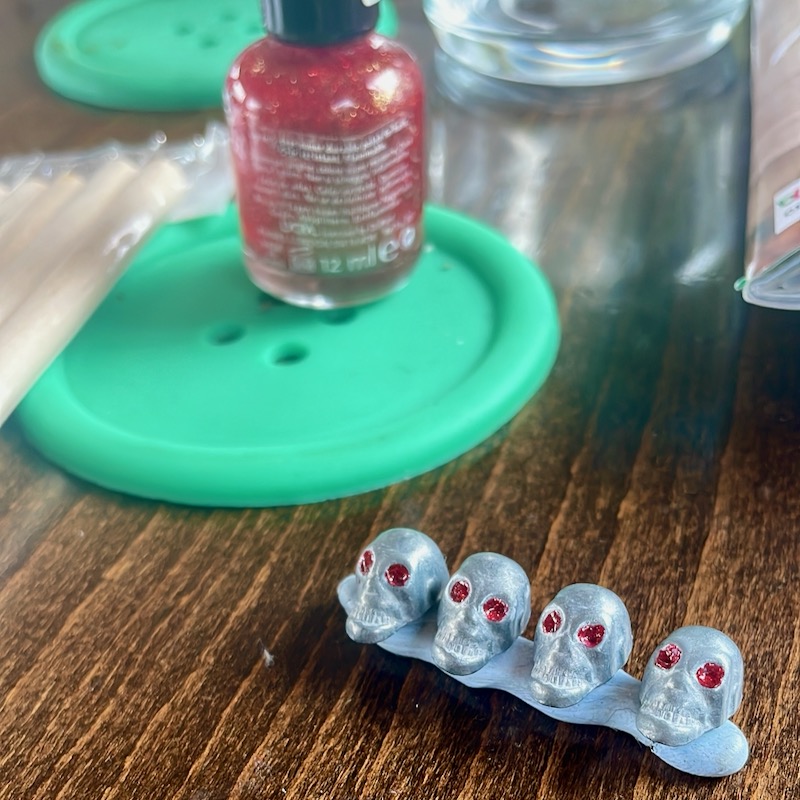
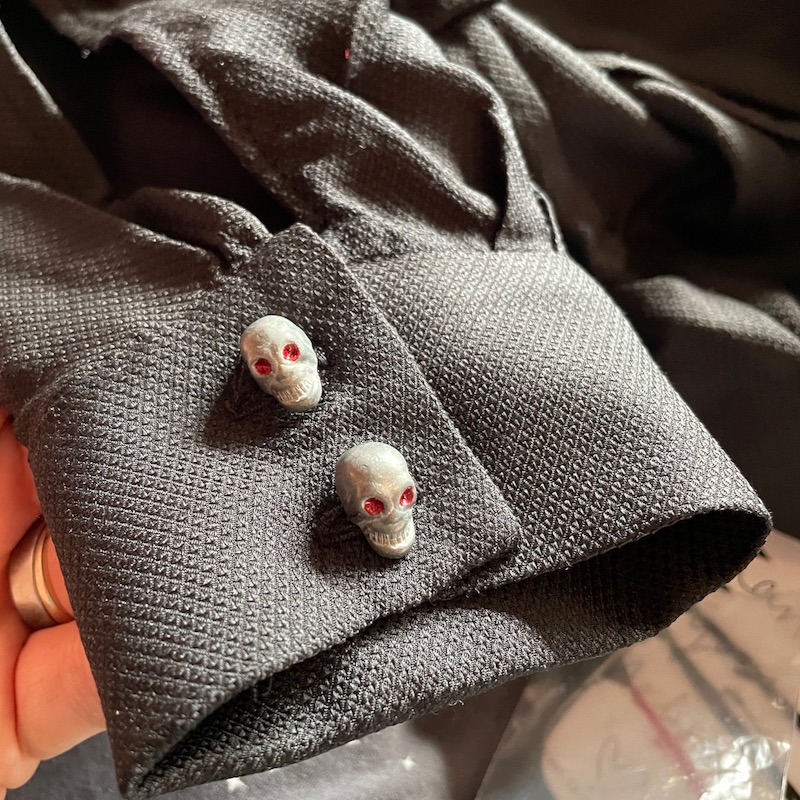
The front buttons I wanted to blend in and not detract from the cape, so I used some small black corozo buttons from New Craft House. I felt the cuffs could use something more special, however, and I found the most perfect Prym metal skull buttons in my stash! But they still weren’t quite right so I customised them even further with red glitter nail varnish to give them glowing eyes!
Even with it being a little snug, I am so thrilled with the look of this final shirt and all the details I thought to add to it! I know I’ll be wearing this for years to come and I really love that it’s subtle and not over-the-top goth, too.
Next up – the trousers!