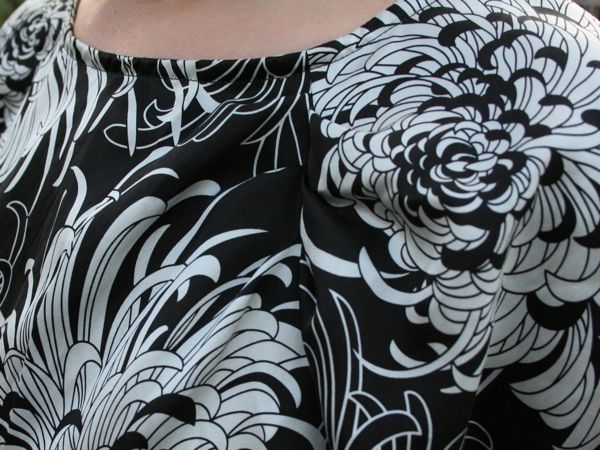
As I discussed in my post on “pedestal fabrics” last week, I’ve had a ridiculously gorgeous silver and black chrysanthemum print silk in my stash ever since AllisonC gifted it to me two years ago when I was about to go into hospital.
But I’d brought it out again recently and thought about how I’d best like to wear it and I decided that I love and wear my silk blouses so much (and my birthday blouse in particular!) that I should sew this into a blouse to get the most wear and love out of this “pedestal fabric”!
In this case I chose to use the same pattern as my birthday blouse, Manequim Feb 2011 #158, because it fits great, I love the style, and I knew it worked well with a drapey silk.


You know what? I am so happy I took the plunge and cut into this fabric, because I just adore this blouse!


As before, I constructed this entirely with French seams (there’s only four, so it’s not like it adds much more time!) and I finished the neckline and sleeves using my method for a narrow bias edge.


You can really see the inverted triangular shape of this blouse in the side and back views. It’s big and blousy in the top, but skims the hips snugly, which makes it equally great for wearing over jeans or tucked into skirts.


Even though I’ve made this pattern twice in prints, I’m keen to make it again in a solid so the lovely asymmetric pleating detail shows up a bit more! It’s one of my favourite parts of this pattern and it only involves a small bit of extra thread basting to get everything to line up perfectly. But when the payoff is this great, what’s a few extra minutes?
We squeezed in this photoshoot at the end of a very busy day in a very busy week, so apologies that they’re a little dark (though it was past 9:30!). It just means to get to see one of my favourite aspects of living in our floating village – sunsets behind Tower Bridge…

And I probably shouldn’t be telling you this, but I can now reveal the secret of my success – Bosco helps me when I’m cutting and thread basting!
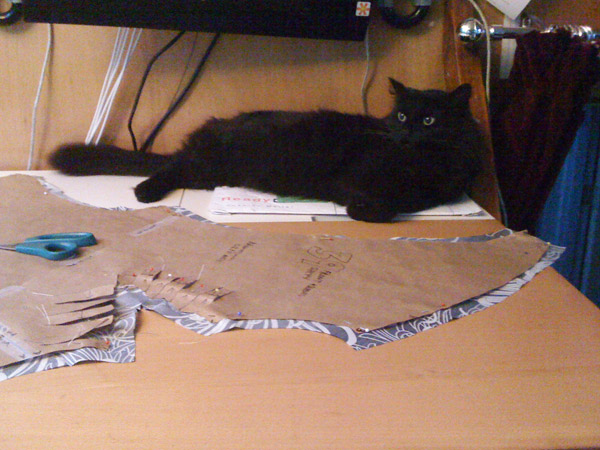
He’s not quite as handy as Petite Mignon, but he’s eager to learn and has already mastered the art of being a mobile pattern weight…
Edit: oh and if you fancy a peek at the state of my Future Permanent Sewing Room, look over here. Yes, I did say I’ve been busy!!)