When fellow blogger Sigrid visited me last May, she brought along a birthday gift for me – a fantastic lingerie kit from Kantje Boord (a big lingerie notions shop in Amsterdam), full of really cool goodies you only ever see on high-end RTW underwear. In fact, it was all so nice that I was hesitant to cut into it as my bra-making skills are not quite as polished as the rest of my sewing yet.
But Pattern Review are having their first-ever Lingerie sewing contest, so that gave me the impetus to cut into the kit!
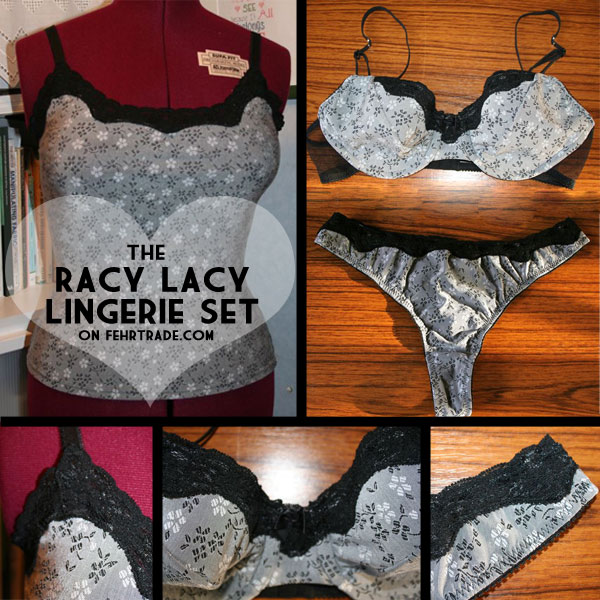
I planned on making the same partial-band, underwired bra I’d sewn once before (twice if you count the muslin) with a few improvements, plus my TNT thong panty from KnipMode, and, as it turns out, I was able to squeeze a camisole out of the yardage included in the kit, too!
Camisole
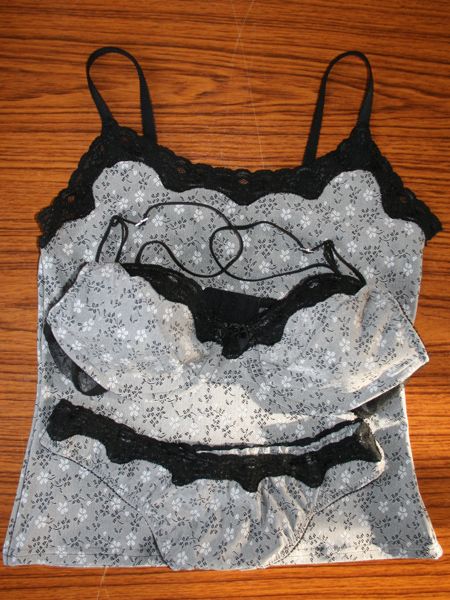
We’ll start with the largest item first, even though I made it last… This one was really easy – I started with a RTW knit vest (tank top if you’re American) that I really liked, laid it on my fabric and traced the front, then did the same with the back.
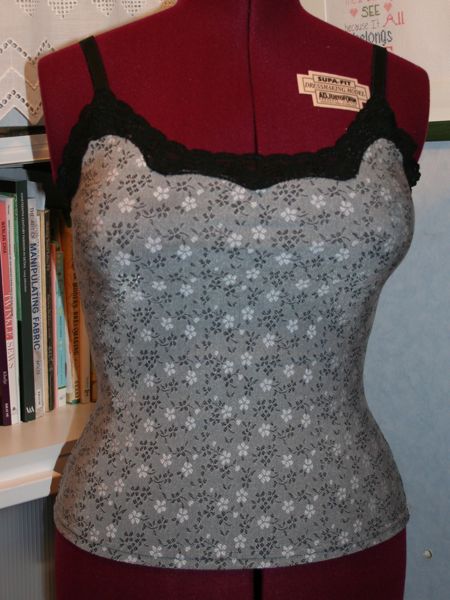
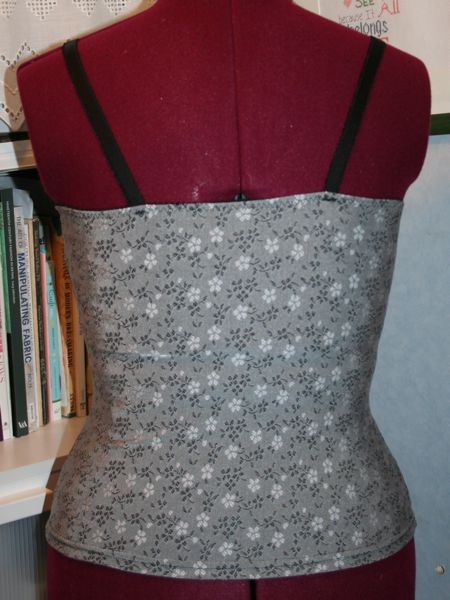
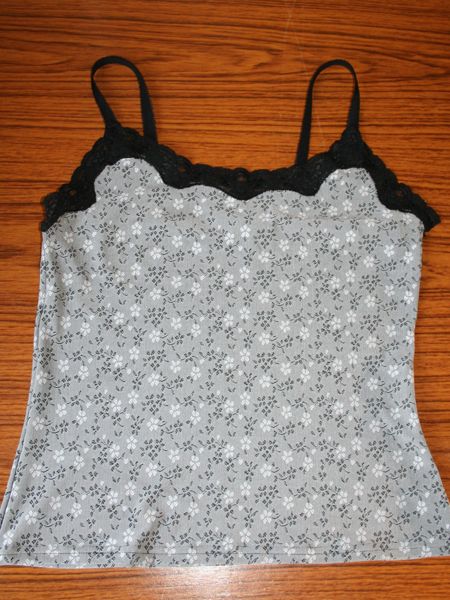
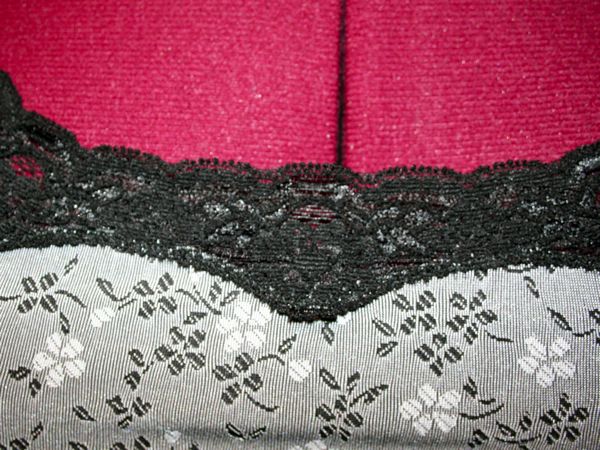
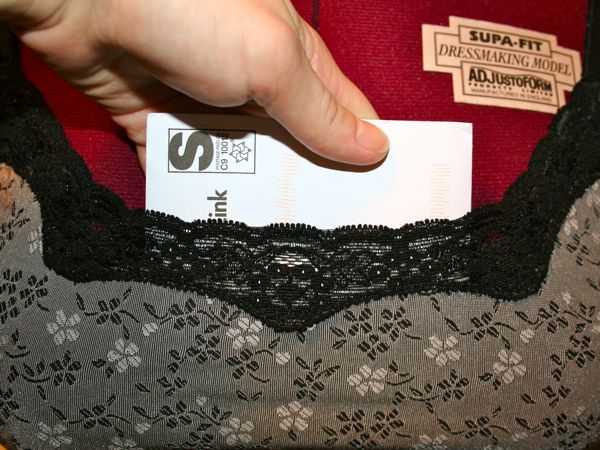
I had just enough stretch lace left in the kit to go across the front, but I had to really pin and play to get the scalloped edges to look good and still make the points. I sewed the dart/point closed in the lace, zigzag topstitched it onto the fabric, then cut away the fabric underneath, so you get to see a bit of skin through it (or, err, envelope as the case shown!). For the back edge I used a bit of picot lingerie elastic from the kit, zigzagging it onto the right side, then flipping it inside and triple-zigzag stitching it down (this is exactly the same way you apply elastic to panty edges). I’d run out of straps from my kit, though, so I bought some more plush backed straps at MacCulloch & Wallis, making sure to attach them at the front to the top of the lace and the bottom, so it catches the fabric edge, too.


Bra
I’ve heard that bras take a few versions to get exactly the right fit, and I can understand why. You can choose exactly the right size, but there’s so many factors involved and you’ve got a lot of variables working together. And most annoyingly, you can’t really check the fit until it’s completely finished.
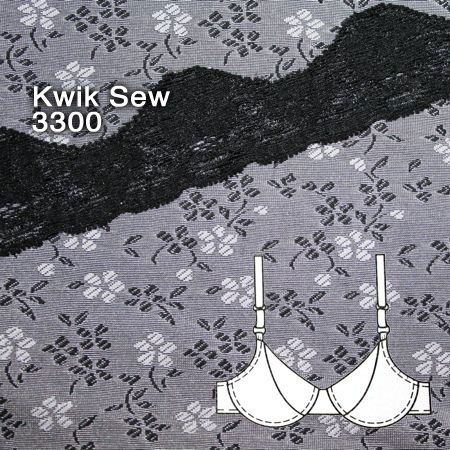
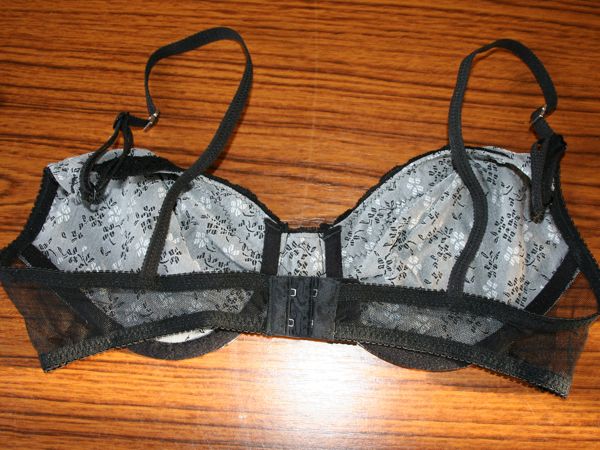
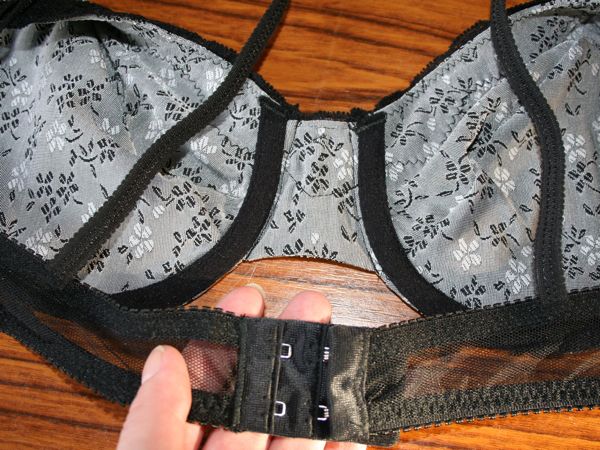
I’m about 80% happy with the fit of my last bra, but there were a few things I wanted to change in this one to see if I could make the fit that little bit better. So once again I’ve used KwikSew 3300 (whose instructions are unbelievably excellent, fyi), only this time I interfaced the bottom cup to stop it from stretching, and I took some width out of the mesh in the back to make it fit the pre-made hook & eyes without having to pleat it a bit…
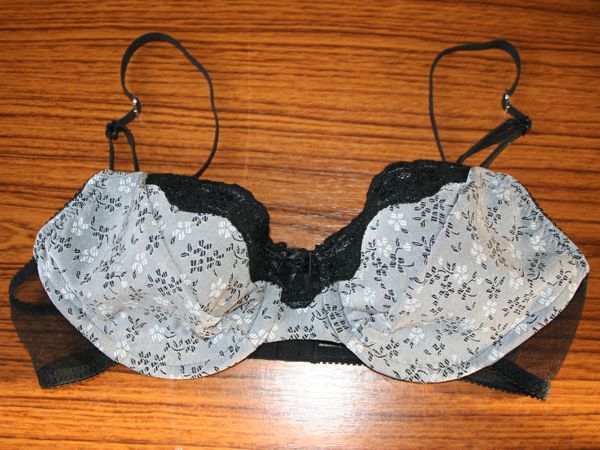
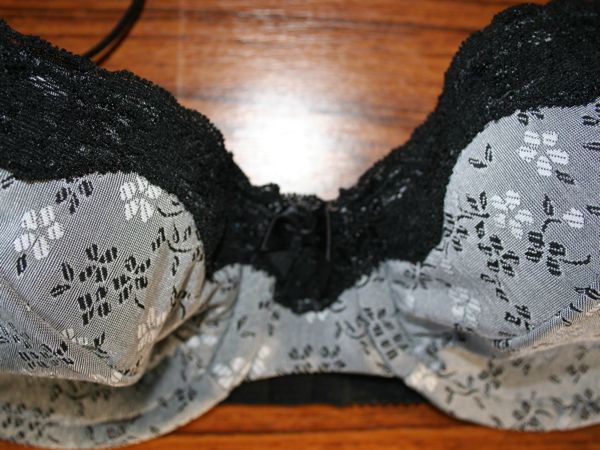
There were some really super nice metal & diamante sliders in the kit, so I added them onto the (also really super nice) split straps as a purely decorative feature, having the plain black functional sliders lower down.

I’d love to say that I’ve reached the pinnacle of fit and cracked the formula here, but I’m still not entirely happy with the fit, as the cup seam is a bit wrinkly, and I think the underwires I used from an old favourite RTW are too short for this style so they don’t go quite far enough up my underarm. Still, I’m pleased with the look of it and it’ll be fine in low lighting (boom chickawocka boom boom, etc).
Panties
And finally, the least exciting but probably most likely to get worn threadbare, my favourite pants pattern I’ve made over and over, which originally appeared in the January 2008 KnipMode magazine!
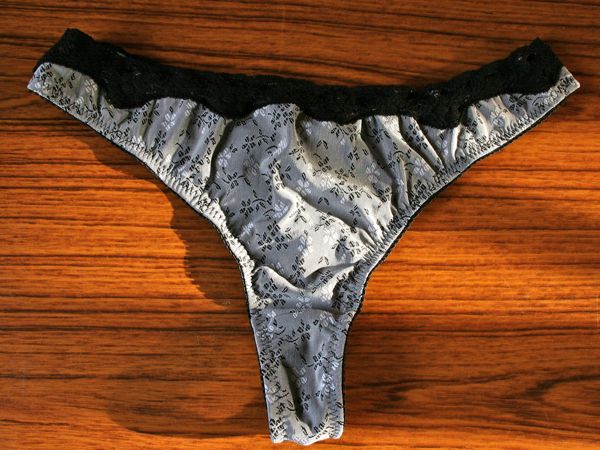
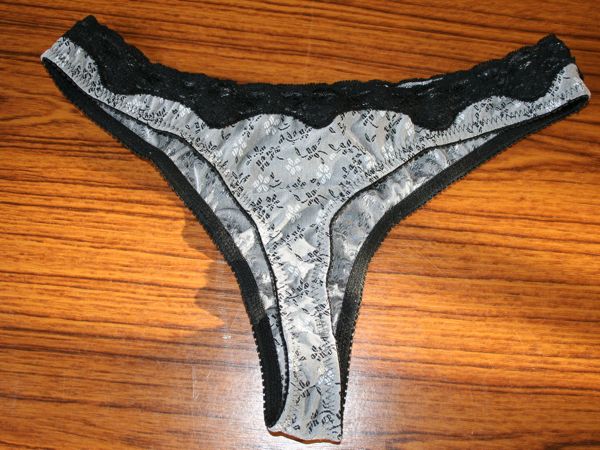
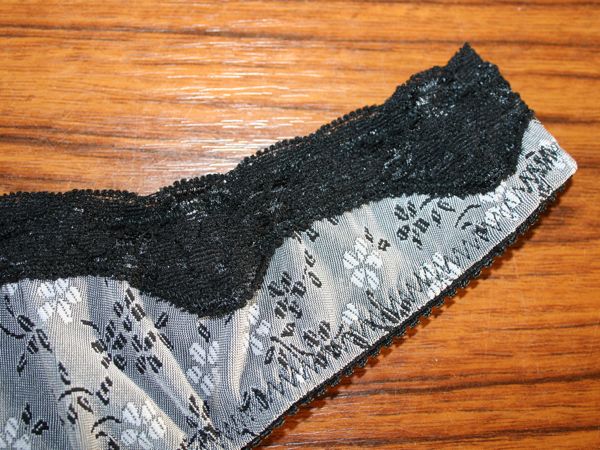
You could easily just trace a favourite pair of your own for this, it really isn’t necessary to have a pattern. Just remember to use 1/4 inch seam allowance on the edges you’ll be finishing in picot elastic (like I did with the leg holes here), and don’t have any seam allowance for the edges you’ll be finishing in stretch lace (like I’ve done for the top opening here) or foldover elastic (FOE) like I’ve done in the past.
And in further news, I got some work done on my silver tweed jacket over the weekend, finally finishing the last bit of handstitching on the sleeve hems while watching Inglourious Basterds last night (how happy was I to see the kid from Good Bye Lenin! in there?!). So you may see that on its own, or with the matching skirt soon, depending on how quickly I can get the skirt finished vs when I’m at home in daylight for a photoshoot…