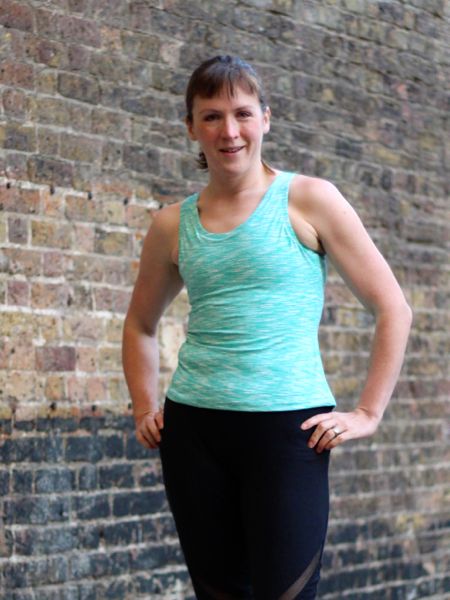
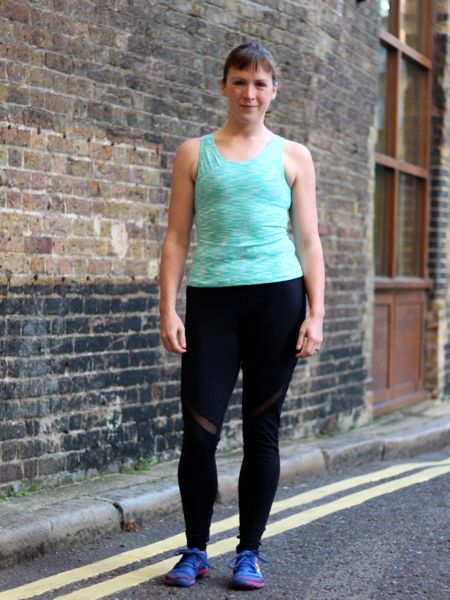
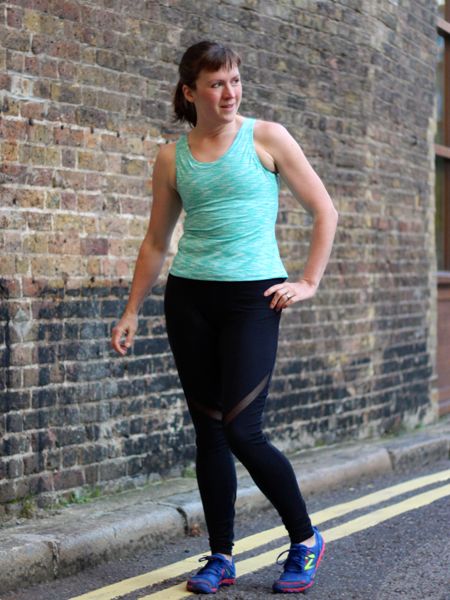
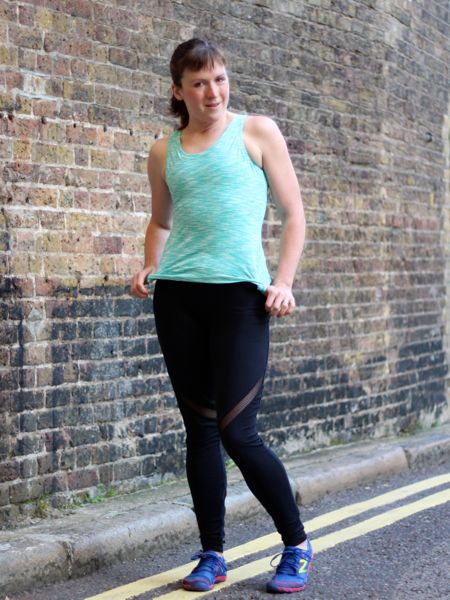
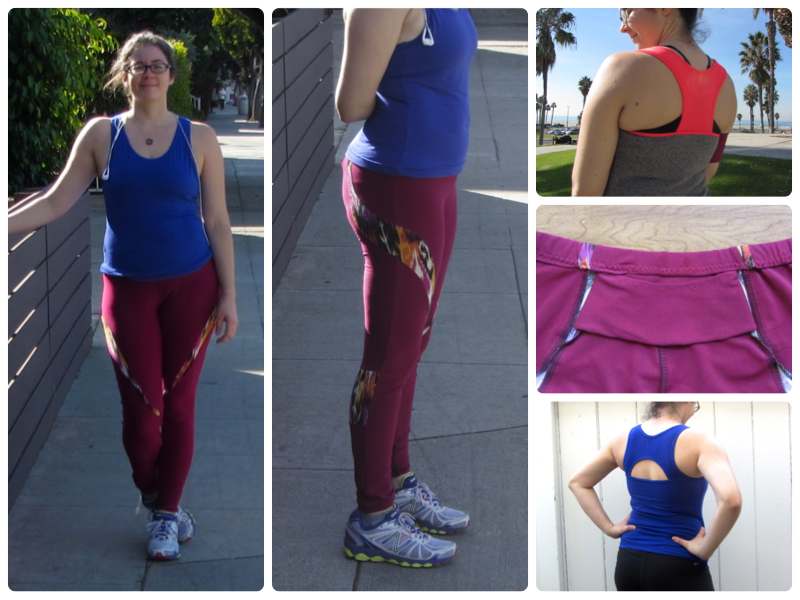
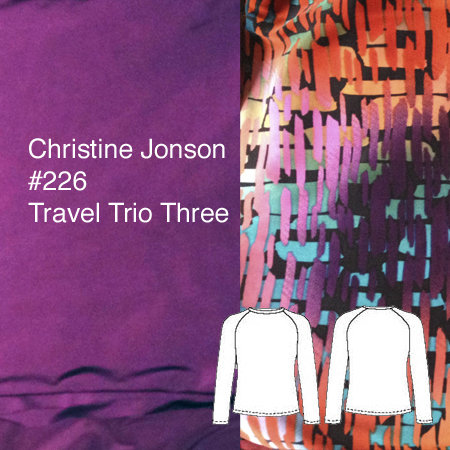
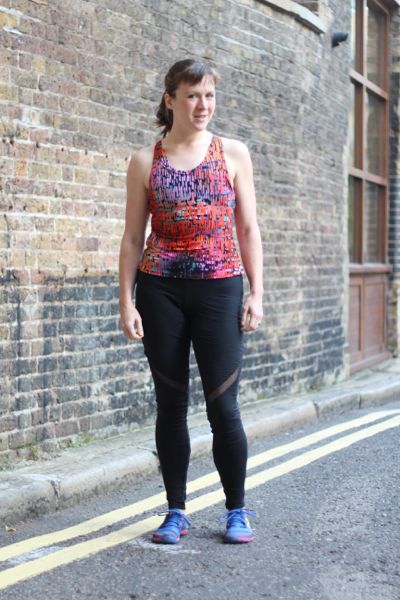
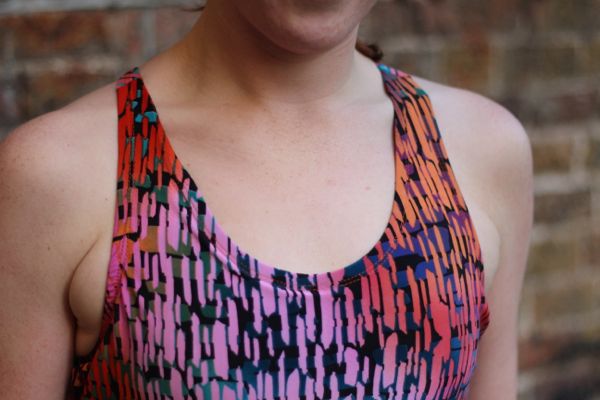
A few months ago Rosie (aka DIY Couture) gifted me this crazy, mind-melting lycra when she was moving house, saying it looked like something I’d like! It definitely falls into the “fabric I’d run in” category rather than my normal wardrobe, I’m sure you’ll agree, so I knew I’d make leggings from it!
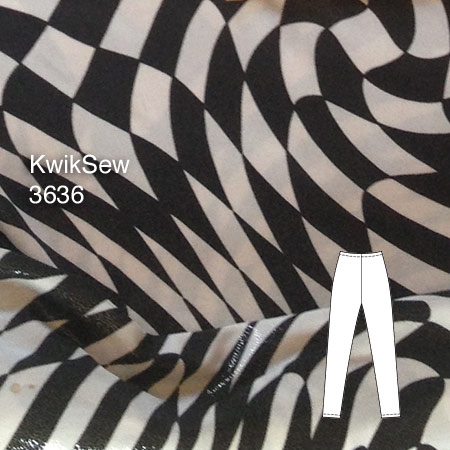
As it happens, I needed to test out KwikSew 3636 for a leggings class I’ll be teaching soon (yay!) so I thought I’d whip up a quick pair with this lycra, which I’ve decided is an acid trip in lycra form. In reality like it’s even more loud than the print itself though – because it’s actually wet look, too!
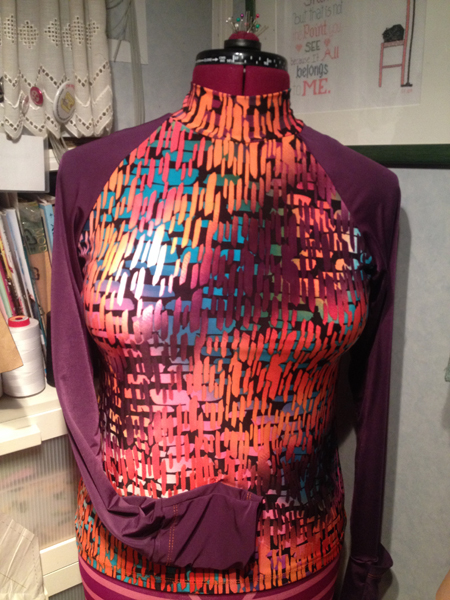
I mean – who looked at this fabric and though “Nah, not enough. How can we make it CRAZIER? I know – add some wet look shimmer!”?
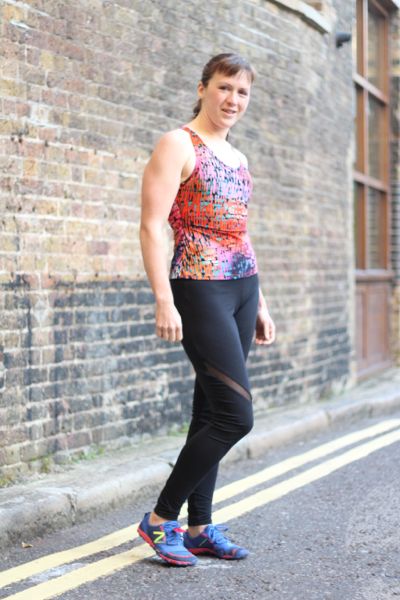
If you’re a regular reader, you know I don’t often sew with Big Four or envelope patterns much these days (and especially not for something I draft myself, like leggings) but credit where credit’s due – I was impressed by this pattern, actually! It’s a one-piece pattern with two different fit options – one at 100% of body measurement, and the other with negative ease. Clearly I went for the negative ease one!
I was also impressed that they finish the waistband in my preferred method, which I’ve never, ever seen on a pattern before!
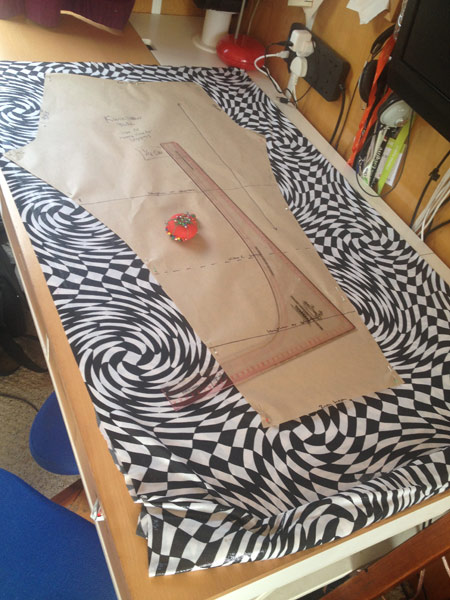
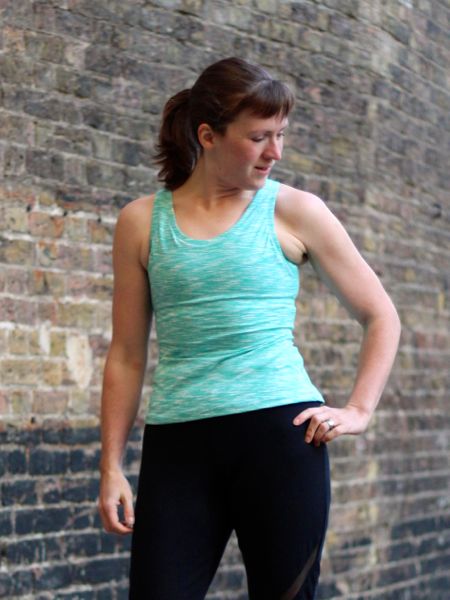
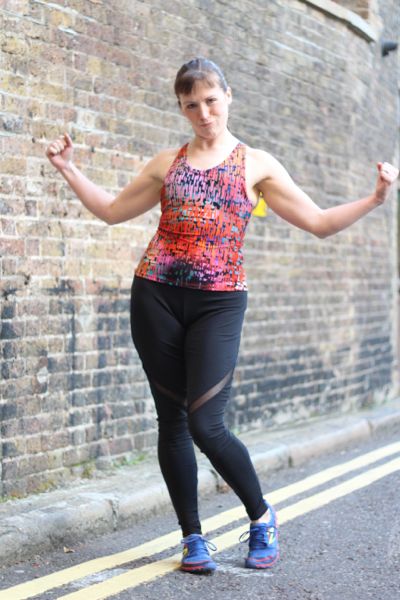
Cutting out the pattern made for some stomach-churning moments – don’t stare directly at the fabric! Lucky for me I only had to cut out one piece, and the construction was so quick I was wearing them in well under an hour.

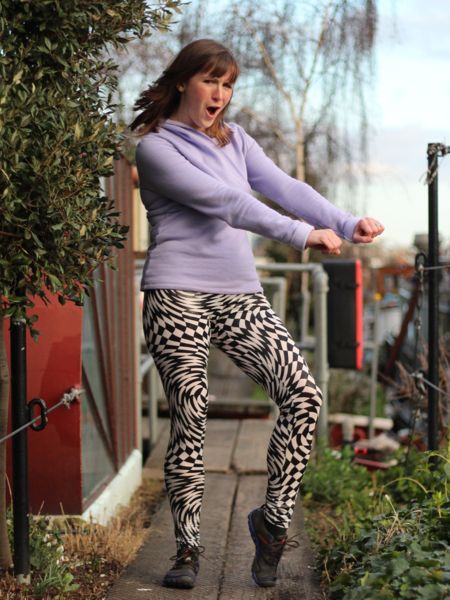
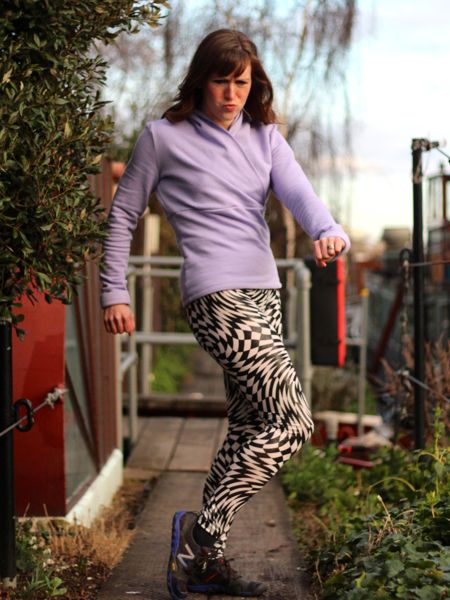
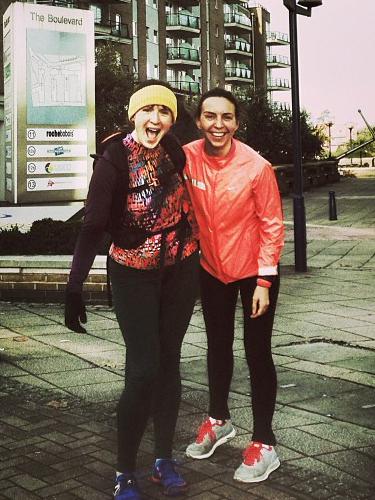
During the photoshoot, James asked why I was “going all Sasha Fierce”, ahahahah! Blame it on my acid leggings, I suppose!