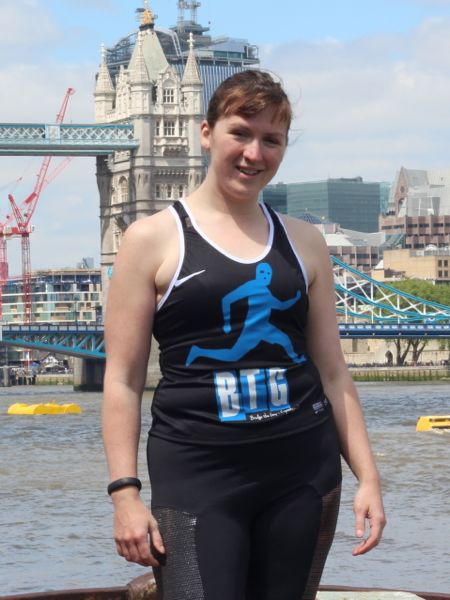
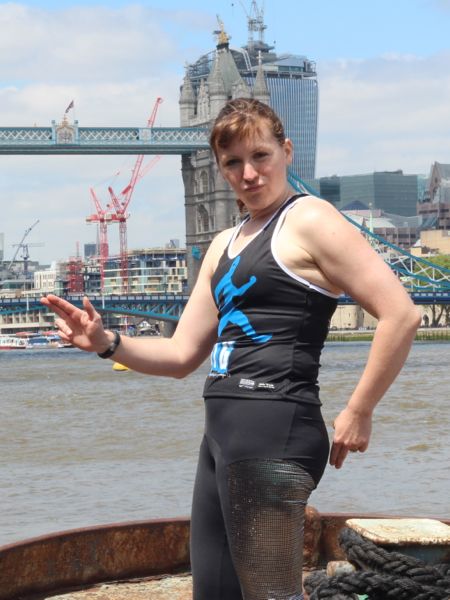
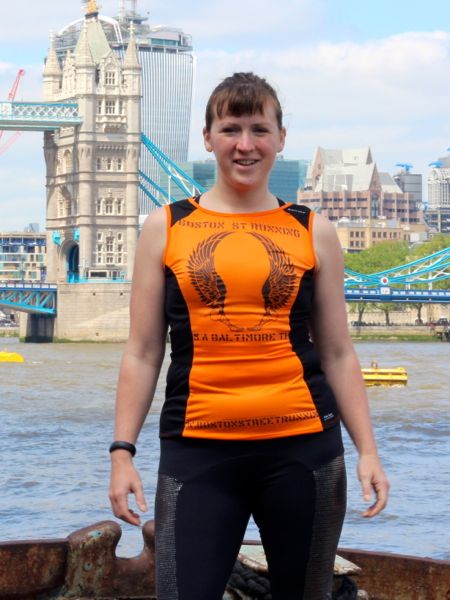
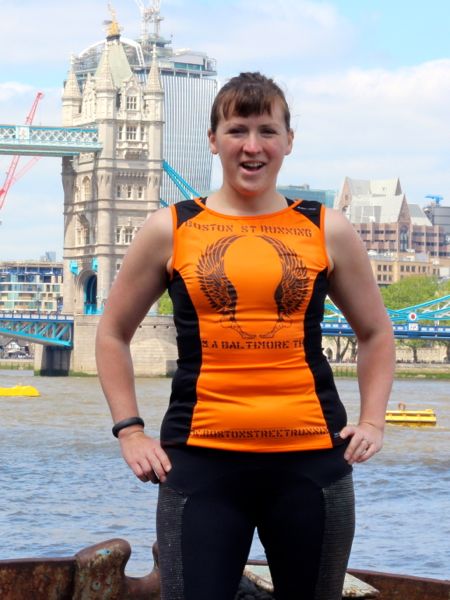
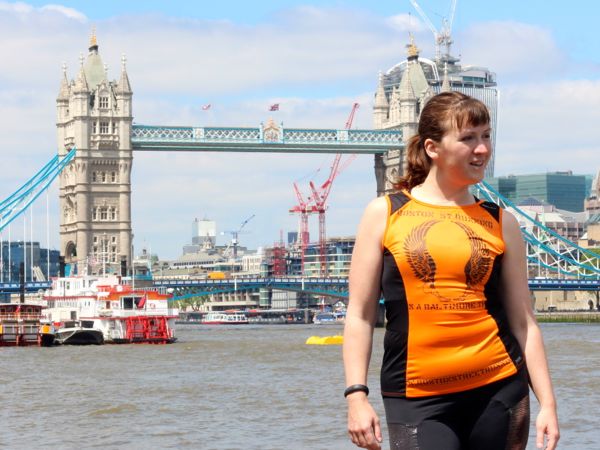
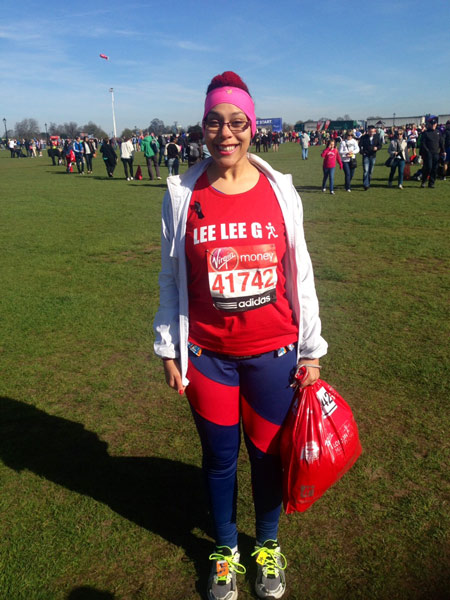
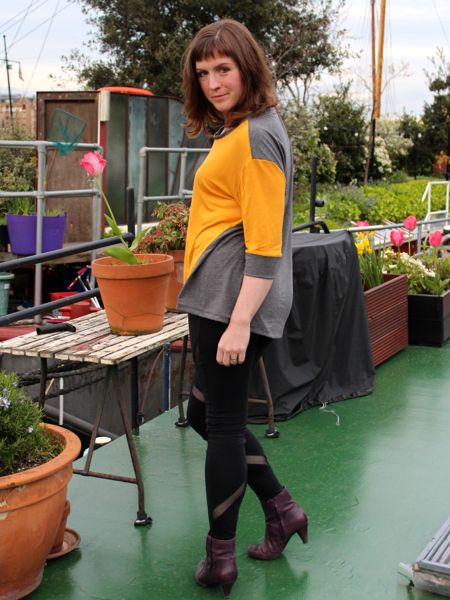
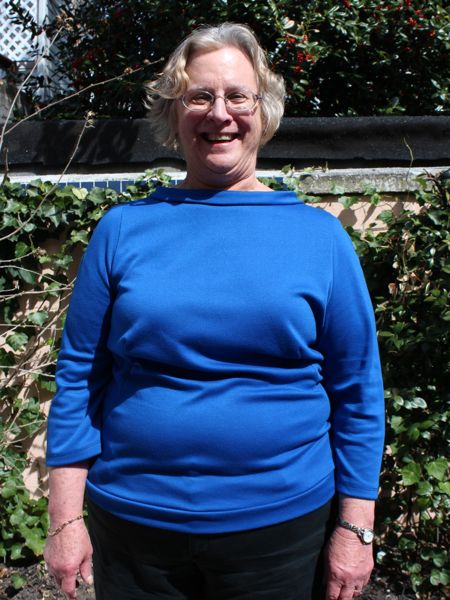
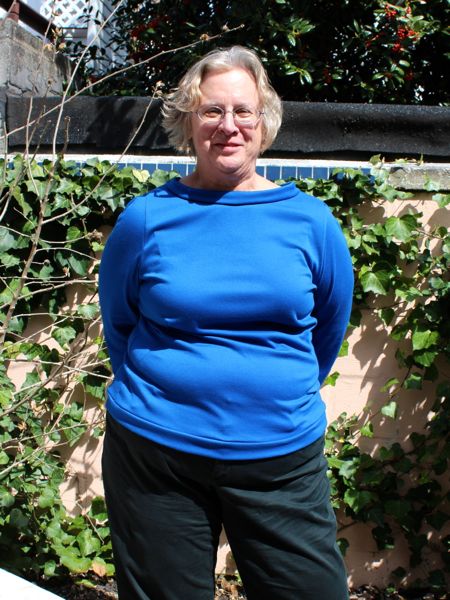
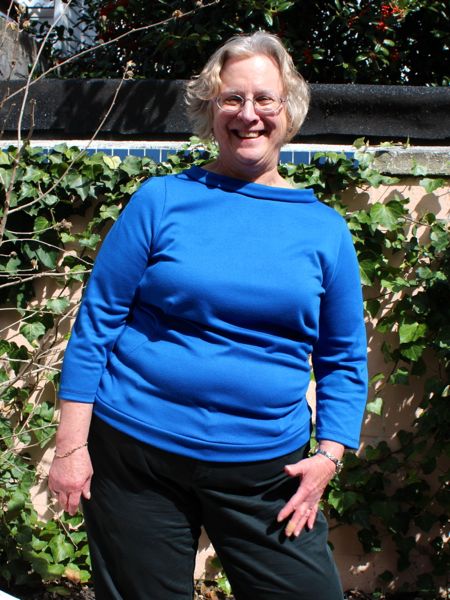
Following on from yesterday’s Boston Street Running refashioned top, I thought I’d show you the other refashioned race tee I made from my starting pile, the “BTG” one in the centre:
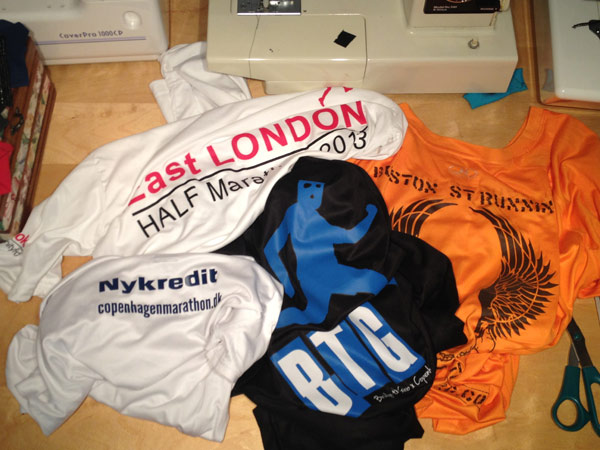
This one has a whole lot of meaning for me – the urban running crew I’m part of, Run dem Crew, has a bunch of sister crews all over the world with a similar ethos, so when we go to races in other countries, the host crew lays on parties, sightseeing, and pre-race hospitality. When crews get together like this, it’s called “Bridge the Gap”, and the Copenhagen crew even designed special shirts to commemorate the Copenhagen marathon weekend.
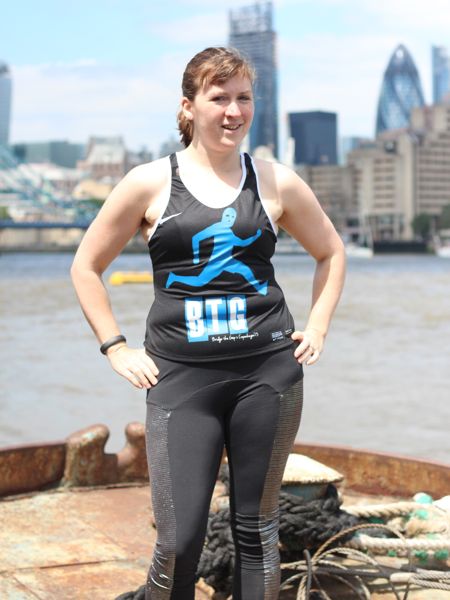

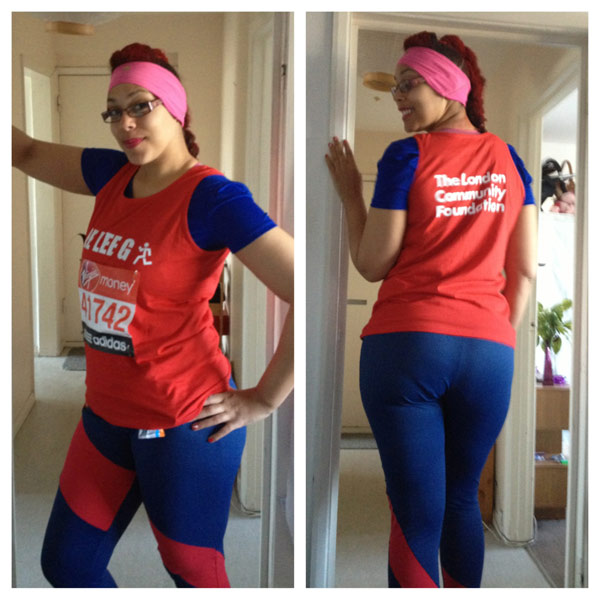
But I was a bit late to the Expo, and they ran out of Medium shirts, so I asked to be given the largest size they had, which was XXL! (Why they thought they needed to print any that big for marathon runners is another question entirely!). So this one was ripe for refashioning, and I had a lot of fabric to work with, which was great.

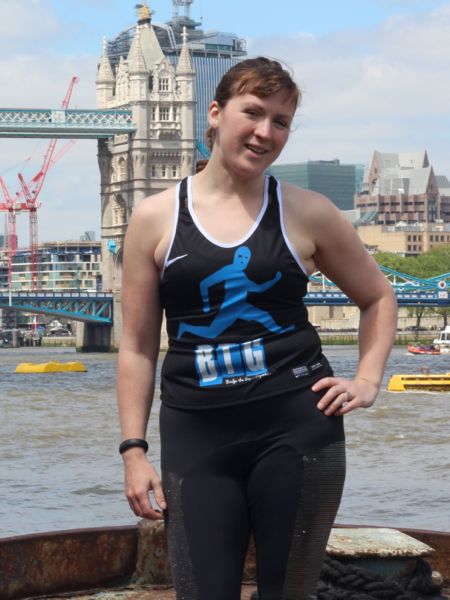
When I Bridge the Gap, I really bridge the gap!
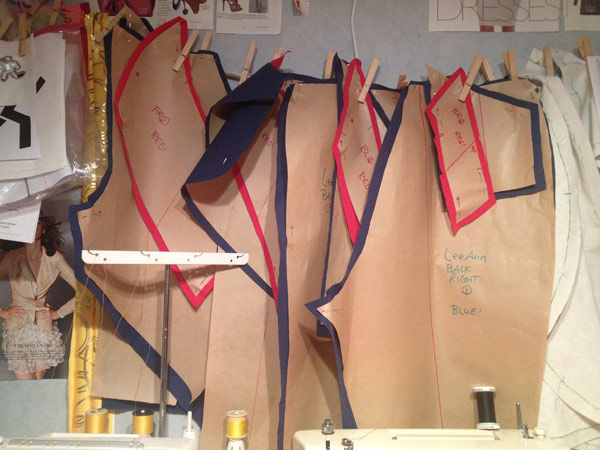
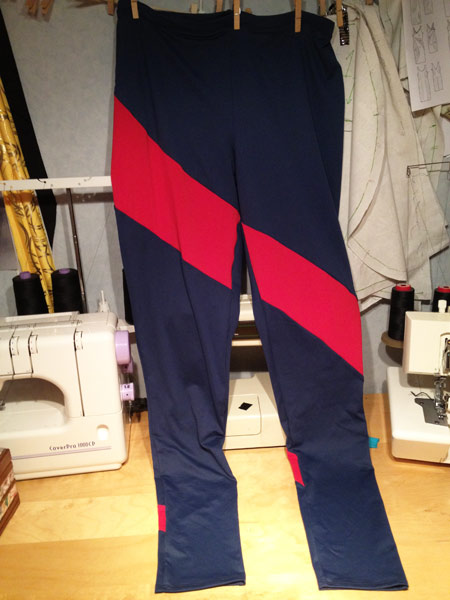
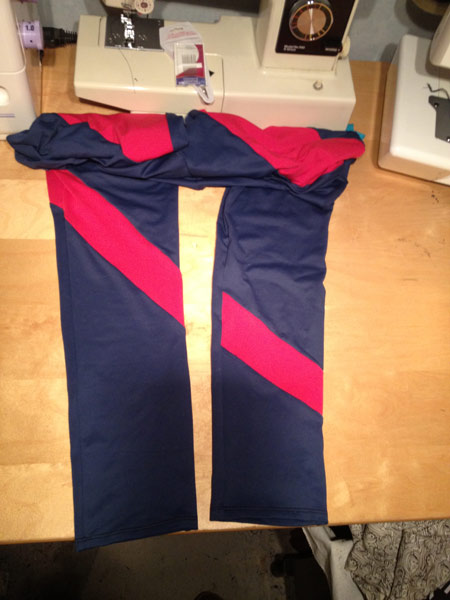
The original shirt had the blue NBRO man on the front, with BTG and the date underneath, and the back had “The Peloton of Awesome” and all the participating crew logos across the shoulders. There were also mesh panels running down the sides, which I used in the Boston Street top instead. Unlike that top, however, here it was absolutely essential that I preserved the original designs.