UPDATE: This tutorial was kinda confusing, so I’ve reworked it into five arm sizes, with fully illustrated instructions and released it as a FREE pattern. Grab the free pattern here! (or, umm, try to muddle your way through the tutorial below…
A few weeks ago, I was asked if I wouldn’t mind making two prizes for the RDC Mission Impossible event this Saturday, and I knew it’d be the perfect opportunity to try my hand at drafting some arm pouches while helping out my crew at the same time.
Essentially, I reverse-engineered a Y-Fumble I own to figure out how they constructed it (no Y-Fumbles were harmed – I just thought about it hard and made a prototype first!). The only problem is that they’re available in limited colours and the lycra feels quite flimsy to me, so if I can make my own I have a lot more freedom in the fabrics used.
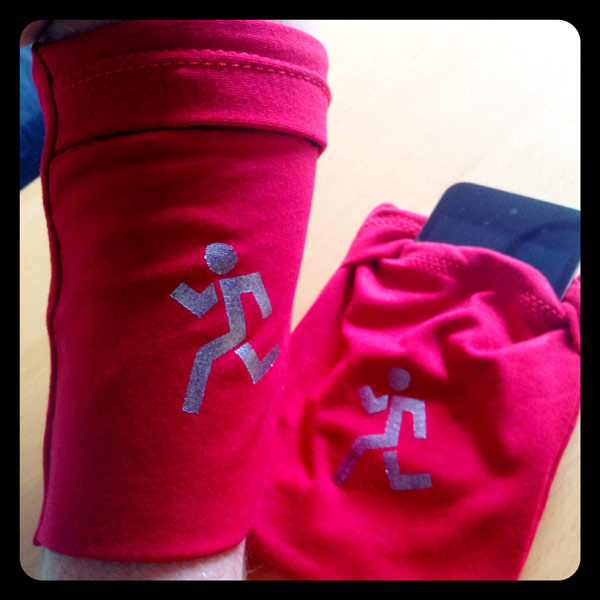
It’s an arm band that has a pocket on one side, with a simple fold-over flap for keeping things like phones, keys, travelcard, etc nicely inside and tight against your arm while your run. There are no closures – the band just slips over your wrist and up your arm and the stretchiness of the fabric holds it in place. I wear mine on my forearm to hold gels for long runs, but you can also put them on your upper arm, too, if you’d rather. Even though the back doesn’t contain a pocket, it’s still double-sided so all the raw edges are nicely contained inside.
For these prize versions, I used leftover red bamboo jersey from my Donna Karan dress so they’re nice and soft, and should resist bad smells, too.
For those of you who are interested in my thought process, here’s the sketch I used when working out what pieces I’d need, and then how I’d construct it all together:
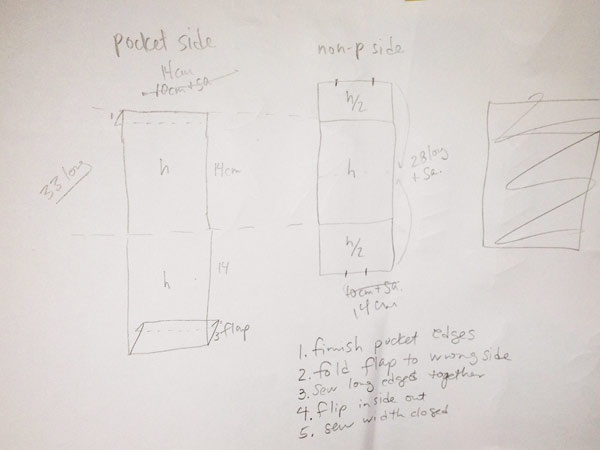
But don’t worry too much about this, because I’ve made a much more user-friendly photo tutorial for you instead!
How to make a running arm band pocket
I’ve not stipulated the widths in the tutorial because you may want yours wider or narrower, depending on the size of arm, and which part of the arm you wish to wear it on!
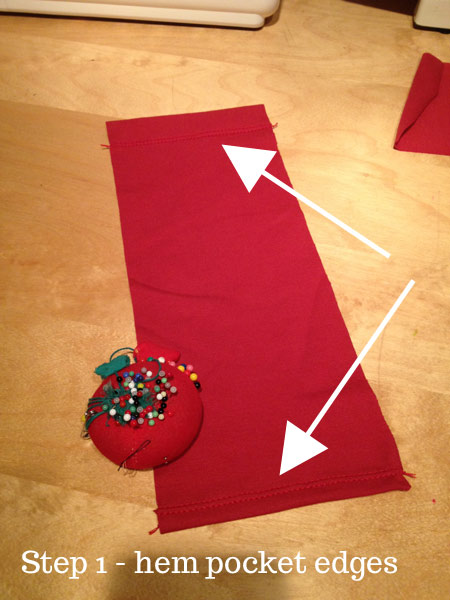
Step 1 Fold in 1cm from each short end of the pocket piece and coverstitch or twin-needle hem.
Step 2 Mark your fold-lines and seam-lines with chalk, as indicated

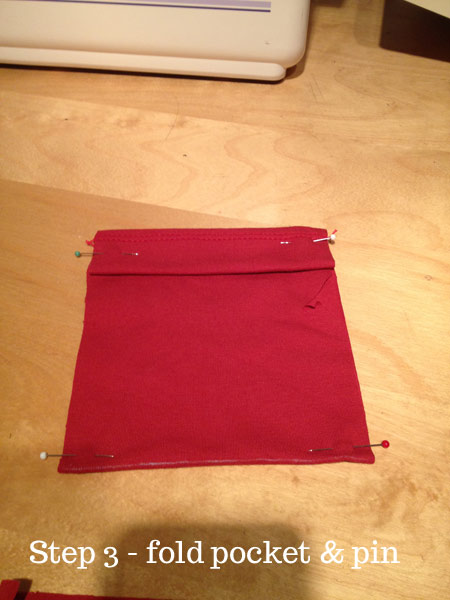
Step 3 Fold the pocket side on the fold lines, so the flap overlaps by 3cm. Pin in place.
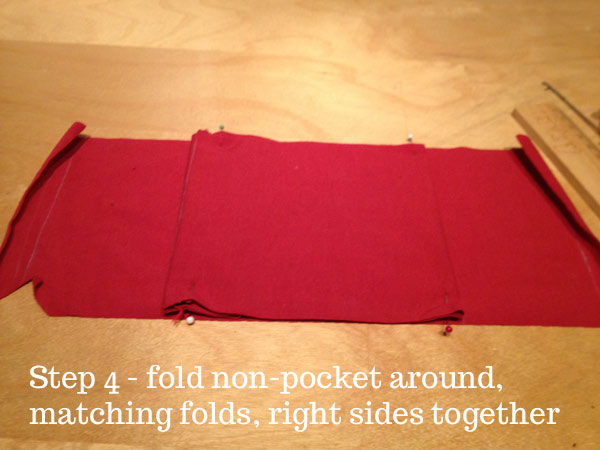
Step 4 With right sides facing, wrap the non-pocket piece around the folded pocket, matching chalked fold lines.
Step 5 Sew the short ends of the non-pocket piece together, leaving an opening in the centre for flipping later.

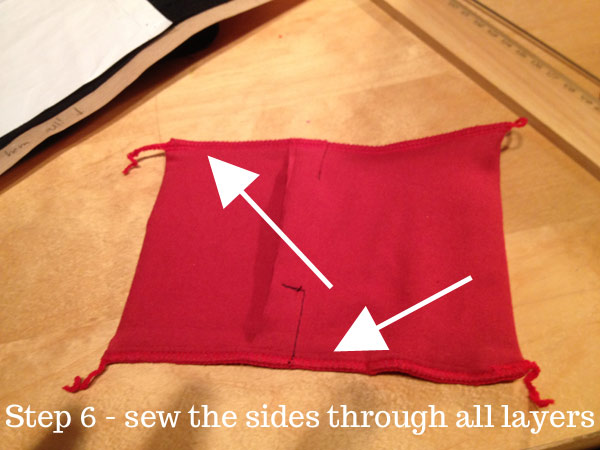
Step 6 Transfer your pins through to all layers, and either overlock(serge) or zigzag stitch both long ends, through all layers.
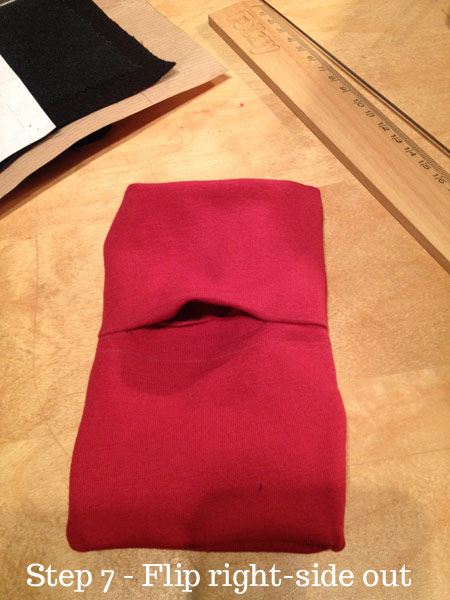
Step 7 Flip everything right-side out through the hole.
Step 8 Hand-stitch the hole closed (this will be on the inside, against your arm, so it doesn’t have to be too neat!)

Now just flip it so the seam is on the inside and the pocket flap is on the outside, and it’s ready for running!
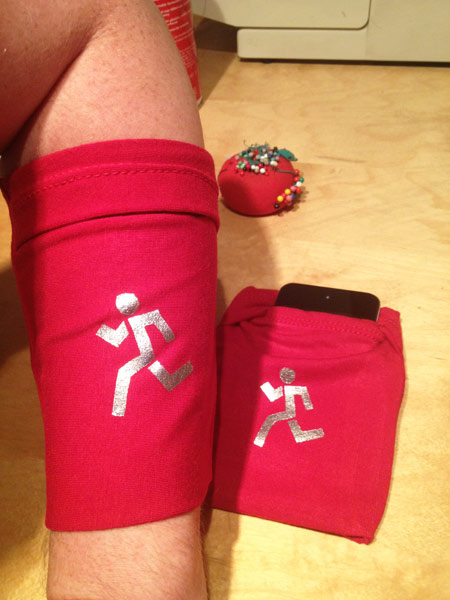
In my case, I painted some RDC logo men on the outsides with a freezer paper stencil since they’re official prizes!

If you’d like to see them in person, get down to The Water Poet on Saturday! It’s not a usual running race – it’s much more of a scavenger hunt-meets photo safari, and because it’s a team event, you don’t need to be fast to necessarily win, either, and those with a knowledge of London will be just as great a team asset as those with fast legs. It looks like a ton of fun if I wasn’t at a wedding!
And please, if you’ve made your own version of these arm bands, send me photos!