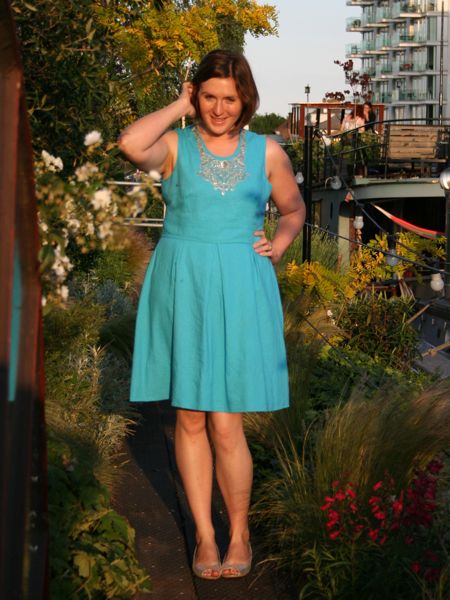
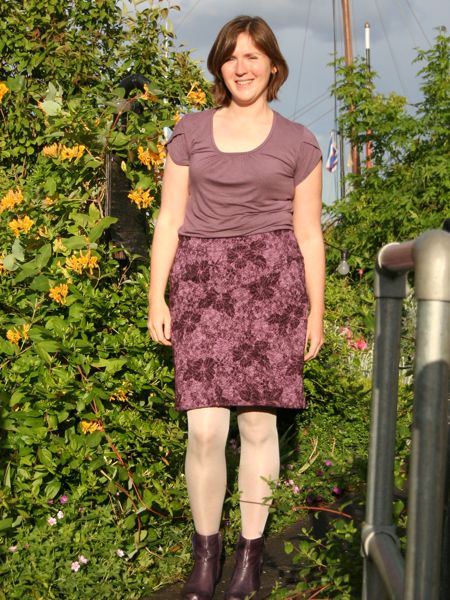
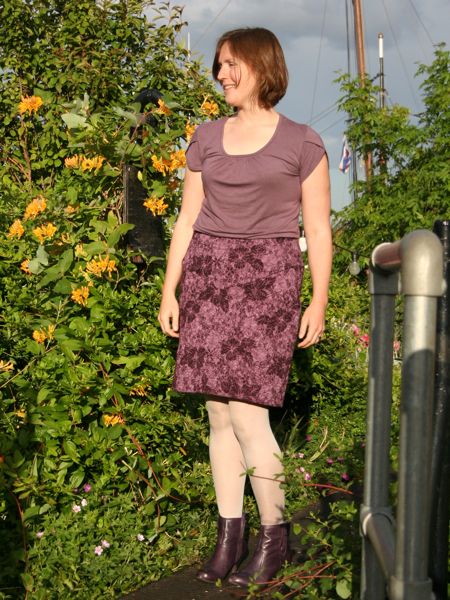
Every now and then I mention a few people from my personal life when they enter into my sewing world for whatever reason, but regular readers will probably recognise the name of “Neighbour Helen” more than most. As a neighbour, close friend, and convenient fashion industry alumni, she’s helped me assess muslins, balance proportions, learn how to rotate darts, and she even drew the amazing illustration for my free ruffled wristlet pattern!
So I was very saddened to hear that she and her husband are moving their barge to France in a few weeks’ time, to travel through the French canals for the foreseeable future (ok, saddened and jealous!). Since it was also her birthday, my gift to her was to make her a silk blouse of her choosing.
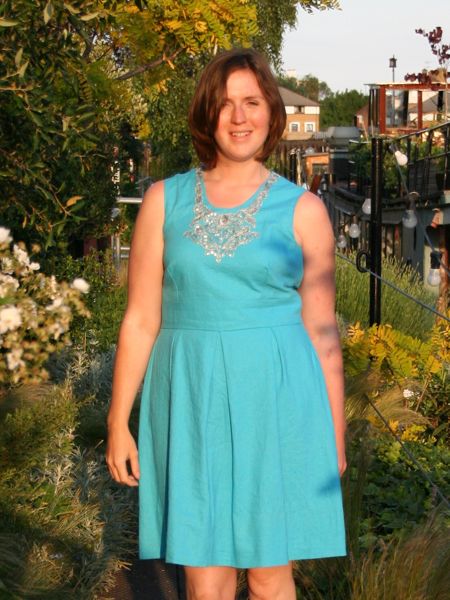
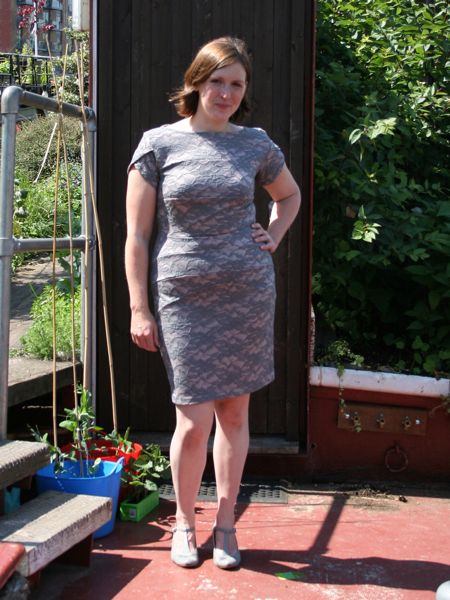
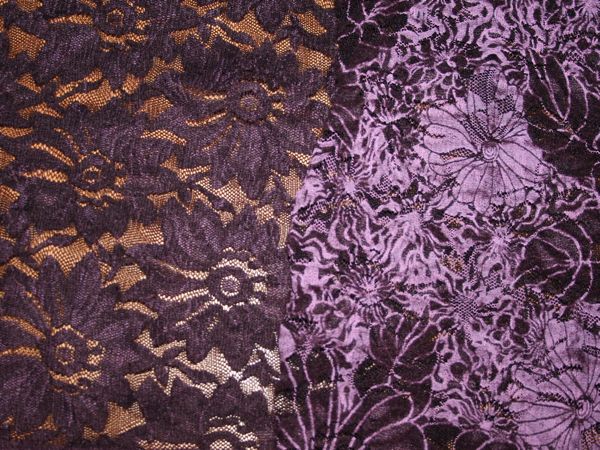
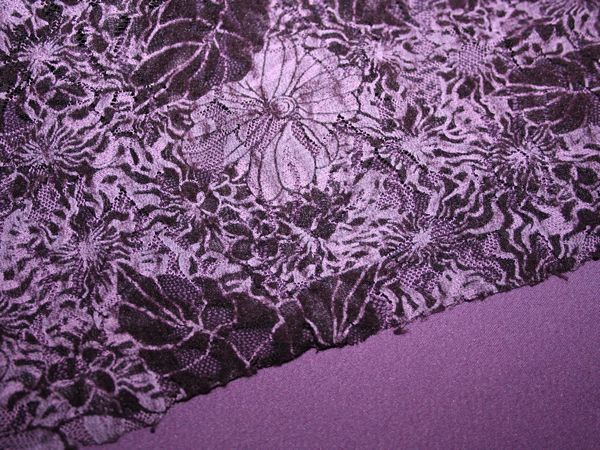
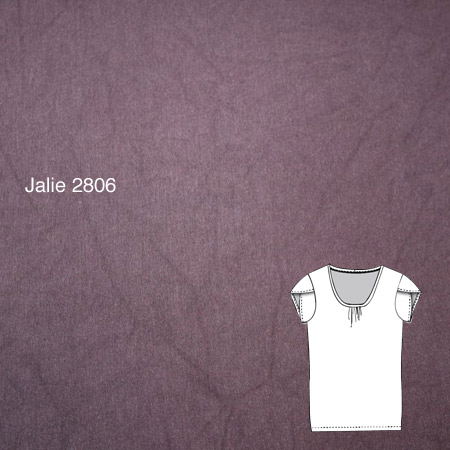
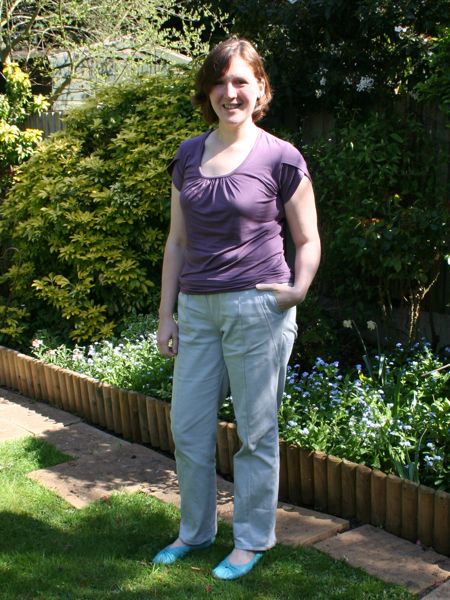
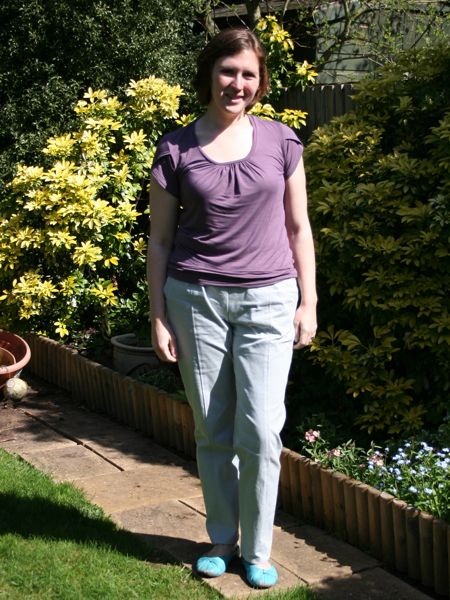
She chose the gorgeous chrysanthemum silk that was leftover from my blouse and I even let her try mine on, but she felt my top was too blousy for her and requested a simple shell instead.
So I turned to the new (and free!) Colette Patterns Sorbetto top!
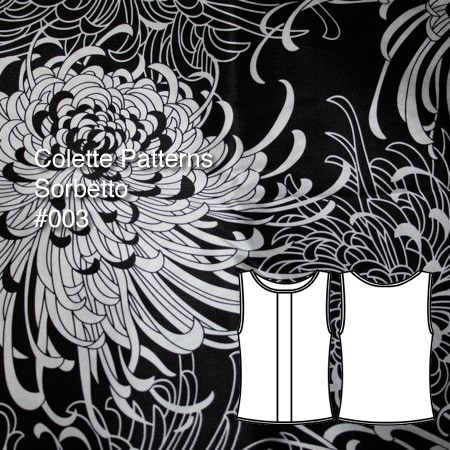
I made a few changes, though – the most obvious is that I eliminated the central pleat (which would have been too busy with the large scale print), and I lengthened hem by 3” as others said this came up short.