Last week I had the great pleasure to be able to put my friend Cindy up at ours while she visited from LA. Cindy and I met while studying at Penn State, when we initially bonded over Fly Nap huffing jokes in honours biology lab (yet neither of us use our Biology degrees, hmmm), but we’ve stayed in contact ever since, despite a transatlantic move for me, and three different big city moves for her. With good friendships like this, within five minutes of being in the same room again, it’s like the years apart were never there.
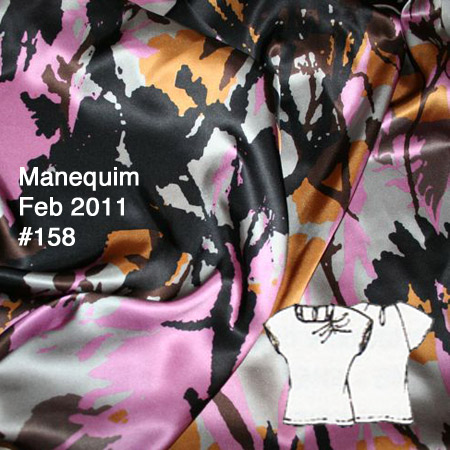
In any case, while she was over I said I’d make her something (though I did say something easy would have much more of a chance of actually being made!), and she chose this pattern from KnipMode Dec 2005 out of a lineup. If you remember, this is the same pattern I used for my rose and lace tee last fall.


Then we went through my knits stash looking for something that wasn’t already earmarked for a specific project and came up with this striped navy and white knit (which you may remember from my Breton tee, and the one I made for my niece). It was the perfect amount of fabric for this tee, and it was great to use it up since I couldn’t really justify another stripey top for myself…
After we decided on the main body fabric, we went through my fabrics again looking for something to use in the contrast shoulder panel, but the laces didn’t look right, and solid fabrics seemed strange, and so Cindy decided she’d just like a regular Breton shirt.