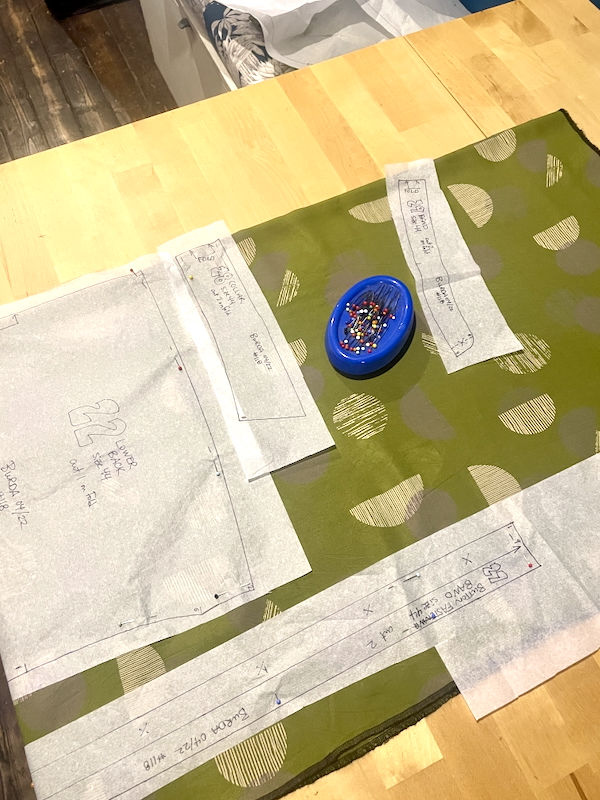
When we were at the Atelier Brunette shop in Paris in February, I loved this “Jane Matcha Leaf” 100% viscose, and ended up buying 1.5m + a 1x1m remnant that they’d used to sell their fabrics to retailers. This viscose retails for £20/m, I paid €38 total, so I saved a little this way instead of buying a flat 2m off the roll (though I see it’s 30% off right now!).
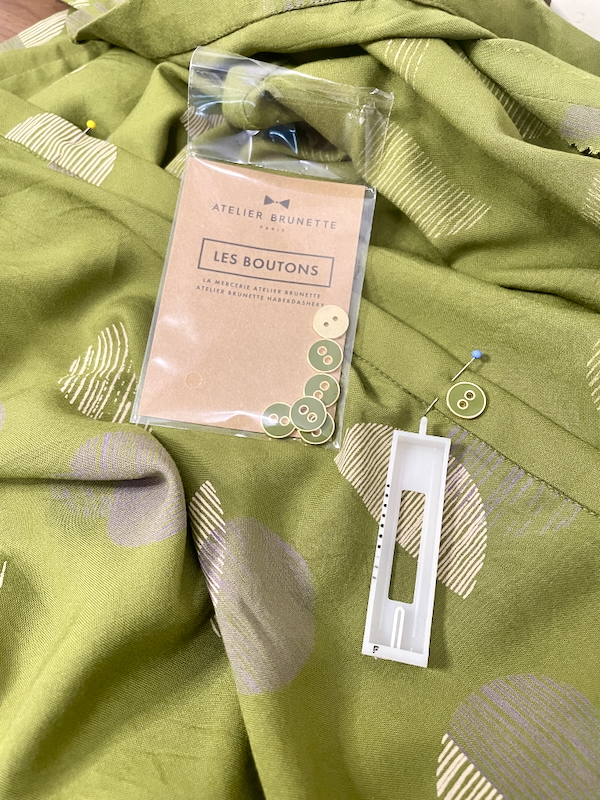
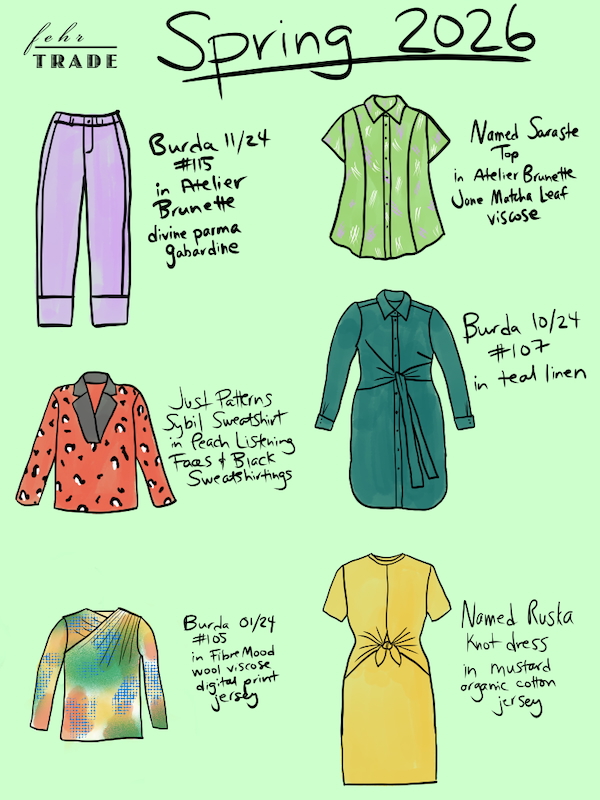
I had it in mind that I’d turn this fabric into another Named Saraste Top (and even drew it in my Spring Sewing Plan), so I bought perfectly matching buttons at the same time. Seven of the 10mm matching enamel buttons were €10.50 total (€1.50 each). Quite expensive, but it’d otherwise be a very difficult colour to match so I’m glad I ended up buying exactly the right amount and not a single button too much!
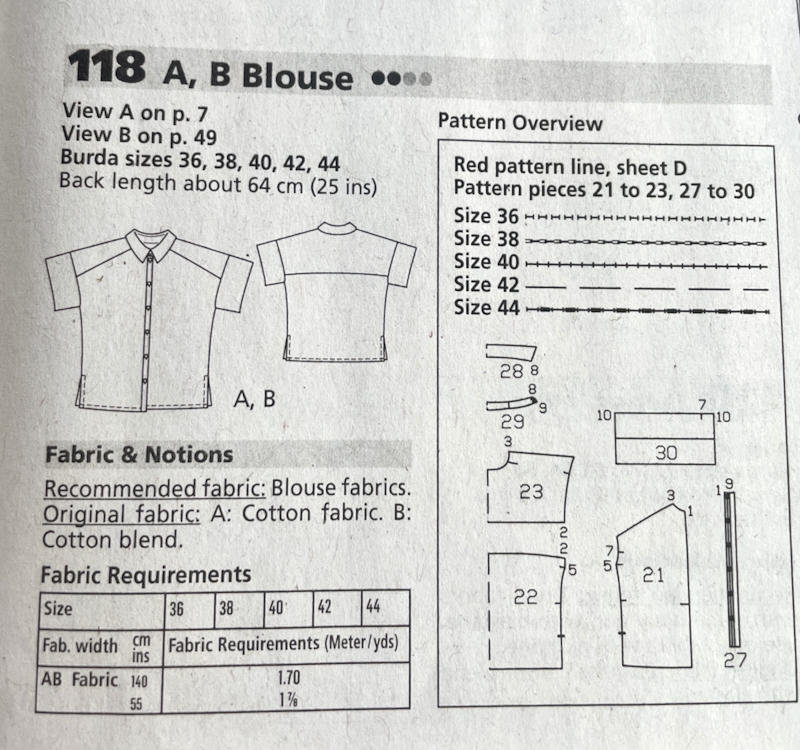
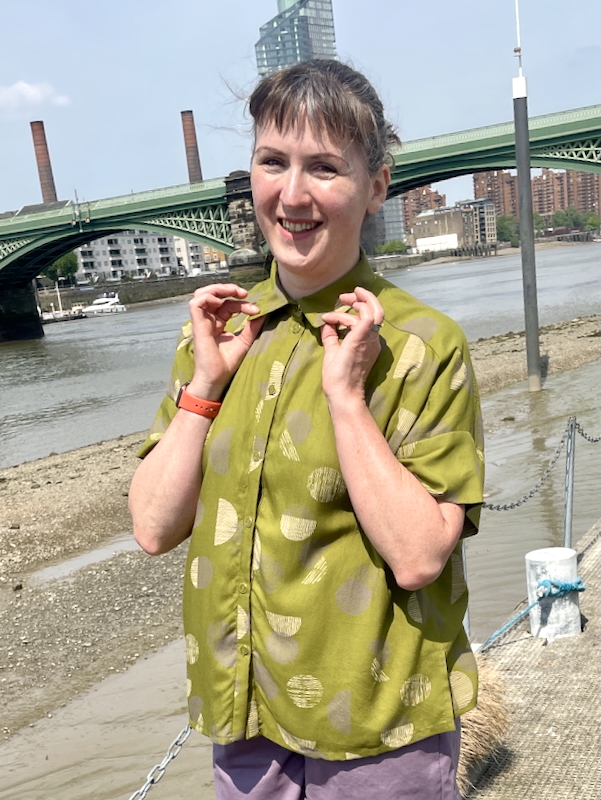
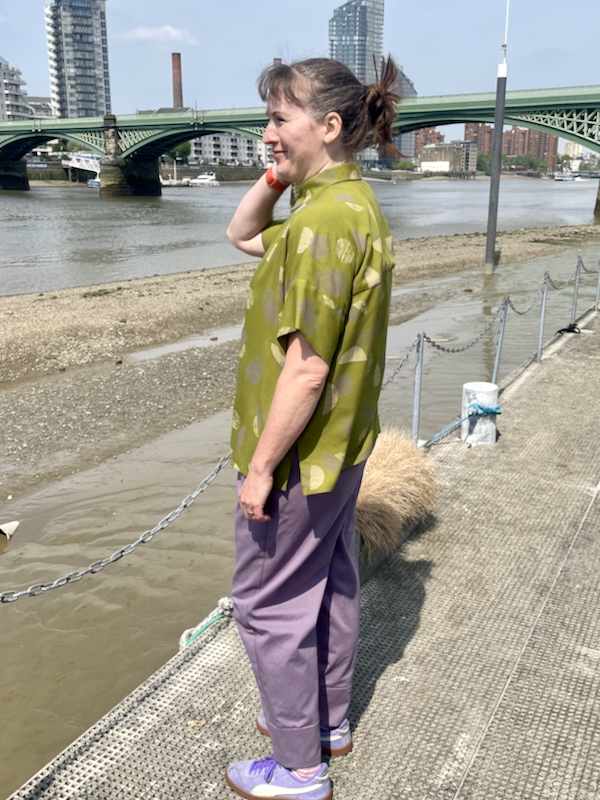
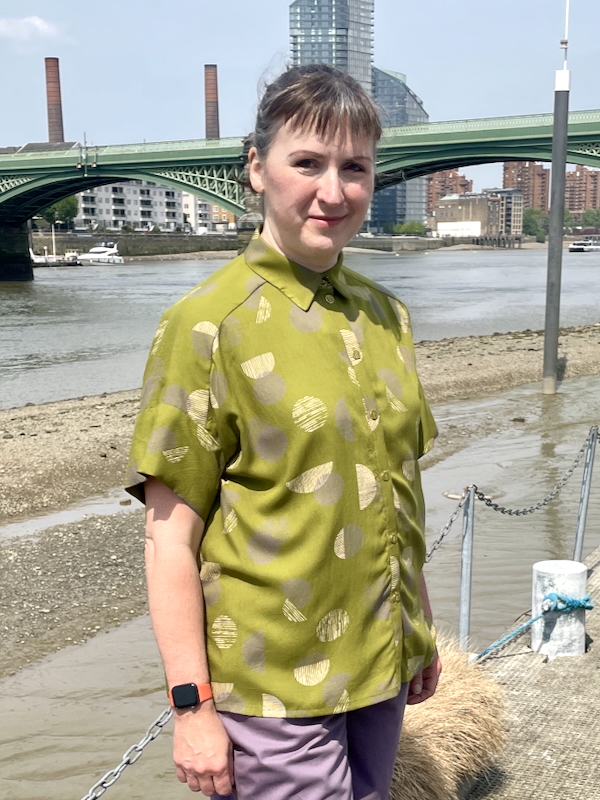
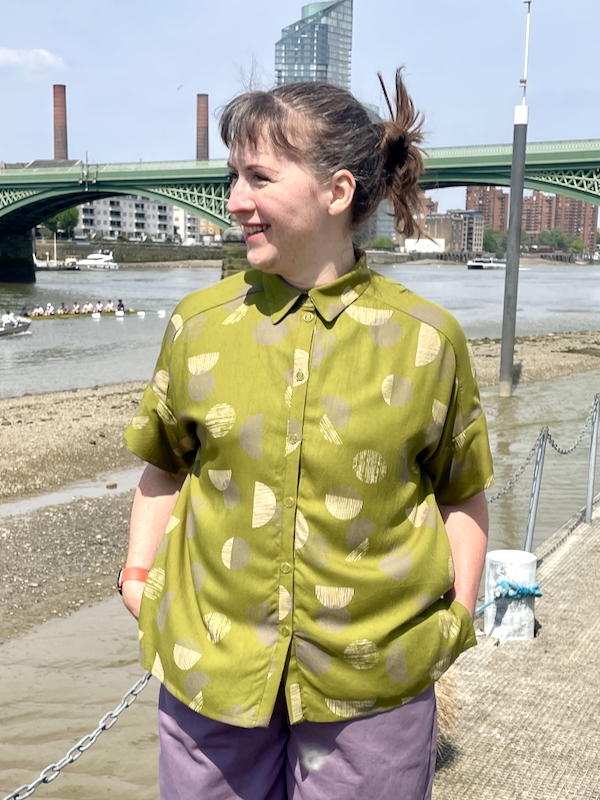
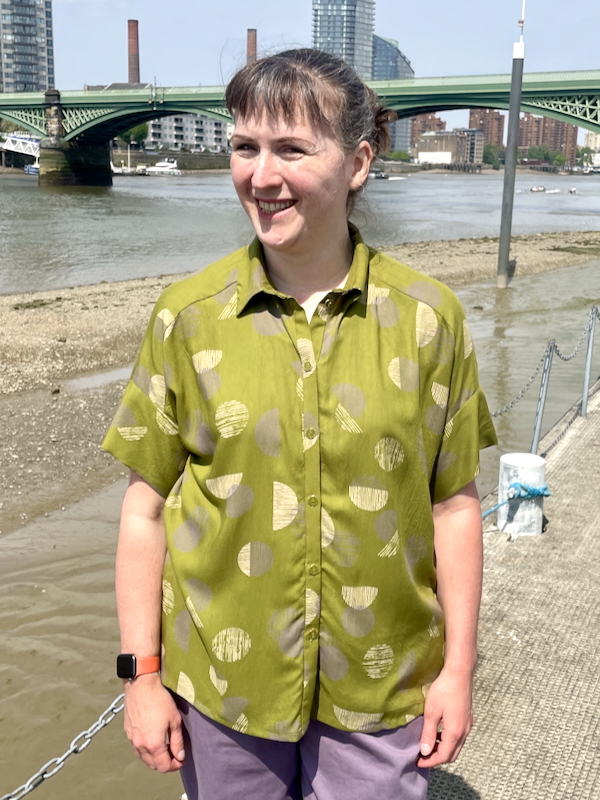
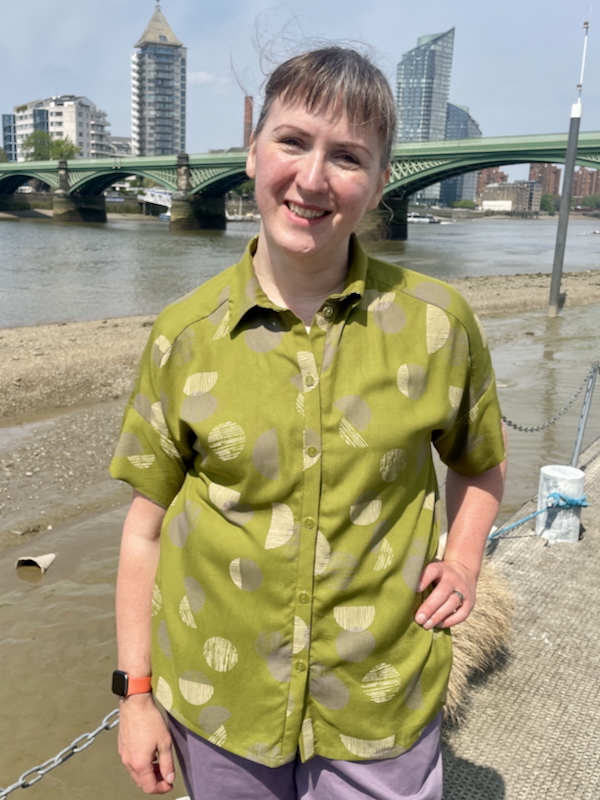
Between creating my Plan and sewing this, however, I realised I’ve sewn the Saraste so many times and I wanted to try something with a similar loose silhouette, but different, too. I admit that I fully overlooked Burda 04/2022 #118 when the issue arrived but I recently went back through the past five years of magazines trying to pair patterns with fabrics in my stash, and I loved the relaxed and breezy style here. It’s got dropped shoulders with wide bands instead of sleeves, and a shoulder seam offset to the front. The body itself is very wide, and the side seams have slits to make it even more easy fitting.
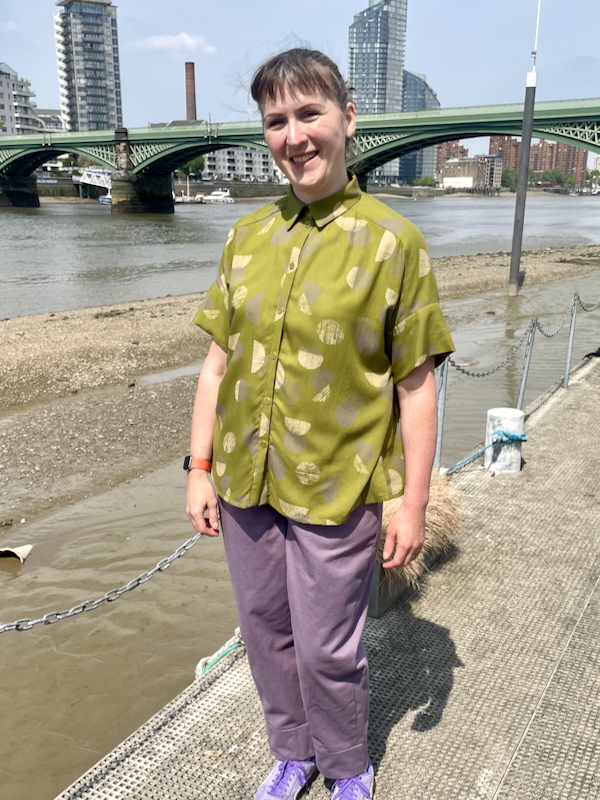
I made size 44 but this is very oversized – only the neck is close fitting. I could’ve easily gone done to a 42 or even a 40 and still been fine. In fact, I kinda wish I’d shortened this by a few inches in the body (and I never say that!) and I might end up doing that in future if it bugs me when I wear it.
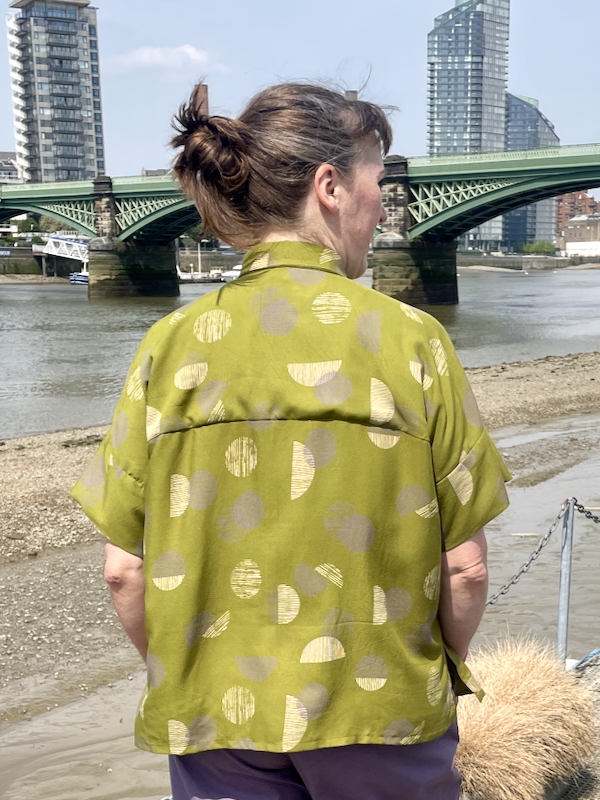
I cut double back yokes because IMHO it’s a crime not to when you have enough fabric. And I did burrito seaming on the front and back, obviously! I didn’t really pay attention to Burda’s collar instructions, instead preferring to use my standard method from Named’s Saraste pattern (in their “Breaking the Pattern” book).
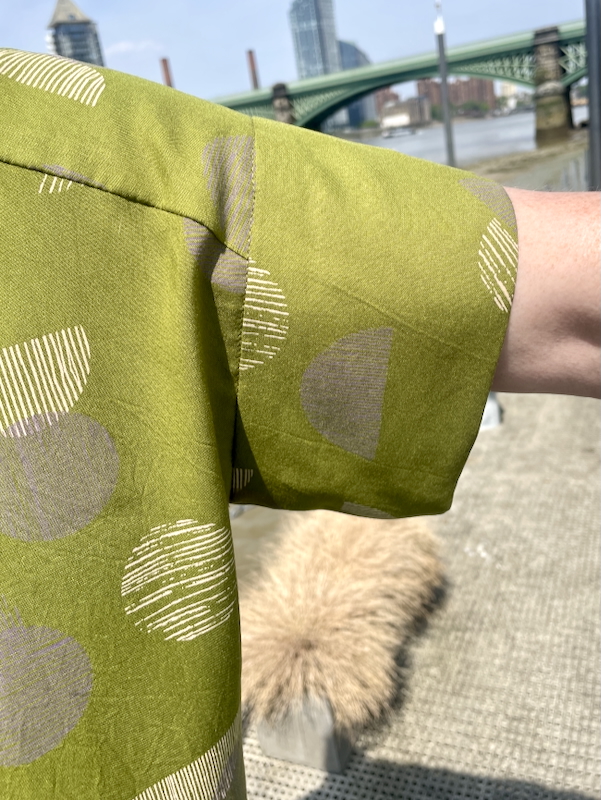
Burda’s instructions want you to attach the sleeve bands in the round, after sewing the side seam, but I opted to press in the seam allowances one long side, sew the marked side to the body, THEN sew the side seams and attach the folded inner side using stitch in the ditch. I feel like this gives a neater finish and is less hassle to sew.
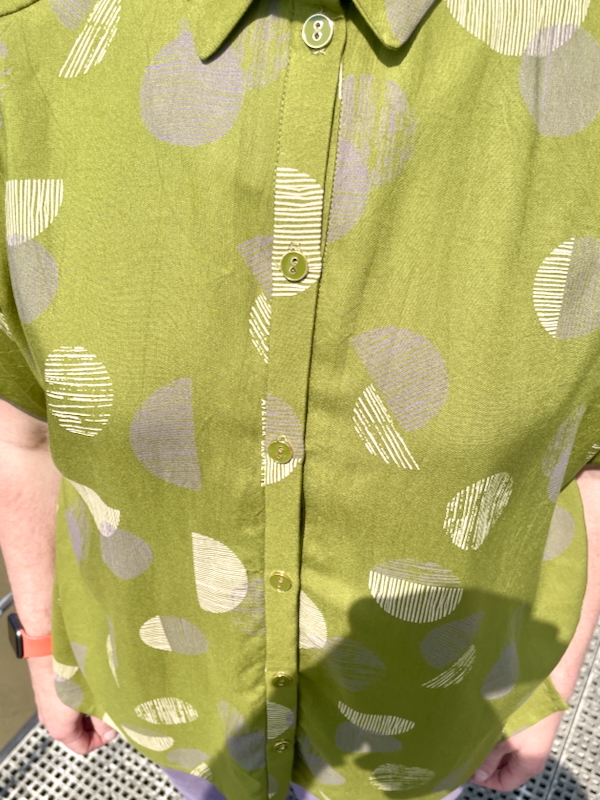
To be honest, I never really took notice of how much stitching in the ditch happens on shirt patterns like this, but my friend Emma recently asked me for advice on making them neater/easier (my advice: lots of pinning, hand-basting, or just topstitching instead & making it look intentional). On this pattern alone, I stitched in the ditch on both front button bands, the collar stand, and both sleeve bands!
You might also notice a few other things in these photos, like the perfectly matching lavender trousers?? Well, that blog post is coming up next (even though I sewed them before this shirt)… It’s hard to see in the photos but in addition to the white print, there’s also a lavender print in the top fabric that matches the trousers precisely. I bought these fabrics with the plan to sew a coordinating top and trousers, so mission accomplished!
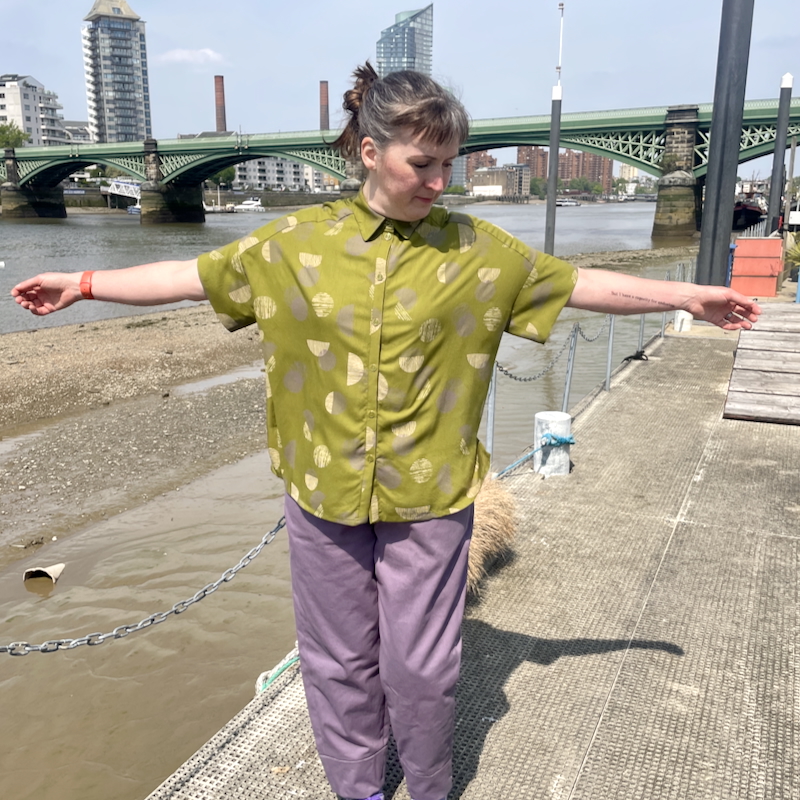
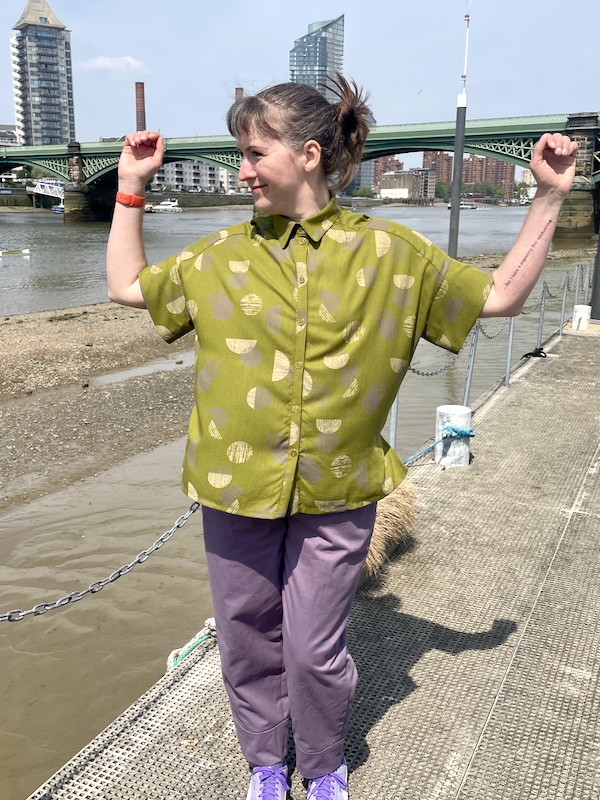
Or perhaps you noticed the new addition to my arm?
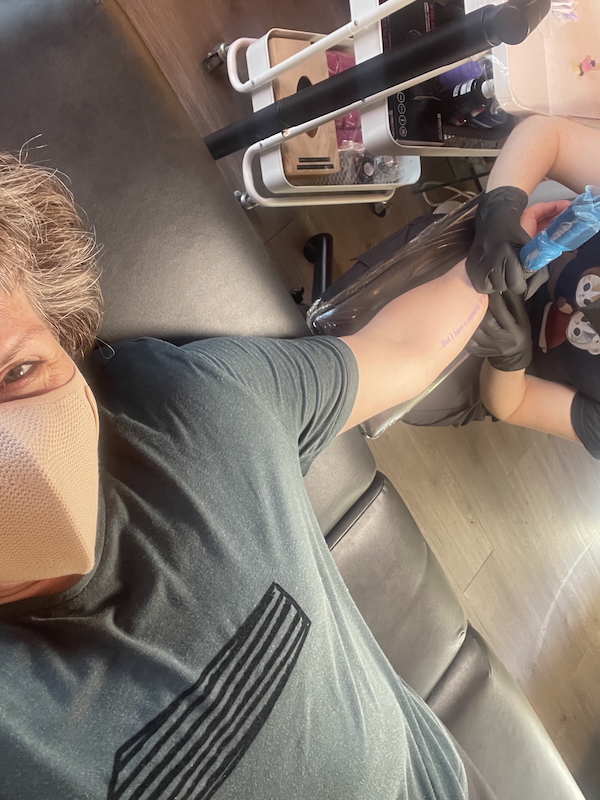
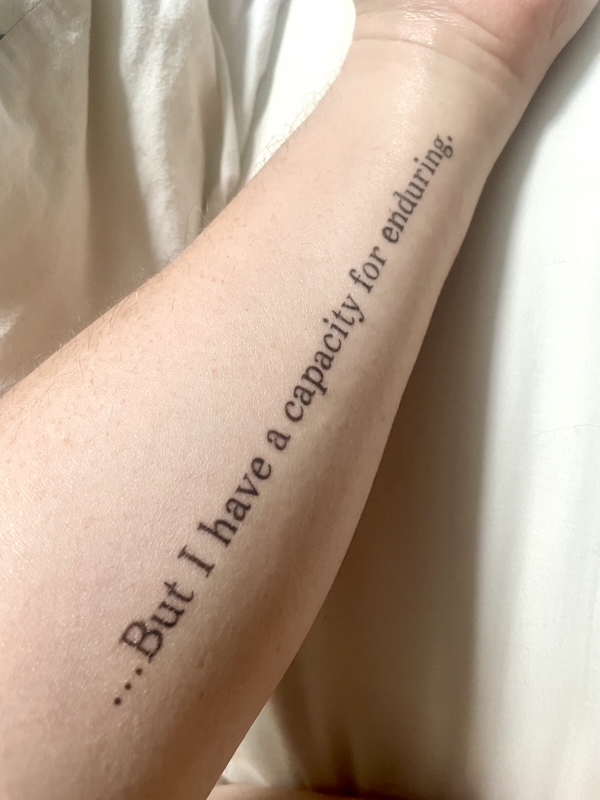
Yes, I got my first ever tattoo a few weeks ago, something I’ve specifically wanted for 3-4 years and didn’t think I’d be well enough to do. Carpe diem and all that.
But more on the trousers later this week…