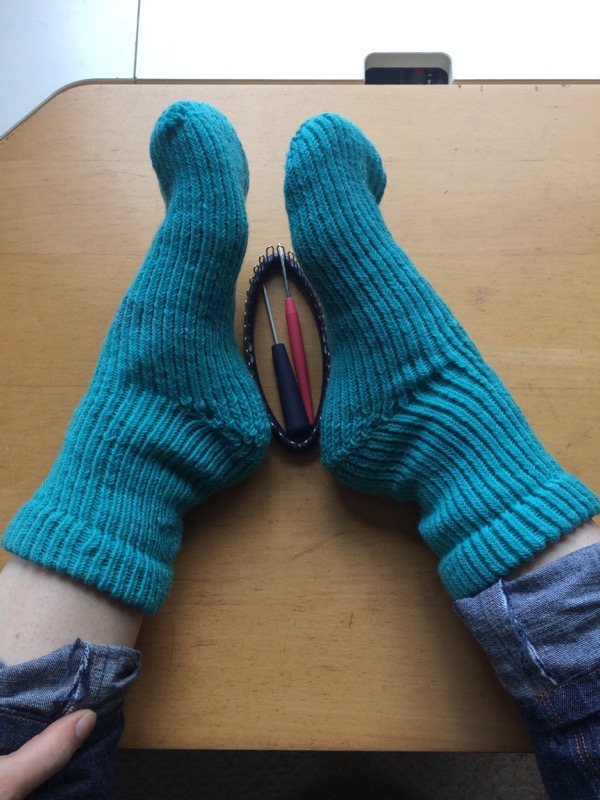
With the book writing and marathon training in full swing over the past few months, I needed a bit of a diversion in my spare time. Because, even though I love them both dearly, when you’re thinking about sewing and activewear and running all day long, sometimes you want to just sit down and not think about either for a bit!
I’ve never knitted before in my life, nor have I frankly had any desire to. I have enough hobbies, and I don’t get excited by yarn in the slightest. I’ve never had any desire to knit a scarf or hat, which seems to be the basic beginner projects you must suffer through in order to learn the craft (a bit like making PJ bottoms in sewing I guess?). But socks are different – yes, I could definitely see the appeal in making socks, but they seemed really complicated to knit, and again, I have zero desire to go through months of learning how to do the basics in order to get to the thing I actually wanted to make.
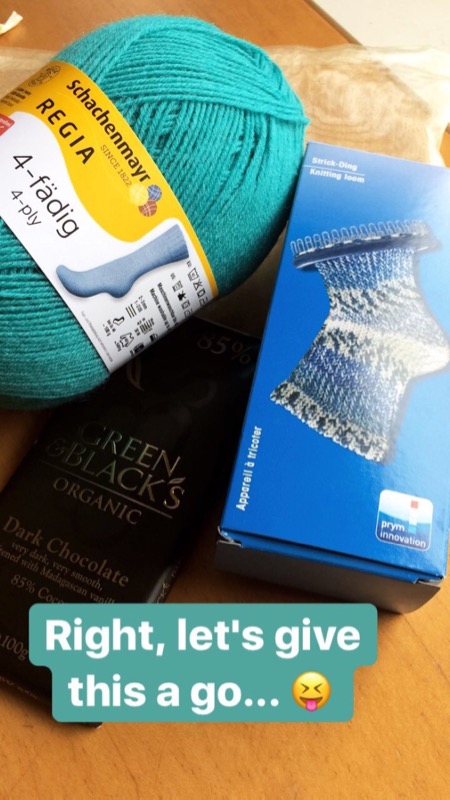
And then I learned that sock looms exist. Apparently they’ve existed for literally centuries (invented in 1589!), and it’s what people used to give to children back in Victorian times, so they’ve got to be stupidly easy to learn if a child could do it, right?? So I requested to try one from the lovely folks at Prym, and then got advice from the Twitter hive-mind on exactly what yarn I needed to buy. Because, again, I am clueless about yarn and have zero idea (I ended up going with Regia 4-ply sock yarn, 75% wool, 25% polyamide in “Ocean”).
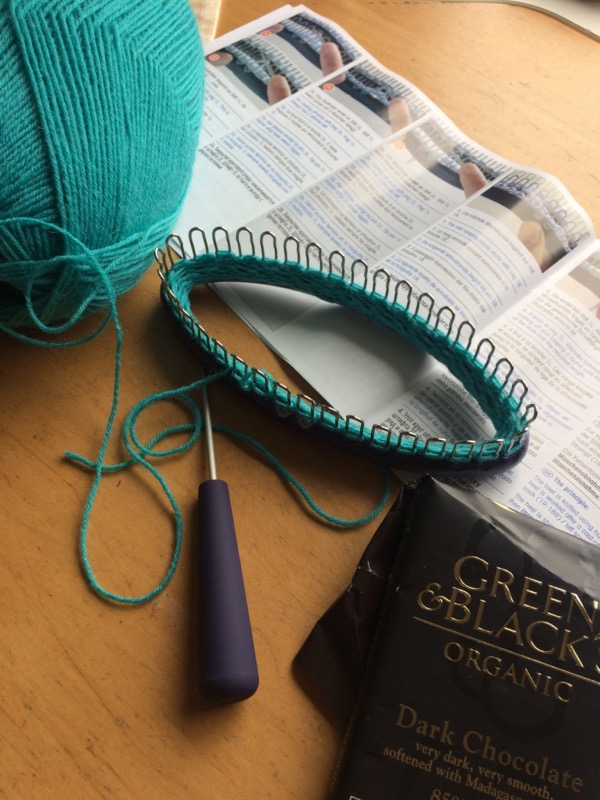
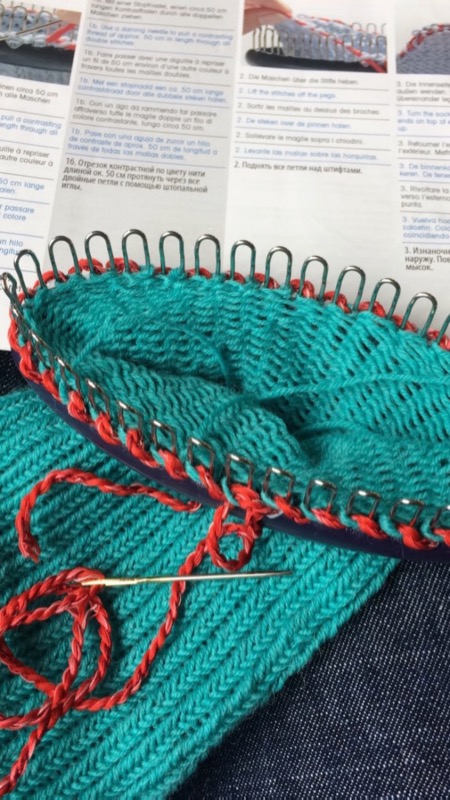
Prym’s sock knitting looms come in three sizes: Small (for children), Medium (for ladies with small feet) and Large (for ladies with large feet and/or men). I wear EU size 40 (UK 6.5, no idea what I am in American anymore, like 8.5-9 or something?) which put me at the smaller end of the Large loom, so that’s what I got. The box comes with the loom – a hard plastic oval ring with a bunch of what look like bent paperclip loops along the edge, a stiletto with a handle, and an instruction book in a gajillion languages. The instructions are pretty good, to be fair, but I also found it really helpful to watch a few YouTube videos (and I really, really hate watching YouTube videos) – the Prym ones and also a few by the All Fiber Arts lady.
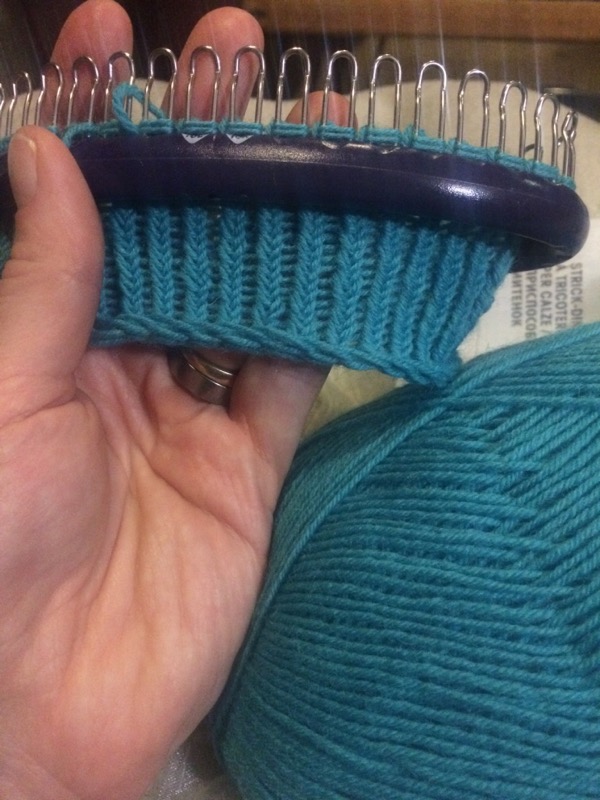
So armed with my loom, instructions, and newly-arrived yarn, I started my first sock on the first day of Lent – completely coincidentally, but I thought it’d be nice to try and knit a few rows every day in order to “cement” the process in my brain. The general process of making the socks is indeed really, really easy – you loop the yarn around the pegs for one rotation of the loom, then take the stiletto/needle and flip the bottom loop up over and off the peg for a rotation of the loom. And repeat. You don’t really have to count or pay much attention, and once you’ve cast off a few stitches, there’s no danger of everything coming off the loops or unravelling in your bag like I thought there might be.
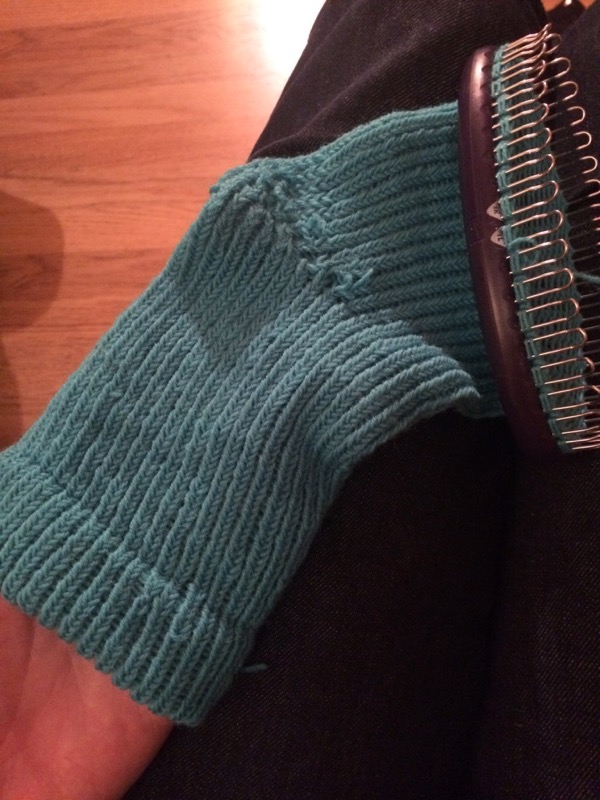
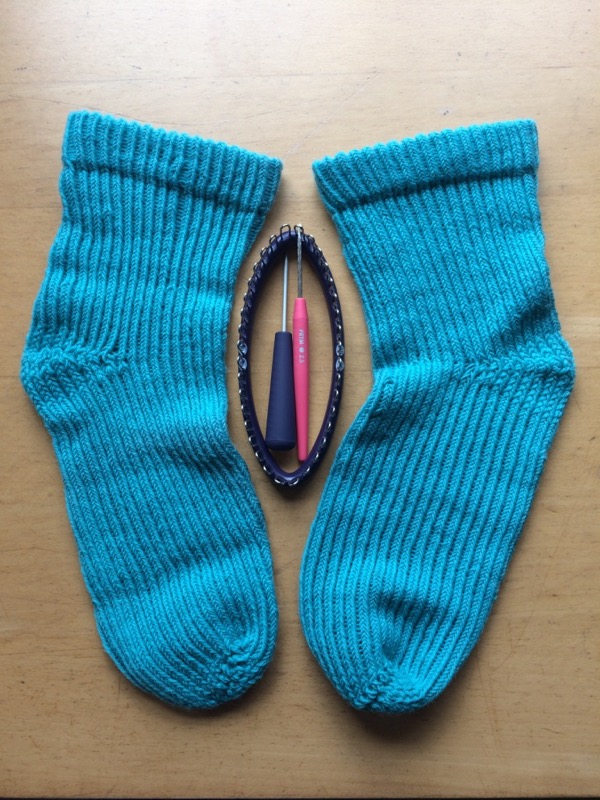
This was all going well, and I even figured out how to place the beginning edge over the pegs to make a nice cuff at the top, but then things got a little ropey at the heel. The theory is that you only use half of the oval, making shorter and shorter rows, then building back up again. But the instructions and the videos all say to “pick up a loop” on the way back as you build up, and I only had loops on one side. I know I must be doing something wrong, but I have no idea what, and there’s so little detailed information online about loom knitting that I can’t see what (and I had the same problem on the second sock so it wasn’t just my imagination).
I feel like I really need to sit down with someone who knows sock loom knitting (not just regular sock knitting – the two are very different!) to see where I’m going wrong. If anyone knows of anyone who can help and lives near London (or can do a Skype call?), please leave a comment!
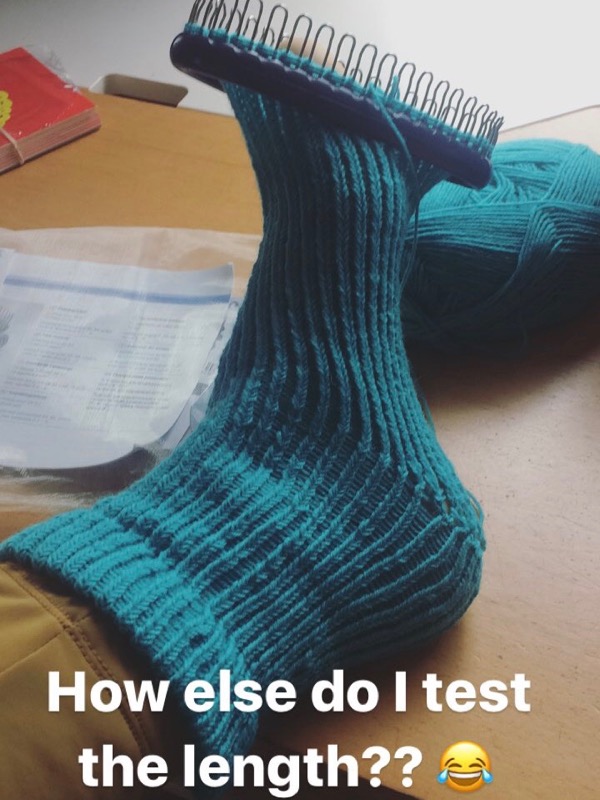
Anyway, my heels don’t look too awful – one side of each looks pretty good, and on the other I attempted to just pick up any old loop just so I didn’t have holes there! Once you get past the heel, it’s just a bunch of regular stitching again til the sock is long enough to form the toe. I overestimated the length a tad so my first sock is about an inch too long (and I wanted them to match so had to make the second too long, too!). Like the first half of the heel, the toe is made using only half of the oval and making the rows shorter and shorter… until you have to cut the yarn (cut!!! 😳) and then use the other half of the oval to make progressively shorter rows there, too.
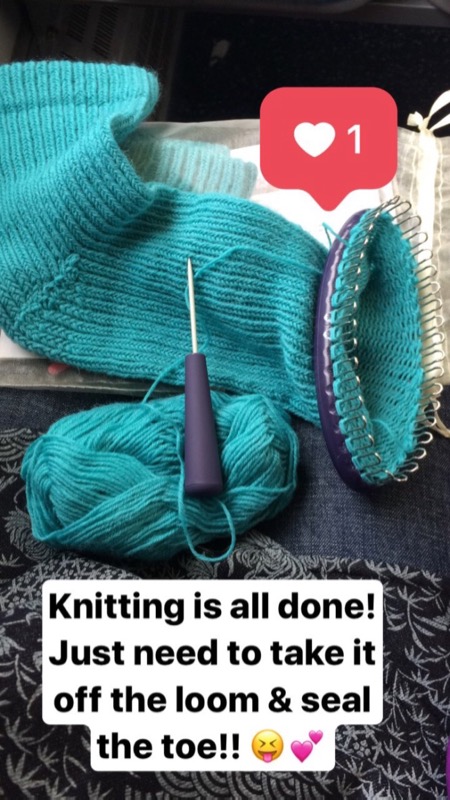
Then you’re supposed to use a contrasting colour of thread and a tapestry needle to keep everything from falling apart as you take the sock off the loom and sew up the toe – but as I’ve never knitted before, I literally only owned the ball I bought for the socks! So I ended up using the string that tied up the veg boxes we used to get delivered, as it was the only thing even remotely resembling yarn I could find!!
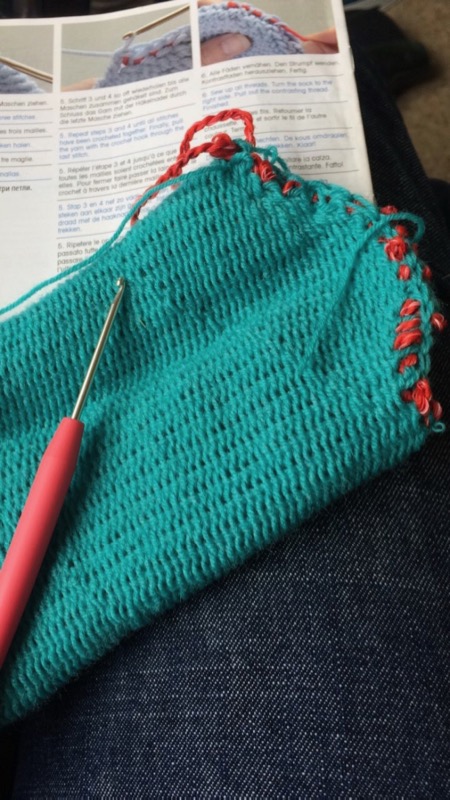
To seal up the toe, you’ve got to use a small crochet hook to join the loops from one side to the other. Again, as I’ve never done anything like this before, I had to go out and buy a crochet hook – only a few quid but it was the delay in trying on my new sock that was annoying! So if you’re getting a loom for yourself, buy a 2.5mm crochet hook and some tapestry needles at the same time.
I finished by first sock on 14 March, and I finished my second the day before Easter, just in time! So in the 40 days of Lent, I went from absolute knitter beginner to wearing my own handmade socks (if slightly too big). Which I think is pretty awesome.
