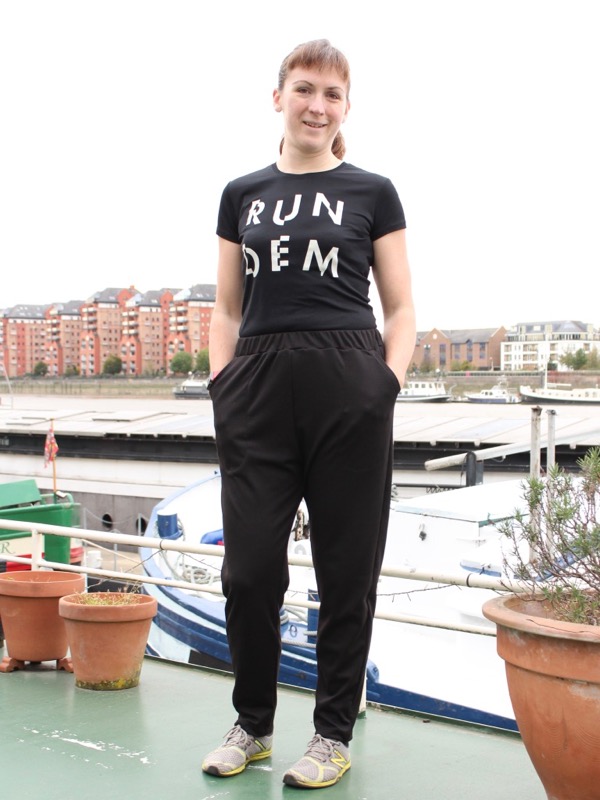
After the excitement levels of the last few posts, I’ve got a decidedly less exciting make to share with you today. But frankly, our wardrobes need a mix of workhorse items that you can pair with all the showier makes, and mine was in particular need of office-appropriate trousers that weren’t jeans but I could still cycle in easily (unlike, say, my Named Jamie jeans, which are far too tight in the leg and low-rise for cycling, ergh).
So when I got an email that Style Arc had marked a number of their Amazon-stocked patterns on deep discount, I took the bait and bought myself the Brooklyn Pant pattern. I figured a knit trouser would be easily to cycle in, versatile, yet not look too scruffy. And the pockets were a bonus!
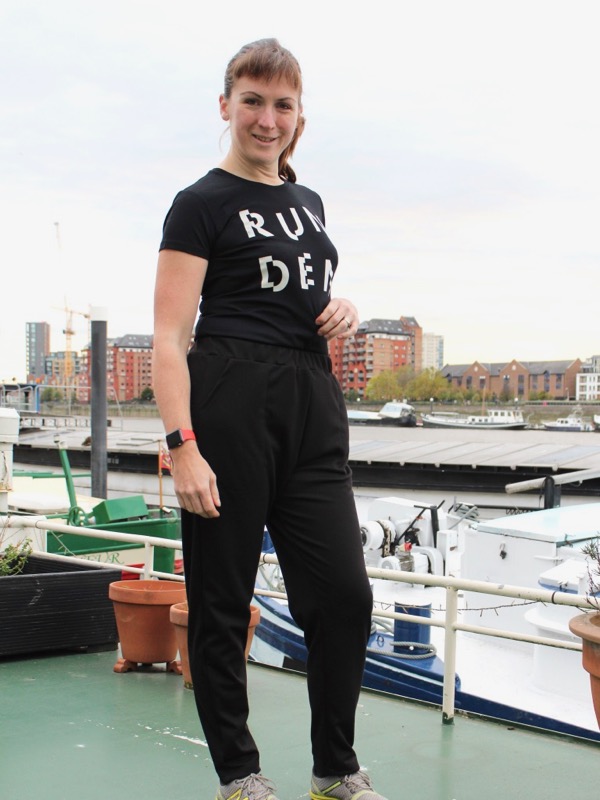
So I bought some black ponte from an Amazon marketplace seller (somehow I always forget that I can get fabric there!), and ended up sewing these trousers less than a day after both the pattern and fabric arrived. So no fabric left sitting around in my stash, either!
I really like the StyleArc patterns I’ve made in the past, but my main bugbear is that they don’t print their pattern pieces on the fold, so you end up with massive pieces of paper (even worse if you’d had to print it out yourself, argh) which any sane person will just fold up to cut on the fold anyway. But thankfully trouser patterns don’t have much that’s cut on the fold anyway, so it was only the waistband which suffered from this here. Seam allowances were included, but 8mm (3/16in) is a decidedly odd choice…

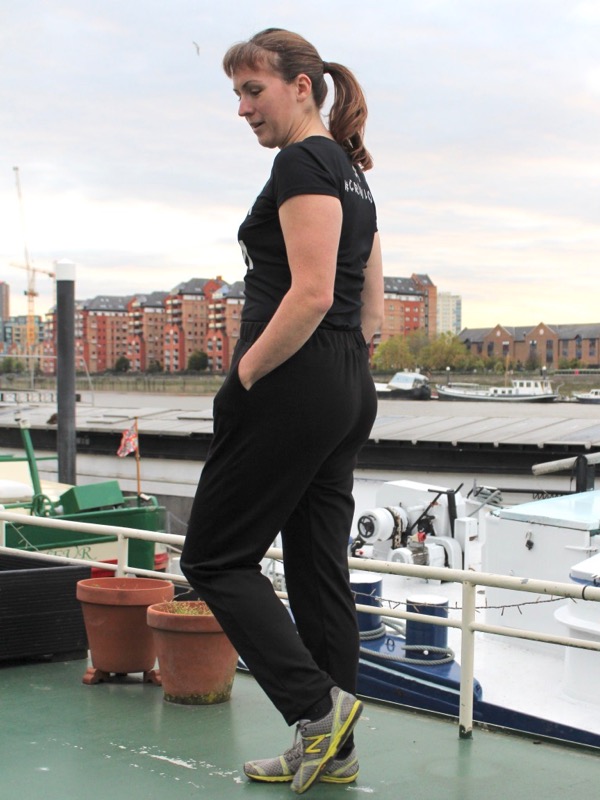
A few things that aren’t immediately apparent from the pattern description: the pocket is single-sided, with topstitching through the front leg providing the pocket bag. It’d be easy enough to draft your own pocket lining if you don’t like the visible topstitching, but I’m fine with this, and that the pockets are nice and deep (no worrying that my phone will fall out!) more than makes up for it.
The waistband is a folded rectangle with elastic concealed inside, so I was curious to see what method Style Arc used (and if it’s any different to what I suggest in my Knot-Maste Yoga Bottoms pattern). Essentially it’s the same as what I do, only they only zigzag just one side of the elastic to the waistband instead of both, and then topstitch vertically through all layers at a few points to anchor it in. Still not a casing though, so thumbs up!
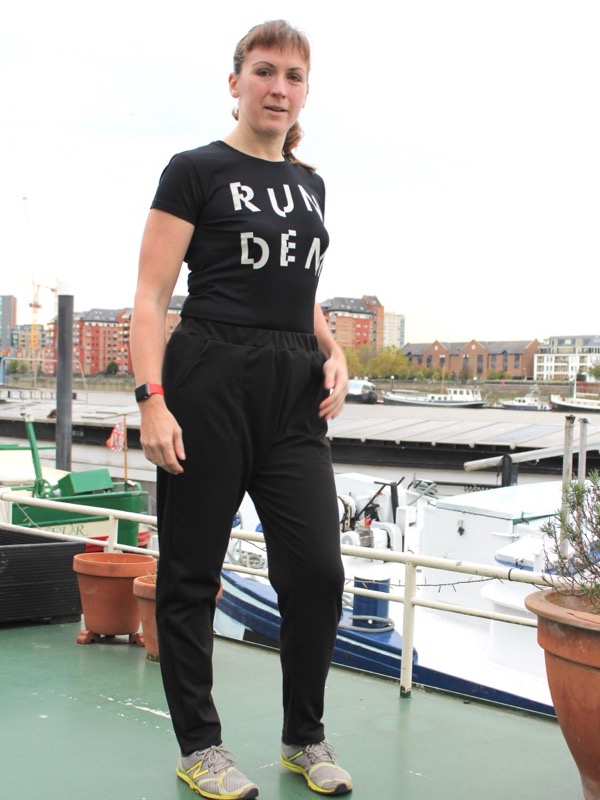
The only problem is that using the recommended 38mm (1 1/2in) elastic means you’ve got very little room for error when attaching the waistband to the rest of the trousers – I ended up doing about twice as many basting steps as suggested as there’s only a scant 8mm seam allowance before your overlocker (serger) stitches through the elastic! So if you’re not as experienced or just fancy a quicker make, you could either use narrower elastic or make the waistband a bit wider to make your life easier.
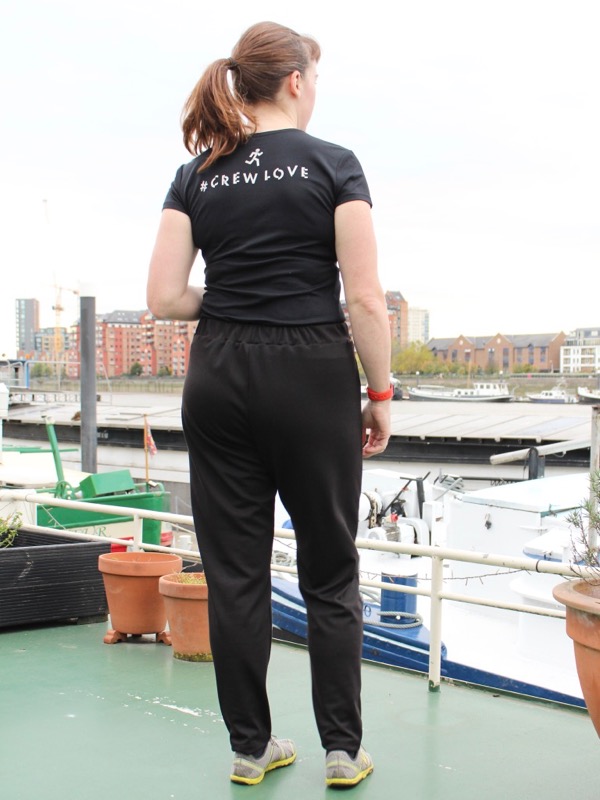
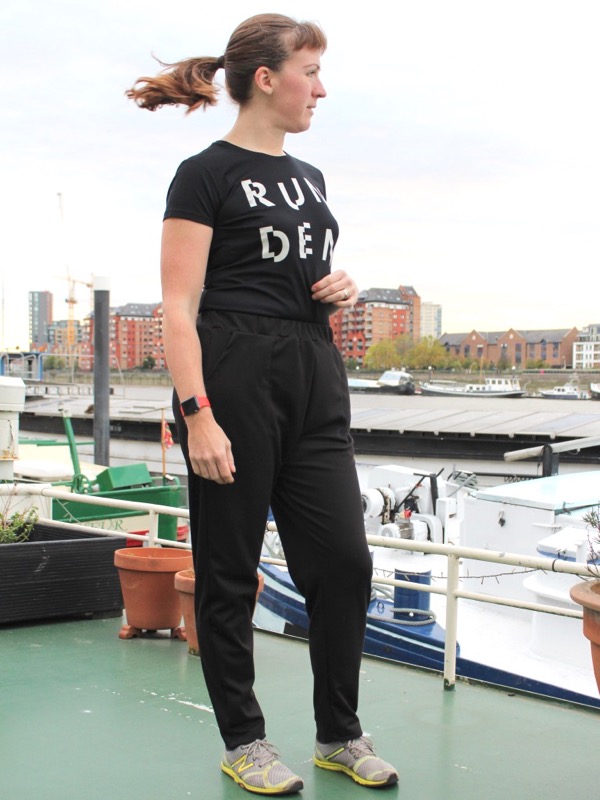
While the crotch fit itself is fine with these, the hips and waistband are far baggier than I’d like, but I like the fit in the legs. The waistband itself is way, way longer than the suggested elastic length, meaning it bunches up quite a bit, which doesn’t look very nice if you’re wearing a tucked-in blouse. This pair is fine for use with longer tops, but I’ll be pinching out quite a bit of width in the front and back waist and hips as well as removing a bunch of length from the waistband, too (but keeping the elastic length the same, because that’s pretty spot-on for me).
But in terms of the brief, I wore these to work on Monday, complete with cycle commute both directions, and they passed the test. They’re not perfect, but they filled a need in my wardrobe and they’ll still get a lot of wear over the wintry months.
