This coat originally appeared on my Fall 2011 sewing plans, so it feels good to finally finish it just as the weather’s starting to defrost (I hope anyway!). I’ve been wearing my muted turquoise coat for most of the winter, but I’m hoping to wear this to transition into Spring!
I’ve used “coat” in the title, but is it really a coat? Is it a jacket? Where’s the line drawn, anyway? It’s short like a jacket, but wool and warm like a coat, so I’m not quite sure what to call this.
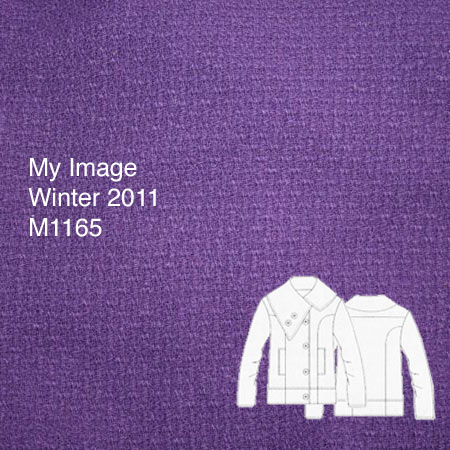
This pattern appeared in the Winter 2011 MyImage magazine (along with that awesome cowl top!) and it’s still available to buy if you fancy it (and holy crap, it’s on sale right now for €1.95/US$2.63, too)!.

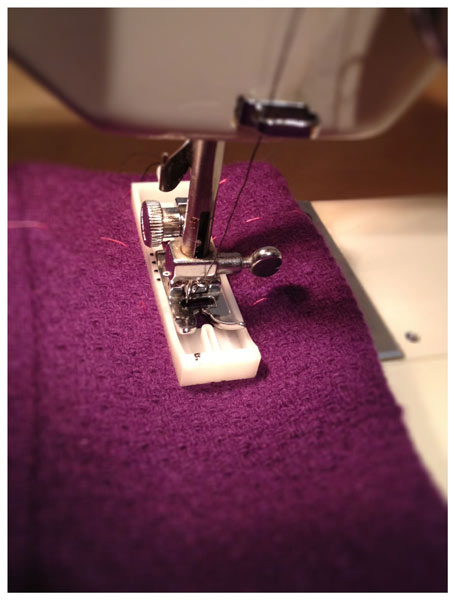
You can see some in-progress photos of this coat here and here. The nice thing about working on a project for a while is that you get to see a lot of the “guts” as I work! The downside, of course, is that I have the attention span of a gnat and I get bored when projects stretch over the fortnight mark…
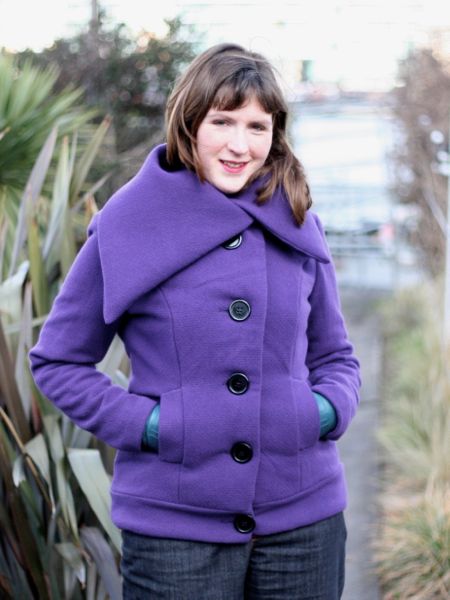
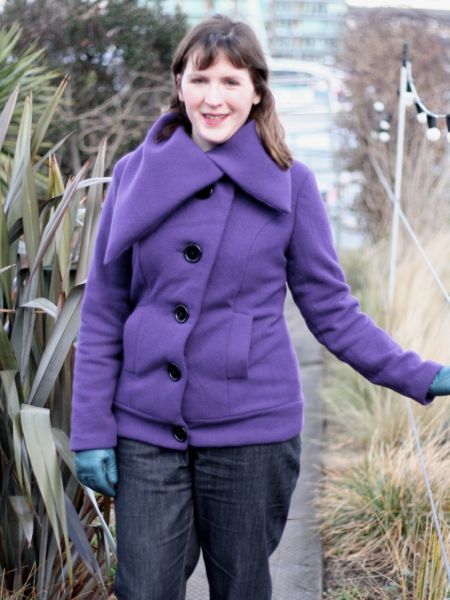
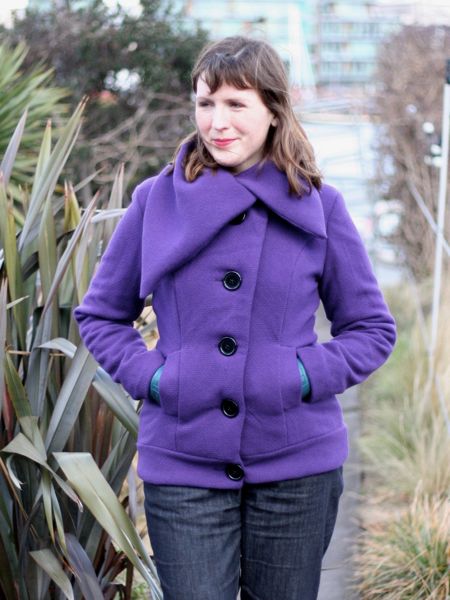
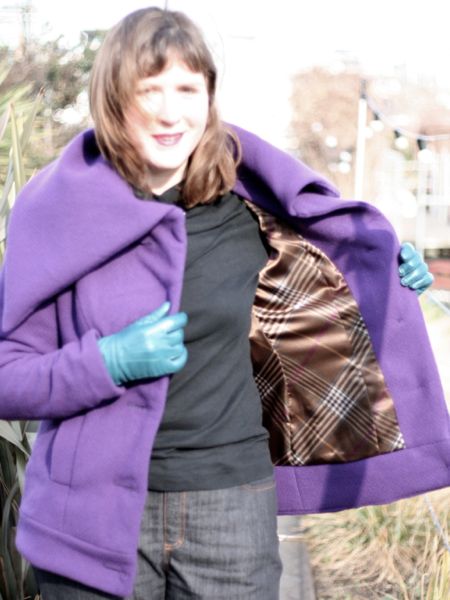
The first thing you notice about this coat is that Big! Collar!! It’s a “whole lotta look”, but I totally dig it. Your mileage may vary! I’ve worn it out twice over the weekend already and the collar is great – it’s substantial enough and close enough to the neck that I don’t need a scarf!
Even though the instructions didn’t say to, I put a centre back seam on the undercollar and also cut that on the bias, so it curves nicely on the underside. I then shaped the upper and under collar around a ham to determine the amount to trim off for the “turn of cloth” around the edges. I also took the opportunity to pin the collar onto the body to check in the mirror that I liked the size of the collar!

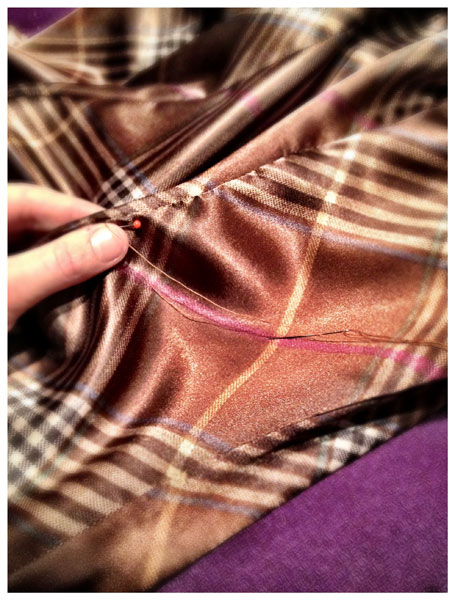
I underlined all the body and sleeve pieces with black cotton flannel, both to ensure the wool basketweave coating doesn’t bag out with wear, but also to get some added windbreak and warmth as an extra bonus. The seam allowances in the sleeves are catchstitched down to prevent bulky ridges inside, but I was too lazy to do this on the rest of the coat seams like I did on Holly’s coat! The underlining and interfacing took forever here since there were so many pieces, but the prep work is always so important to the finished garment, so I grudgingly invest my time at the start! Happily, there were no issues with the pattern – everything was well drafted and fit together nicely. Even the sleeve caps eased in nicely on the first try, so that’s certainly a plus in my book!


This coating fabric was a gift from Claire (Seemane) about this time last year (as were the shoulder pads, too, actually)! For the lining fabric I once again used that wonderful, bias-print tartan poly I bought at Mood in NYC on our honeymoon and used to line my trench jacket so it was just a nice surprise that I had enough leftover for this, too.
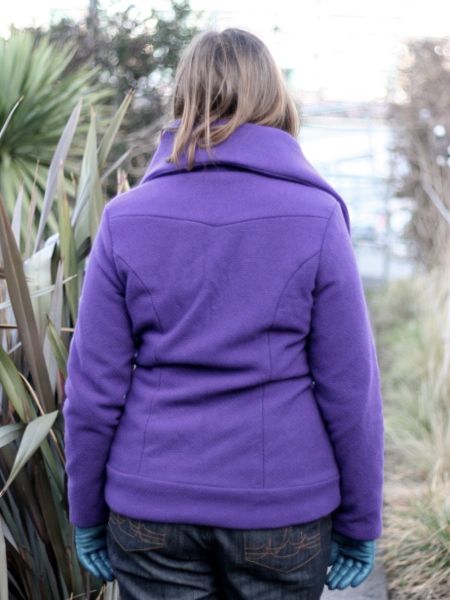
The body length is quite long on this coat – the bottom band falls at the fullest part of my hips, and is a little on the tight side. You could easily leave off the band and the coat would be about normal length, imho.


My only gripe with the pattern is that the shape of the pocket bags is really uncomfortable – I can jam my hangs in most of the way, but it’s difficult to turn the corner to reach stuff that’s fallen down inside. The placement and width of the openings is just right for me, though, it’s just the bags that are cumbersome. If I were sewing this again, I’d round out the shape of the pocket bag so it’s not so abruptly “L-shaped”. But there’s limited space there as they’re fairly near the front edge and the button and buttonholes. I actually got one caught in a buttonhole while I was stitching it and had to unpick all the tiny stitches to free it! After that I made sure to pull the pocket bags right side out when I sewed the rest of the holes and the buttons!

I was dithering over which buttons to use here, but in the end I settled on some large, plastic buttons I bought from a market in Paris last spring – but at 4.5cm in diameter, they were too big for any of my buttonhole templates or attachments. I left it too late to do bound buttonholes since I didn’t realise the grainline marking on the front piece was also the centre front (the pattern sheet markings are often just in Dutch, and I missed the “MV” that stands for “middenvoor”=“centre front”).

The buttons seem absolutely huge on the card and in my hand, but I think they work with the scale of the collar on this coat – anything smaller and the collar would look grossly out of proportion, but the large buttons help balance it.
Since the largest template/cam for my Singer buttonholer attachment was way too small, I used the 4 step buttonhole template for my Joann Sonata (it’s like a little tray the standard foot sits onto, with grips on the underside and markings along the edge – but no place for a button at the back like modern ones I’ve seen!). When I reached the end of the tray, however, I put the needle down, lifted the presser foot, and gave myself some more room on the template. This meant I had to mark out my end points really carefully with basting thread, but it worked – I was able to sew an extra-long buttonhole but still keep everything aligned.
I see here that I could’ve taken some back length out of the pattern, but that’s the price I pay for not sewing a muslin, and I’m okay with that!
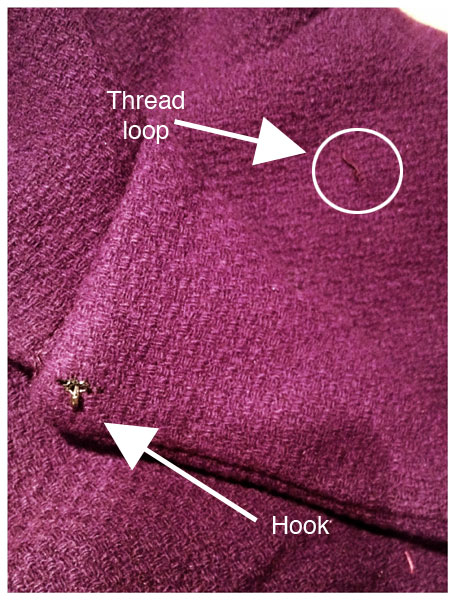
Because the centre front is vertical, but the opening edge is angled, there’s a corner at the top that’s quite far away from the top button that needed an extra fastening to keep closed. To solve this, I sewed a small hook to the underside of the front edge, then made a thread loop (a bar tack I think?) on the exterior of the coat. Even if it wasn’t under the collar it’s be nearly invisible!
And there you have it – comfortable, warm, and stylish coat for tricky transitional weather!