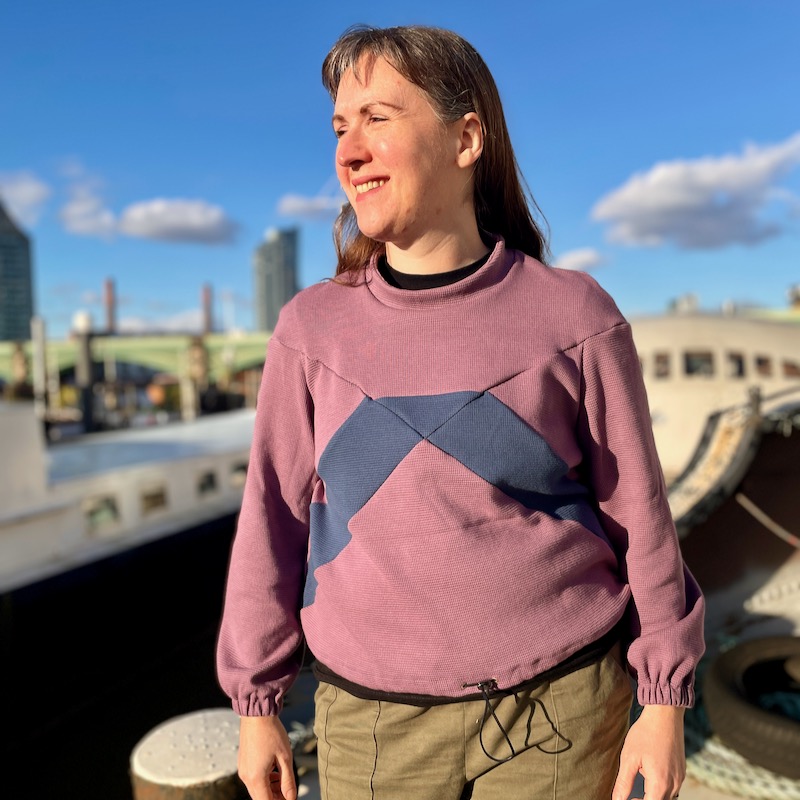
I’ve had some lovely waffle jerseys from Raystitch in my stash for quite a while now, both in Mellow Mauve and Riverside Blue, and they’re both so thick and high quality that I feel they could really bridget that gap between a teeshirt and a sweatshirt for transitional weather.
So when I realised that I had bought the Named Gemma Sweater pattern ages ago in one of their rare sales, I thought this might be the perfect opportunity to highlight both fabrics. And I still have plenty of the blue leftover to make a thicker tee as I’d originally planned, too.

The Gemma pattern comes with both sweater and dress views. It’s one of their older patterns, though unlike a lot of them, it’s actually still available to buy (don’t get me started on their making digital patterns OOP even though it costs nothing to keep them available?!). Because this is one of their older patterns, the size range is not as extensive as their current range – I made the largest size here!

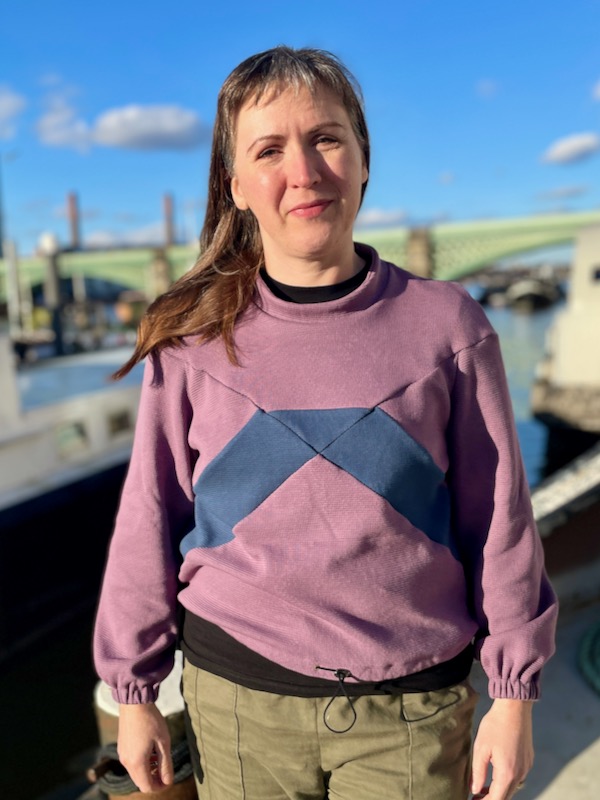
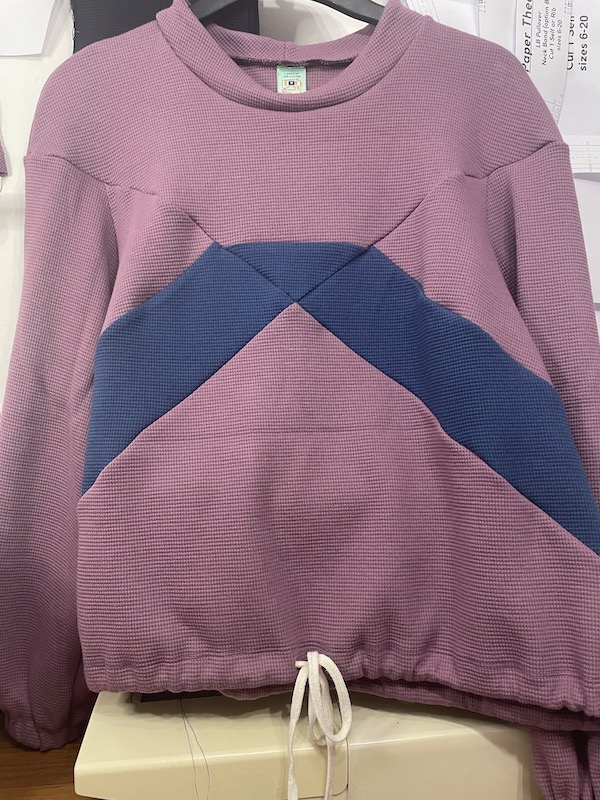
The geometric piecing on the front is really the standout of this pattern, and the colourblocking opportunities are endless, really. The sweater and dress only reuse the same geometric front pieces though. Due to the difference in ease, the sleeve and body pieces are pretty different across the two views. I’d love to make the dress version at some point, and in a stretch velvet like they’ve done in their sample, too.
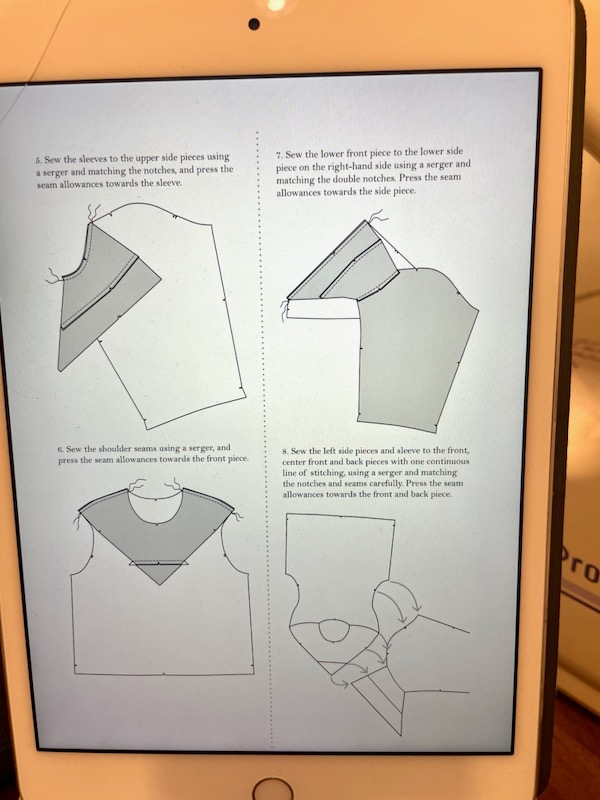
The construction order on this patterns is SO WEIRD – you attach some of the front pieces to the sleeve first before attaching to the centre front, etc. But it all ends up coming together like magic!
I used the sewing machine to baste the pieces on the front before overlocking to ensure the intersections were neat. Mine got skewed a little at the overlocking step (grrr it was perfect after basting!) but at least it’s only slightly off, and evenly on both sides! C’est la vie!
The sweater version’s sleeves have wide elastic inserted into the casings – this was really difficult to coverstitch closed afterwards but I like the effect. I wouldn’t want to leave off the elastic entirely as the sleeve hems are quite wide, but you could add cuffs instead if you wanted to.
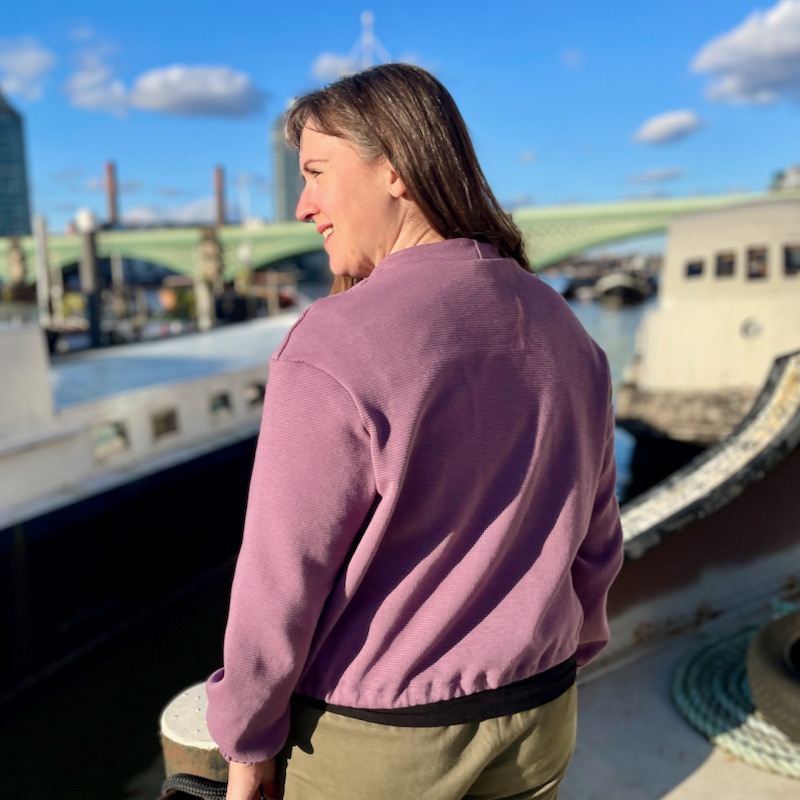
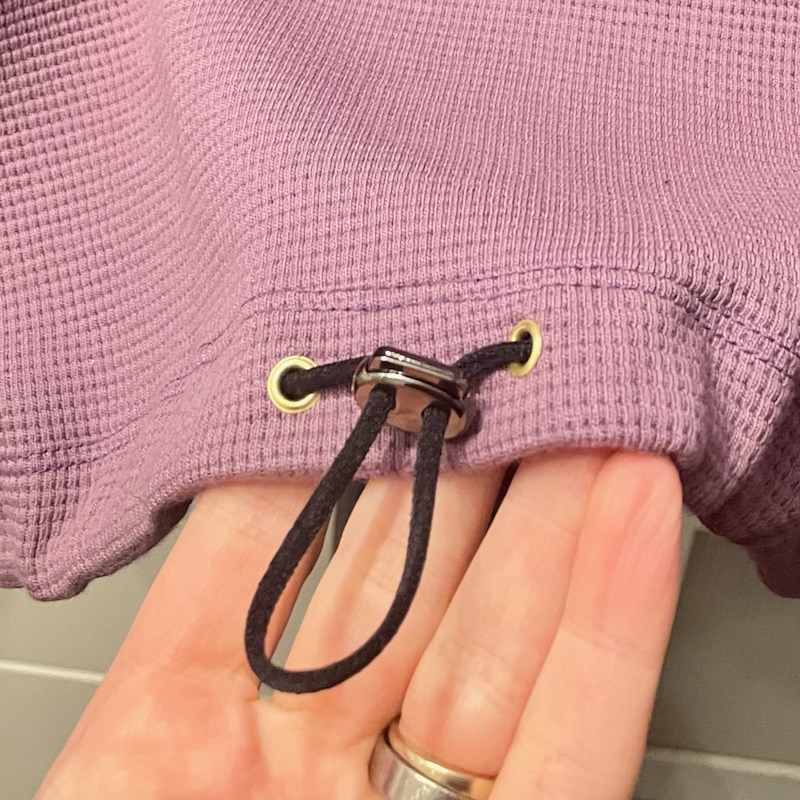
The hem is gathered with a drawstring and eyelets instead of a traditional turn-and-stitched hem, or adding ribbing. Like the sleeves, you could instead use elastic or ribbing if you preferred but you do need something to pull it in a little.
I used Prym eyelets and some super long shoelace, but after it was in (and before I trimmed the excess length), I actually hated the way it looked!
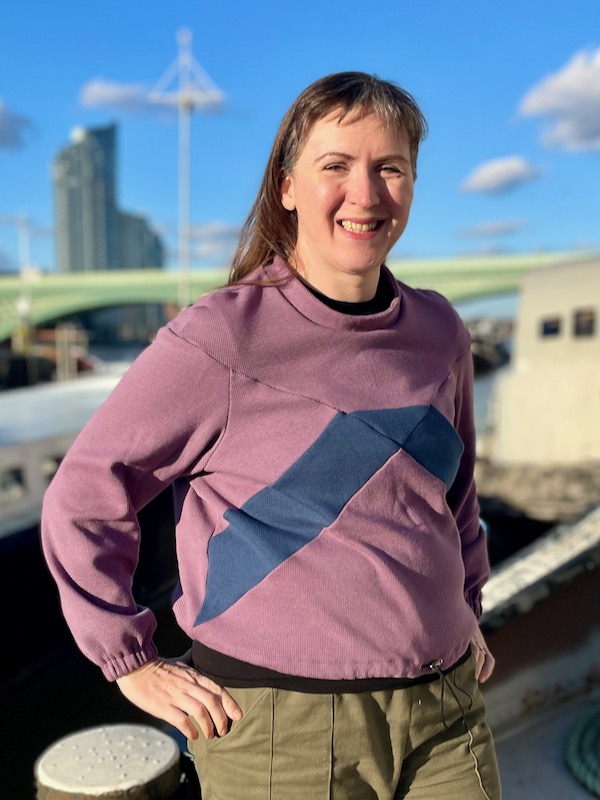
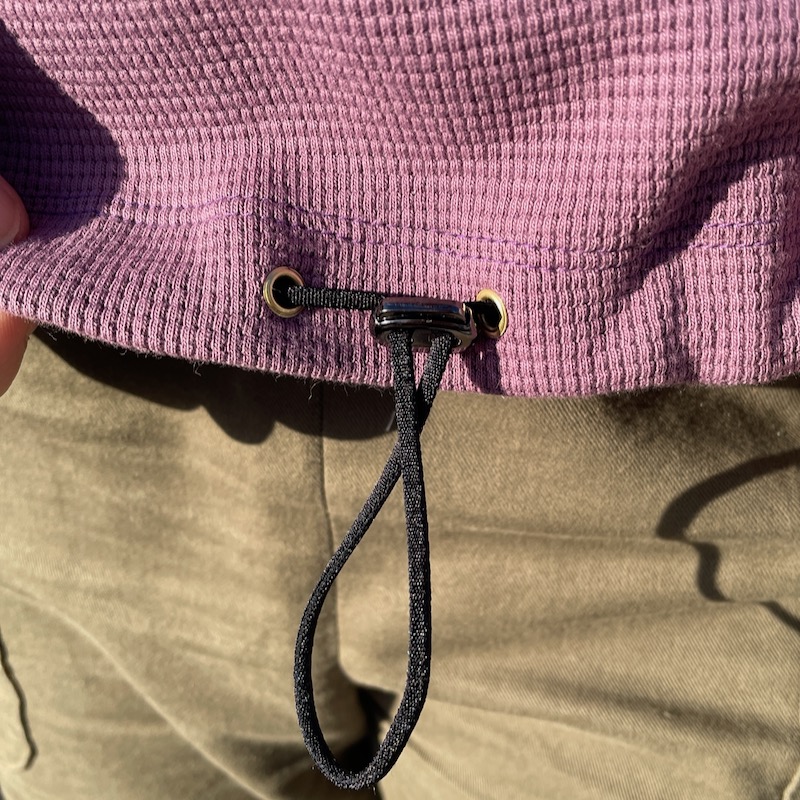
Since I was already buying some trouser fabrics from New Craft House (because hardly any of mine fit anymore!), I threw in some Shindo black stretch cord and a Gunmetal cord toggle to replace the shoestring.
The shoestring was annoying enough to thread through the casing, and I knew the cord would be worse (and none of my clamp tools would fit through the eyelet) so I got clever and stitched the cord to the shoelace to pull it through, and then unpicked the stitches. Way easier!
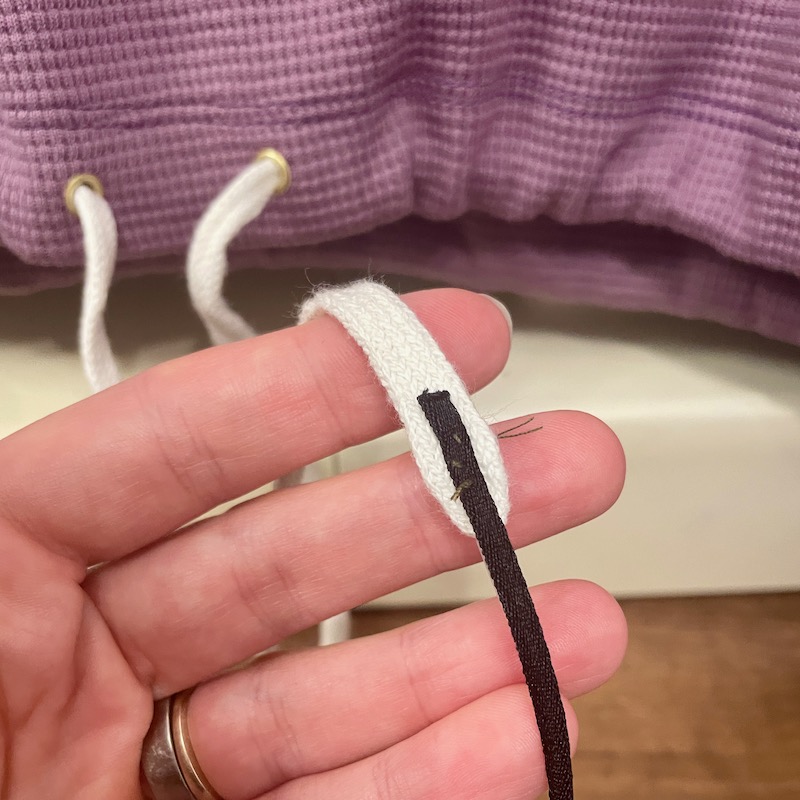
And the end result with the new cord and toggle looks SO much better!
Thankfully I bought enough to do a similar waistband treament in an upcoming pair of Moji trousers, too.