Finally I can give you another progress report on the wedding gown! Don’t worry, as you can see below, I’ve been continuing to work on it on my weekends and Wednesdays, so I’ve got a lot of progress to cover!
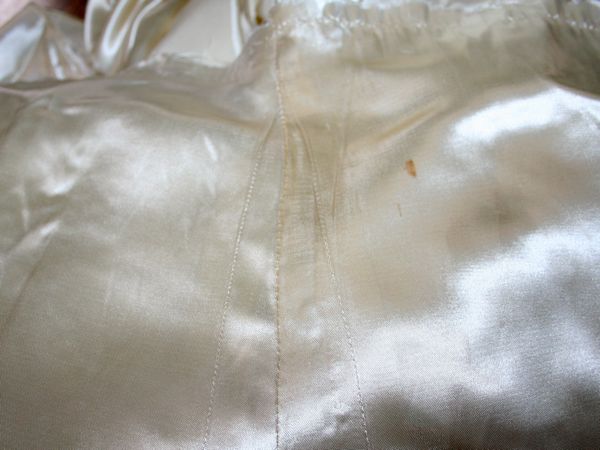
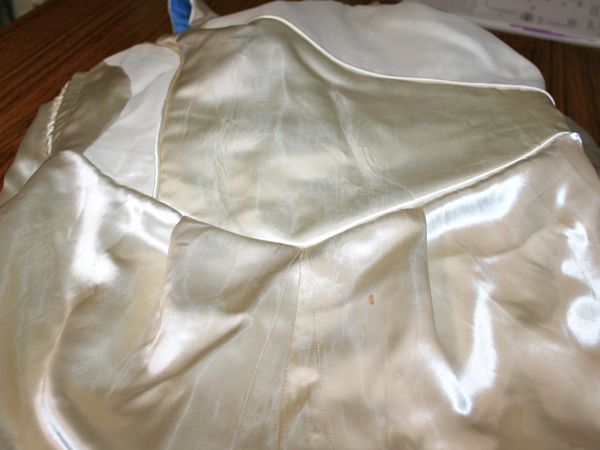
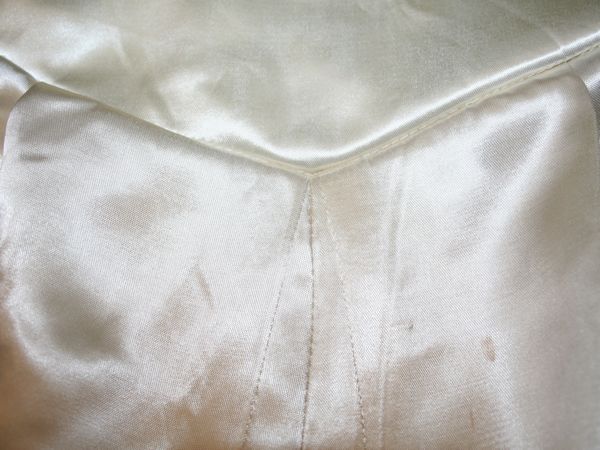
For the first time I got to turn my attentions to the skirt, which is exactly as it was when it was attached to Granny’s dress, albeit separated from the bodice at the (very gathered) waist seam. But there was a prominent blue stain in the centre front (CF) panel at about thigh-height from the blue tissue paper it was wrapped in for 60+ years, so the first step was to unpick and remove that entire panel. I then moved the two triangular sections that had been on either side of it together to form a new CF:
I actually prefer the way these two look together, forming a beautiful triangular, almost art-Deco detail at the CF!
But back to the bodice, where I had completed prickstitching along the entire neck and arm edges. I just free-handed this without my post-it guide and I actually think this looks better than my zipper insertion!


As I described a few days ago, I discovered a discrepancy in the lengths of my bodice front waist seams, so I made the choice to take in the bodice at the bottom few inches of one of the right front seams to make the waist seam even on the left and right. In the end, this fix only took about a half hour to unpick, machine stitch, and re-catchstitch the seam allowances and it totally fixed the problem! So I really consider that a win, and I had enough ease there that losing 4cm at the waist seam was not a problem in terms of fit.
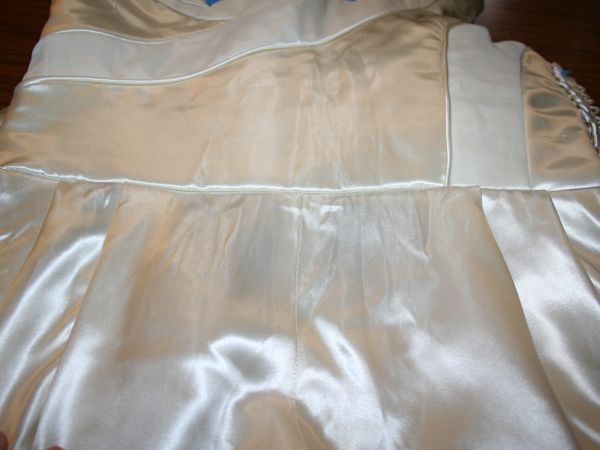
So with both sides of the bodice waist seam of equal lengths, I could then align the two side seams and the CF and CB of the bodice and skirt, and pin the excess into pleats. I chose to have double pleats in the back and single pleats in the front because I love the way they looked! Removing that centre panel fortuitously means I have less fabric in the front than in the back resulting in a flatter, slimmer line in the front!
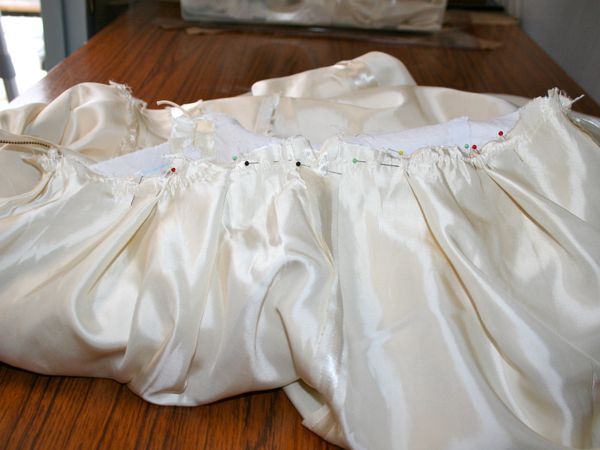
Once I was happy with the pinned pleats, I hand basted the pleats in place. At the CF I’m having a basque (pointed, V shaped) waistline, so I followed Bridal Couture’s instructions for sewing this:
- I basted a small square of silk organza on the inside of the skirt around the point of the V
- Using the sewing machine, I staystitched along the waistline of the skirt, and then along the waistline of the bodice, making an X at the point of the V rather than pivoting my stitches
- I clipped to the V at the skirt (thank you, organza!)
- I then machine-stitched the waistline with the bodice underneath, following the staystitches of the bodice exactly so that I stitched an X at the point rather than a V, and so doing it in two passes
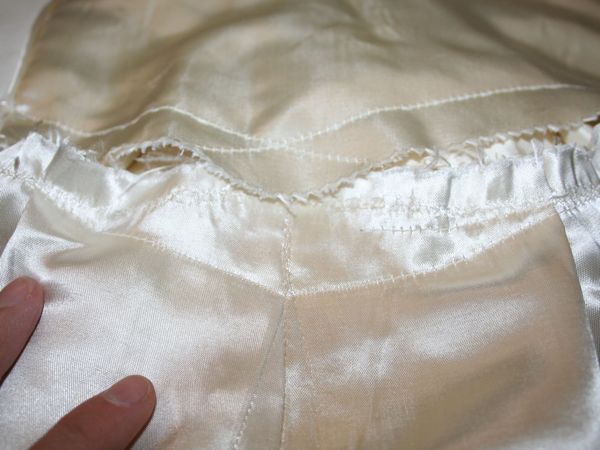
And just like magic, I got a lovely point without any bubbling!
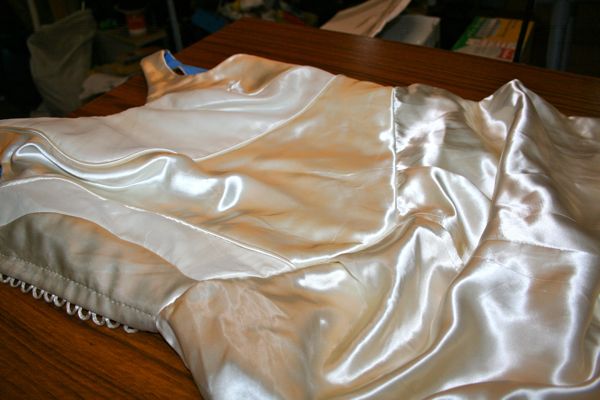
And here’s the back view:
It’s funny what a big difference adding the skirt makes – before it was just a bodice but now… holy crap I’ve made my wedding gown!!
So after that I inserted all the boning pieces back into their casings, stitched the ends of the casings closed, pressed the waist seam allowances toward the bodice and catchstitched those into place. So now the only things left to do on the gown are… (drumroll anyone?)
- Fell-stitch the lining to the underlining along the waist seam and zipper tape
- Add bra strap retainers at the shoulder seams (and possibly further down, too)
- Hemming! Which I definitely need help with as I’ve still got a good foot or two of train to make into a nice curve. But happily the original dress just has a neat, 1/4” machine stitched hem so I’m just going to copy that where I need to fill in the holes
(I decided against adding hanging loops because I only ever want to store this gown flat)

So with the dress nearly done, and with three weeks left, I now get to play with my headband fascinator and silk lingerie! Yayyy!