As you recall, last week I underlined Holly’s maternity coat and created all five bound buttonholes, but I had the day off work on Friday so I was able to make loads of progress over my long weekend! In fact, her coat is now 95% finished and ready to hand over, so I thought I’d give you a rundown of what I got up to…
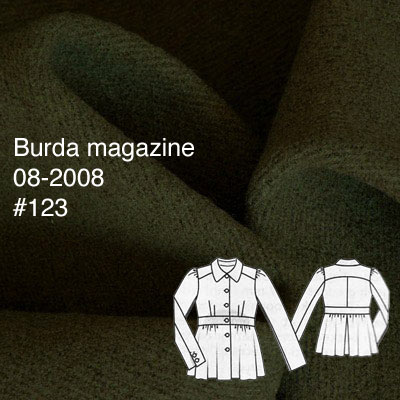
I’m making this maternity coat from the August 2008 issue of Burda, but after the first muslin we made some design changes (namely, eliminating the band and gathered sleeve caps) so it won’t look exactly like this tech drawing:
As I constructed the shell of the coat, I took the extra step here to catch-stitch all the thick wool seam allowances to the flannel underlining. I started off just doing this on the sleeve seams as I feel the bumps are most noticeable during wear there (and therefore most likely to get annoying quickly!), but I carried on and just catchstitched everywhere.
I wanted this coat to be as nice for her as one I would make myself, so why not? I also noted that Gertie was asking last week how to make the seam allowances lie flat on her coat – well, the answer is catch stitching!
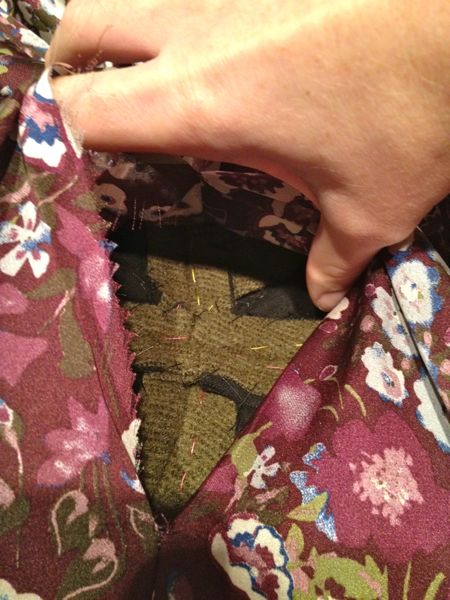
(I forgot to take a photo of all my stitching before lining it, though, so you’ll have to make do with a shot through the “window”!)
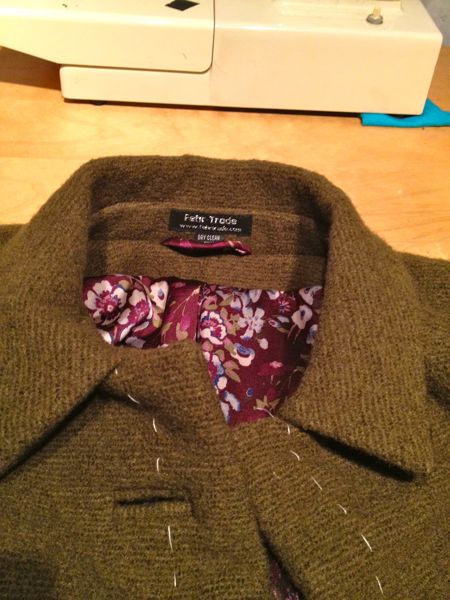
Once I’d finished the shell, I moved on to constructing the lining using a gorgeous ex-Roberto Cavalli, purple floral print poly satin from Stone Fabrics that is just SO Holly! Even though it’s polyester, it’s one of those high quality ones that just feels wonderful, even if it was rather slippery and not for the faint-hearted.
When cutting out the lining pieces, I simplified the upper back to eliminate the curved, horizontal seam. There wasn’t much shaping going on in it anyway and I figured the tiny darts wouldn’t be missed when I added the ease pleat in the centre back, and it makes it look much nicer inside.
Once the lining was complete, I joined the front and back facings together, and then attached these to the lining. Then it was time to sew the facing to the coat exterior around the opening (ie: “Bag the lining”). Then I did something a bit different, based on feedback from lauriana: I flipped the coat right-side-out partially to pin the hem in place, then flipped it wrong-side-out again to handstitch the hem together. Then I clipped and trimmed the seam allowances and flipped it right-side out the the final time. This gives the hem a nice, crisp edge, but keeps the lining from showing through or being too short! Perfect! Thanks very much, lauriana!
With the lining and coat right side out, I then tacked the lining to the coat seam allowances at the underarms, centre back, and vent to keep it all from shifting around too much during wear. Since I did bound buttonholes, I also then needed to clip and handstitch the reverse of each bound buttonhole on the coat facing, as well as behind the in-seam buttonhole.
At this point I tried on the coat, and instantly discovered a problem, as the right sleeve lining wasn’t sitting well, and felt oddly constricted.

I’m still not sure how I did it, but somehow I managed to insert one of the lining sleeves in upside-down (so the shoulder was attached at the underarm and vice-versa). Now, to my credit, there is neither a shoulder seam nor an underarm seam on the sleeve piece and my notches all looked the same. But by the time I discovered it, it was too late to really unflip and re-sew it by machine, so I unpicked the whole armscye seam and restitched it all by hand. I’ve never set in a sleeve by hand before (go go fell stitch!) but it actually really did give me more control on the slippery satin, and it only took me a Radio 4 podcast or so to do it.
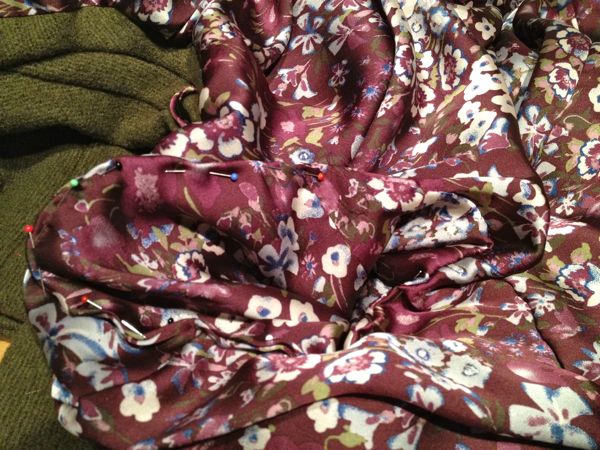
Then I hemmed the coat sleeve hems and the sleeve hem linings by hand, like I do for all lined sleeves, really. I took this photo as I was about to stitch the sleeve linings, because I liked the look of the linings rolled to the outside!
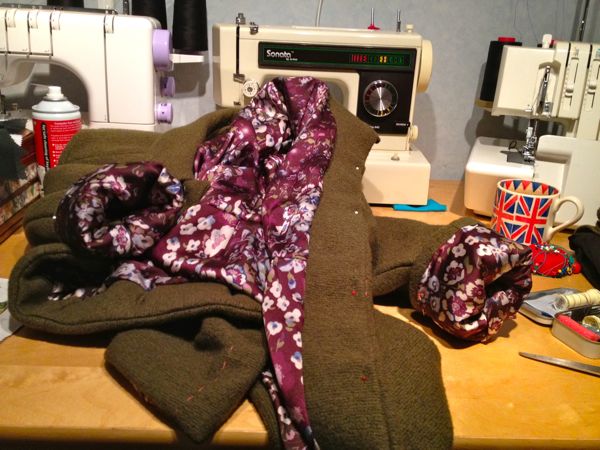
(My Union Jack mug was a gift when I finally got my UK citizenship!)
And voila! A finished coat, ready for Holly to collect on Friday (the first night we both had free). It’s only missing the buttons, but she’s bringing those with her, so I’ll sew them on as she waits.
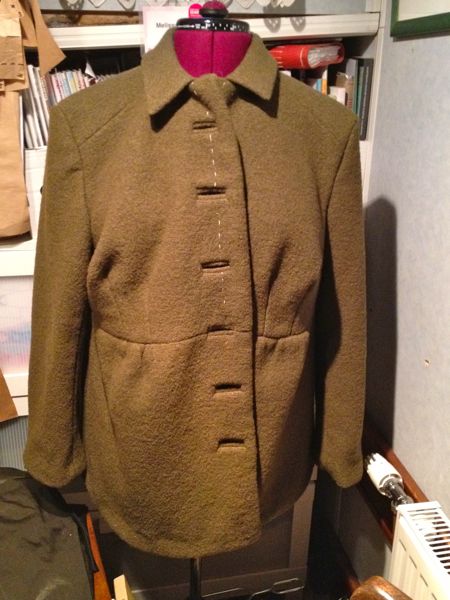
(It looks a bit deflated on poor Susan, but she hasn’t got the boobs or the belly to pull off the look right now, poor headless girl!)
We usually have problems taking photos after dark, but I’m going to really try and get some of her wearing this for you, because I’m really pleased with the job I did on this!