Peplums are a major AW12 trend and one that’s well within reach of most home sewists and high street shoppers. There are plenty of patterns out there, but one of the nicest I’ve seen so far is the cover design from the August 2012 Burda magazine, which is also available to purchase as a pdf download here (and you can look at the full instructions and layout diagrams on that site for free).

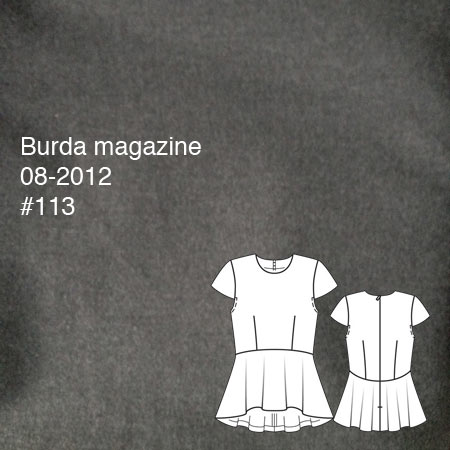
A lot of peplum dresses just feature a ring of excess fabric around the hips, but here, the curved waist seam plus the sloped hemline and bias-cut peplum on this particular pattern really sets it above the rest. I also like that it’s separates, so I can pair my top with a skirt, slim trousers, or leggings and get much more wear from it than just a single dress.
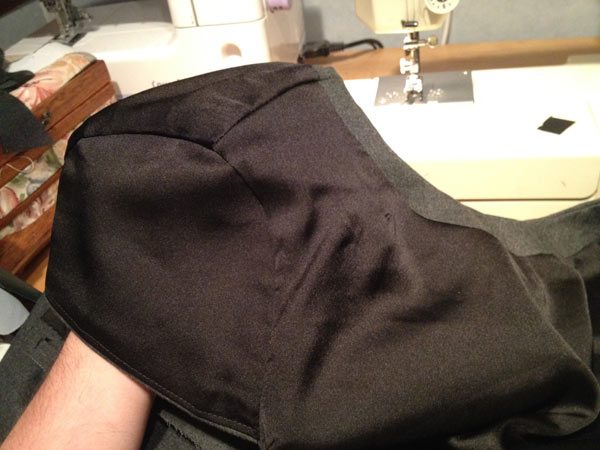
One thing I don’t love about this pattern, though, is that it’s unlined. Or rather, it has lined cap sleeves, a narrow bias edge on the underarms and a neck facing, but nothing further. It’s pretty straightforward to make lining pattern pieces from the shell and facings (see below), but the construction was more challenging to figure out. It is possible to do a nice clean finish almost entirely by machine (you still have to sew the hems by hand), but you have to do a bit of clever reordering of the construction…
Luckily for you, I made notes as I sewed so I can share my clever order of construction with you!
As mentioned above, you’ll need to modify your bodice pattern pieces after you’ve cut out your shell fabric. Place the neck facings on top of the bodice pieces (annoyingly, in this case they must be face-down so the shoulder seams and CB/CF edges line up), trace the neck facings onto your front & back bodice pieces and then cut these off before cutting your lining pieces. Remember to add seam allowances to these new cut edges, too!
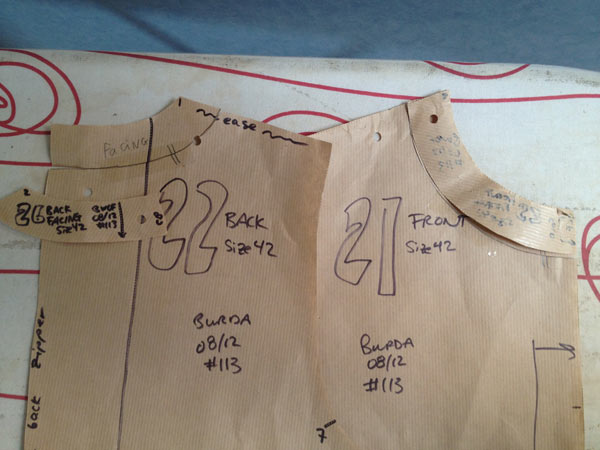
Be sure to interface the facing pieces, then attach them to the lining pieces and treat as one for the rest of the construction.
Instructions for a clean-finish lining!
- Sew all darts, attach peplum pieces to bodice on the shell, and sew at shoulders (but keep it open at side seams and centre back!), ie: the follow the first few steps of Burda’s instructions, but stop before the zipper insertion!
- Do the same for the lining
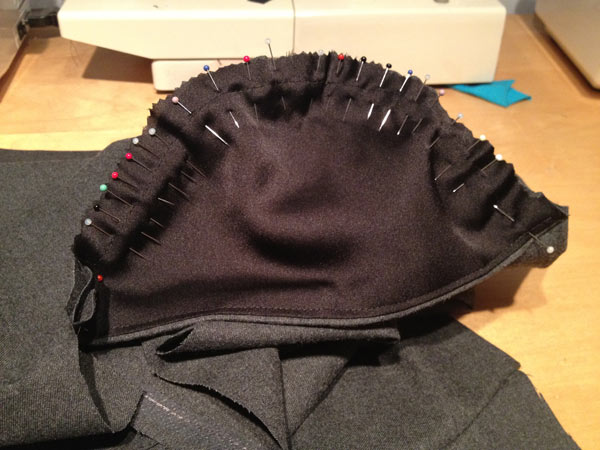
- Sew the sleeve shell pieces & sleeve lining pieces together at the bottom edge of the sleeve. Understitch, then baste around the other (armscyce) edge
- Baste the sleeve onto the shell with right sides together (beware of excess ease!! Don’t skip this basting step!)
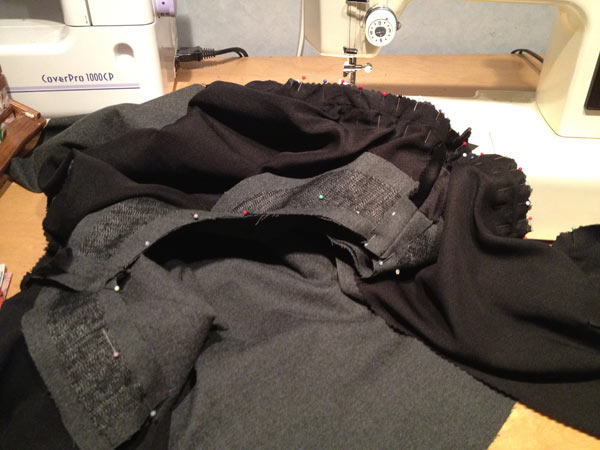
- With right sides facing, stitch the shell to the lining/facing at the neckline and armscyces, ensuring the sleeve is not caught in any seams (it should be tucked up inside)
- Clip all curves, flip right side out and press well
- Understitch the underarm portions up to the sleeve join marks
- Stitch the facing to shell at the shoulder seams (stitch in the ditch of the shoulder seam)
- Finish the seam allowances of the peplum by whatever means you prefer (I bias bound mine with some strips in my stash)
- Sew the side seams of the shell and lining in one pass, making sure the waist seams are aligned
- Sew the invisible zipper to the shell
- Open up the zipper and sew the lining to the zipper tape, right sides facing. Flip right side out.
- Press up the seam allowance at the bottom of the lining and hand stitch the lining to the waist seam allowances
- Hem the peplum
- Dance!

If you ever need to reorganise pattern instructions to get a clean machine finish, always remember that if you’re sewing more than one edge (neckline, armhole, etc) at a time, each seam must be C-shaped! If any are a complete circle, you’re going to find it impossible to flip right side out. I’m not going to admit how long it took me to overcome that particular mental stumbling block, but just trust me on this, that’s the key!
It’s taking me a bit long to finish this top than usual, but it’s not for lack of time, per say, more that the time I’d usually be sewing in, I’m now just so knackered from my marathon training that anything more than horizontal just isn’t possible! I’m happy to report that I passed a major milestone this weekend, running my first 20 miler, and solo no less! I’ve got a few more of these to do before October, but with all things, they should get easier the more I do them…
Also, I’m finding new obstacles placed between me and my sewing these days…
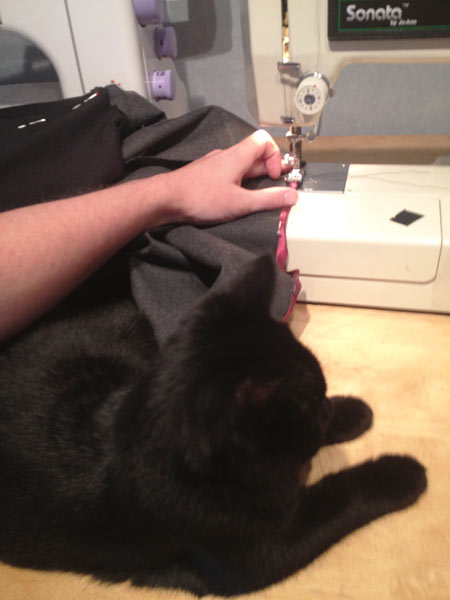
Nishi is so much more chilled in my sewing room than Bosco was – he couldn’t stand to sit still for more than a minute or two – too much to do! She’s just content to be as near to humans as possible!