How much do I love the disco fabric?? It really is the fabric that keeps on giving. This time, I paired the Beta Brand disconium fabric with some black Supplex from Tissu (which is BACK IN STOCK right now! This stuff sells out in days, people!) to make a sweet disco running top to match the disco running leggings I made in December
For this top I did something different and started with the teeshirt sloper from the Patternmaking for Underwear Design book, which I love (thanks for the surprise gift, Mom!!). It’s drafted with 10% negative ease and fits exactly the way I want my running gear to fit. And because knit slopers have no darts, they’re surprisingly quick to whip up, too.
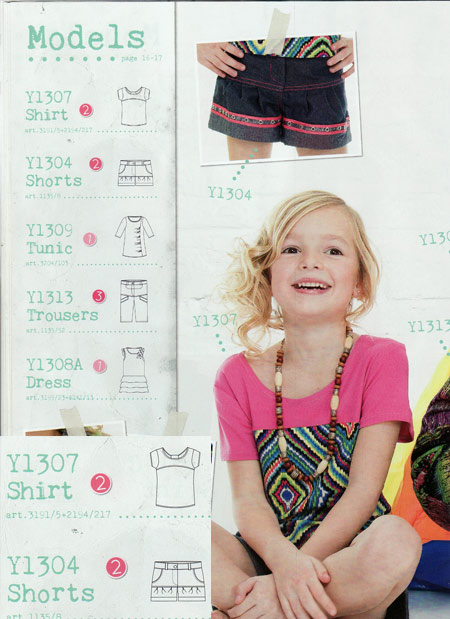
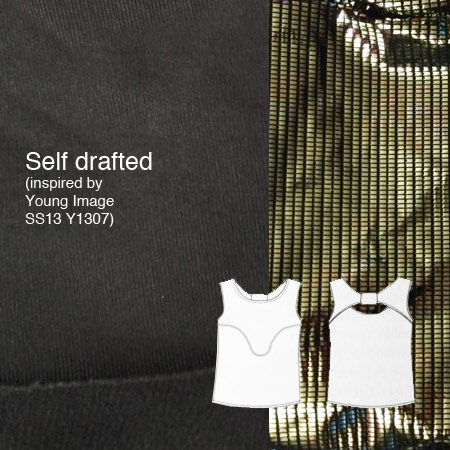
I was super inspired by this kid’s top in the most recent Young Image magazine, so after making one for my niece, I altered my sloper to have a similar back, which was surprisingly easy to do.
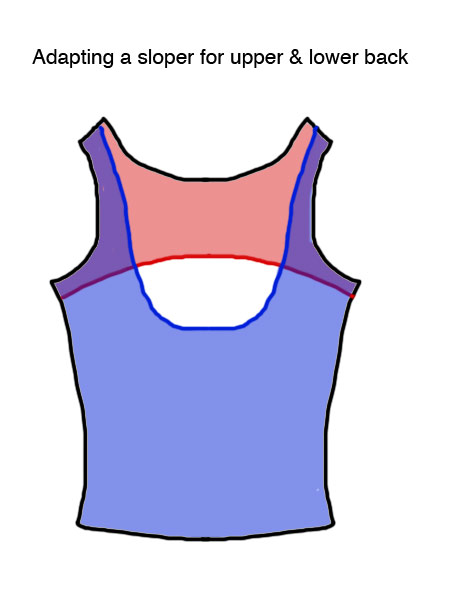
Essentially, I just drew two curves so there was a hole in the centre back, traced along one set of curves for the upper back piece (red in the diagram below), and traced along the other for the lower back (blue). At the shoulders, I didn’t want the lower back to peek through, so I made its strap 1cm narrower at the neckline. The back pieces are connected at the shoulders, armscye, and (just barely!) at the side seams, but the rest is free-hanging.
I also wanted a bit more exciting yoke shape on the front, so I just drew some curvy lines on my sloper and cut along it for the upper and lower front.
As with all my running vests, I bind the edges with my coverstitch binder attachment, which has a steep learning curve but is well worth the investment if you sew a lot of activewear. I posted a bunch of my coverstitch binder tips here and I used them to refresh my memory again!
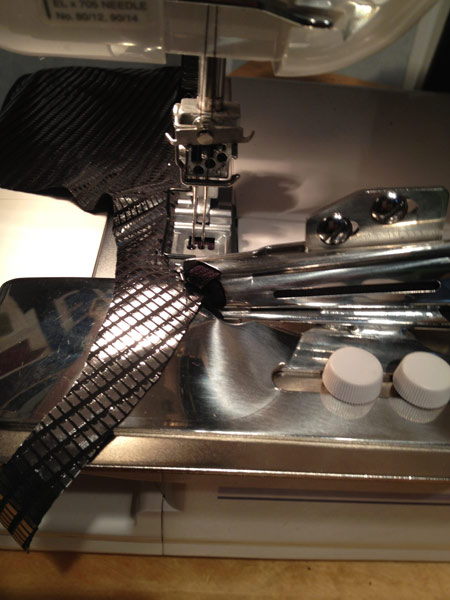
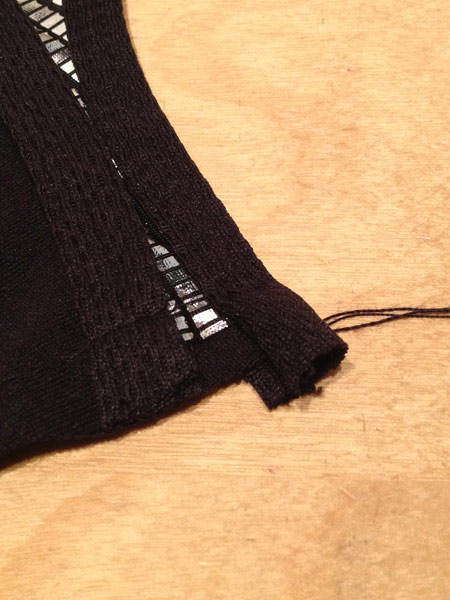
For the bindings, I cut up an old, black race shirt that was too big, a bit bland, and hence I never wore it much (sorry, Bacchus! Awesome race, bland shirt!). Luckily, it was just wide enough to make the bindings for all my edges without any seams (the binder hates seams!).
Though in a few places it was barely enough binding!
I created my own order of construction for this which I tapped into my phone for reference, and I may as well share with you in case anyone else wants to sew something similar!
Order of construction
- Attach upper front to lower front
- Bind lower edge of upper back piece
- Bind neck edge of upper back piece
- Bind neck edge of lower back piece
- Bind neck edge of front piece
- Sew shoulder seams through all 3 layers (burrito method so the seam is concealed!)
- Baste back underarm edges
- Bind underarm edges (if sleeves, sew sleeves to armscye)
- Sew side seams
- Sew long edges of loop together & flip right side out
- Loop around CB of upper back and stitch closed (may want to hand stitch to keep the seam hidden at the back)
- Coverstitch the hem (& coverstitch sleeve hems if sleeves)
These are the same steps I used to sew my niece’s teeshirt which has sleeves, so hence the mention of sleeves in the instructions! (I can’t show you hers until I give it to her in May, though I posted a review on Pattern Review if you’re interested).
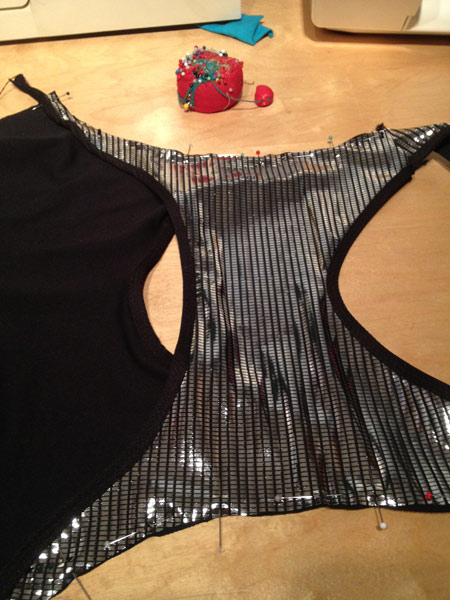
Here’s what the back looks like at Step 7, where the underarm edges are pinned and ready for basting:
After I finished the top, I put it on Susan to have a look at how the back ended up, and I wasn’t sure whether I liked it better with the upper back loose, or tied:
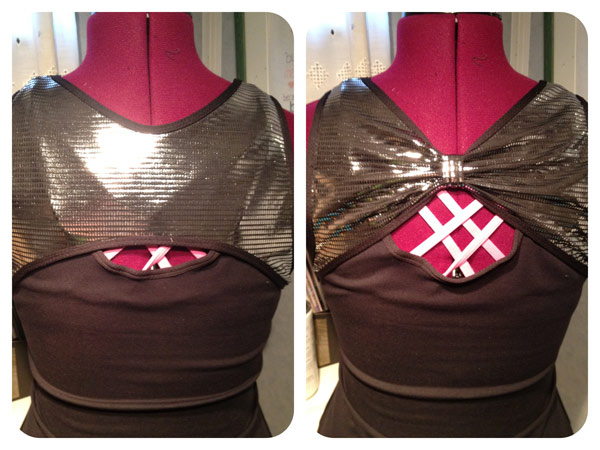
(ignore the thing criss-crossing underneath – that’s just from the RTW running top I keep on Susan all the time to make it easier to slide things on & off!)
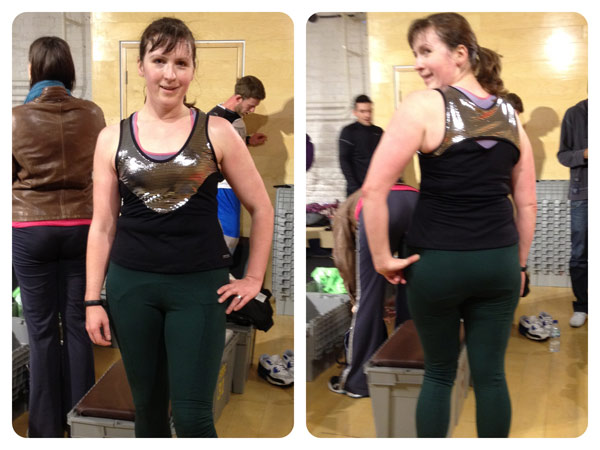
So I did as anyone would naturally do – I asked the internet to vote. And Twitter responded, with 4 for loose and 3 for tied. So I wore it loose to Run dem Crew last Tuesday (my first one since the shingles attack!), but I kept the loop just in case.
Personally, I still like it both ways so I may sew some snaps onto the loop so I could wear it either way.
Also seen in that last photo are yet another pair of “Ooh La Leggings” (I can’t stop! It’s too good!), this time made in some special Under Armour “Cold Gear fabric Cidell bought me in Baltimore. It’s cool stuff – somewhere between supplex and neoprene, and double-sided with black on the inside and a choice of colour (hunter green, in my case) on the outside.
Let me tell you – they were the warmest leggings I’ve ever run in, yet not so hot to be uncomfortable. Perfect. On my walk home, my hands and head were freezing through my gloves and hat, but my legs were still toasty!
You’ll notice a distinct lack of finished garment photos in this post – that’s because we’re aiming to do a full-on glam photoshoot with this top and the disco leggings together at some point in the future!