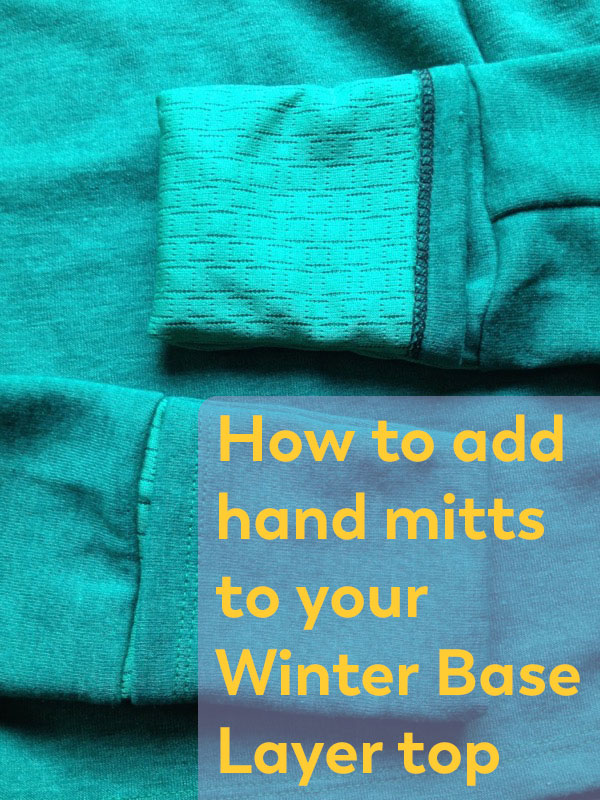
I absolutely love the Winter Base Layer for cold weather exercising – I’ve both run and cycled in mine and I get so many compliments whenever I wear them! But with a few simple steps you can also change both the sleeves and neck to make it even more versatile.
Today I’ll be showing you how you can use the hand mitts from the Surf to Summit Top pattern instead of the included thumb cuffs, and also how to extend the neckline into a turtleneck (aka polo neck) if you’d prefer.
How to add hand mitts
Sleeve Mitts were a feature I added onto my Surf to Summit Top patterns because I was getting sick of having to deal with gloves on my winter runs. I’d either have freezing hands for the first few kilometers if I didn’t wear them, or I’d have to carry (and then lose!) gloves after I’d warmed up.
I love a good thumb cuff for layering under thick gloves for cycling, but they just aren’t as warm as a nice mitt that encloses your hands entirely and folds away onto your sleeve when you’re done. Loads of people have told me how much they adore the hand mitts on this pattern, so I thought I’d help show you how you can add these onto your Winter Base Layer top in a few easy steps!
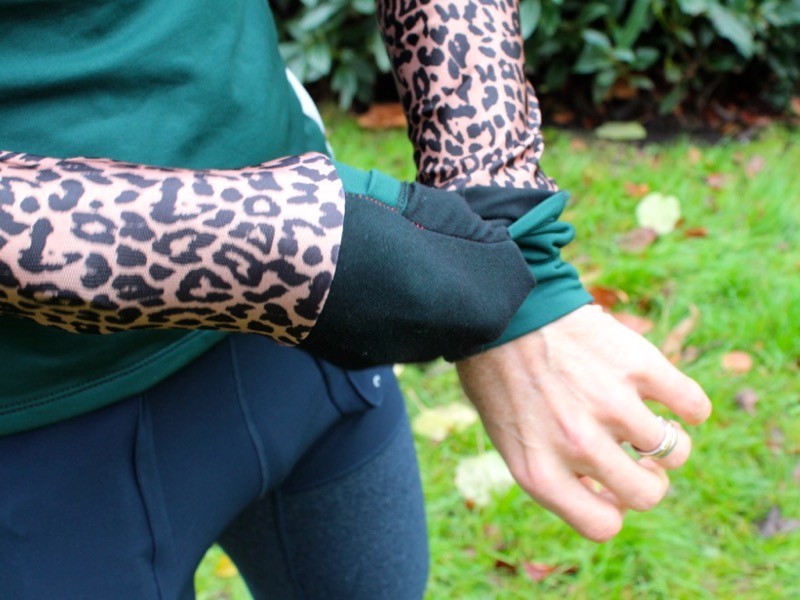
Before you start, you’ll need to alter your hand mitt pieces from the Surf to Summit Top so trace off a copy each of the Upper Hand Mitt and Lower Hand Mitt pieces.
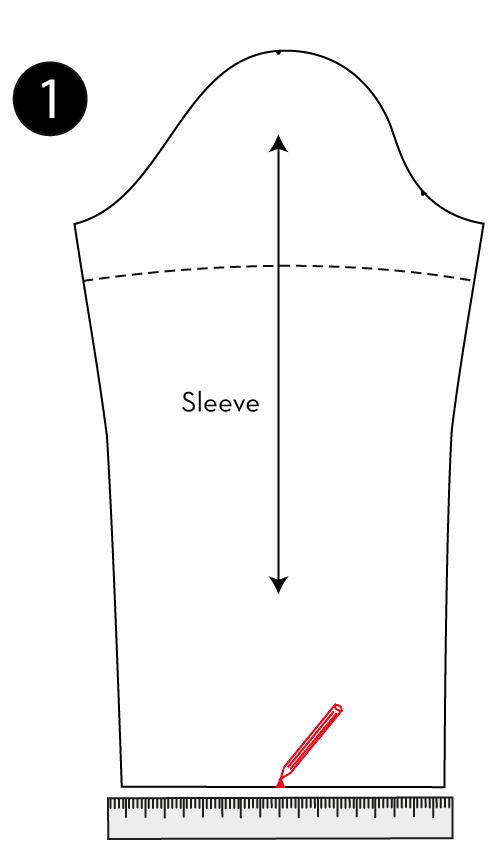
Follow Step 3 of the Winter Base Layer Pattern Changes instructions to lengthen and widen your Sleeve piece, and then mark the midway point at the bottom edge of the Sleeve.

Now take your Sleeve Mitt pieces and draw in the seam lines – 1cm (3/8in) away from the top & side edges (the bottom edge has a 1.5cm (5/8in) hem allowance). You want the top seam line of each of the Mitt pieces to be half the distance of the Sleeve edge, so you’ll likely need to adjust the Mitts to match. I imagine most of you will need to maker your mitts wider, but some may need to make them smaller, depending on your sleeve preference.
To adjust the width, cut a vertical line through each Sleeve Mitt piece parallel to the grainline arrow.
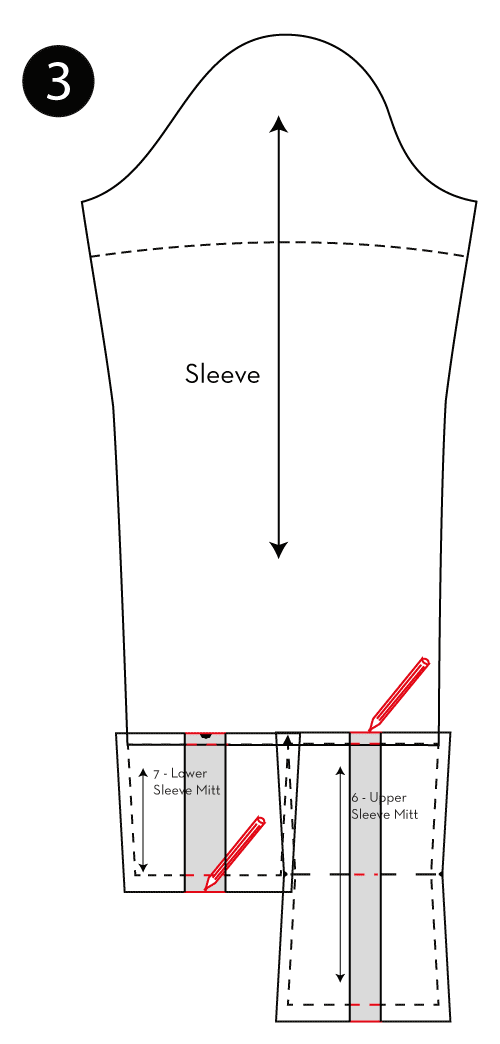
Now spread the Sleeve Mitt pieces apart until the top seam edge (dashed lines in these illustrations) matches half the distance of the Sleeve (ie: corner to the central mark you made in Step 1 above). Fill in with paper to complete your piece, and repeat with the other Sleeve Mitt piece. Note: you may have to re-adjust the double notch at the top of the Lower Sleeve Mitt piece so that it is still in the centre.
Follow the usual construction steps for the Winter Base Layer up to and including Step 8, and then switch to your Surf to Summit instructions and follow Steps 18, 19, and 20, taking note to align the double notch to the Sleeve seam, and that the single notch should now align to the centre of the Upper Sleeve Mitt piece instead.
How to add a turtleneck (polo neck)
When I was designing the Winter Base Layer, I wanted a neckband that was a little bit higher than usual, but I’m well aware that many people find high neck tops to be uncomfortable and restricting, so I kept the recommended height at Step 2 of the Pattern Changes instructions to be quite conservative.
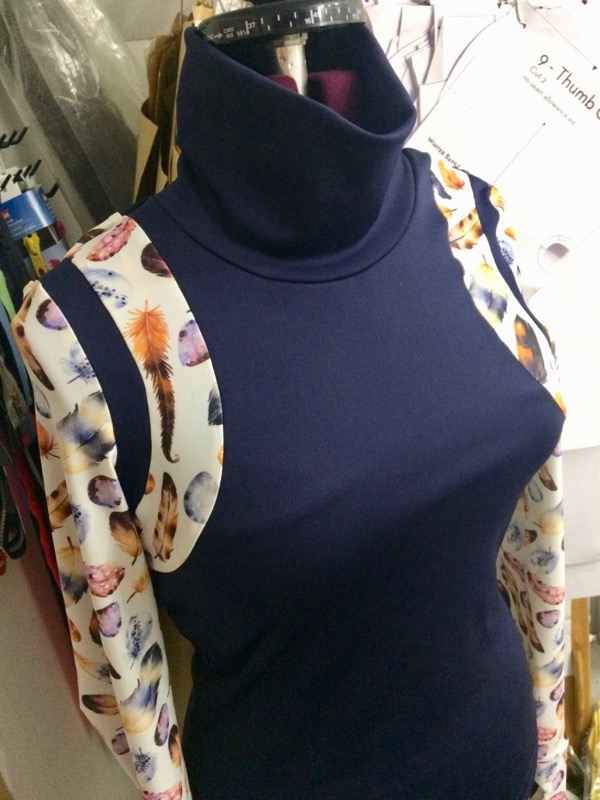
However, you can make your neckband be as tall as you like! On my feather print version, I extended my neckband piece up so that it was a full 21cm (8 1/4in) high, for a finished neckband that’s 10.5cm (4 1/8in) high – enough to either cover my entire neck or fold down if I want.
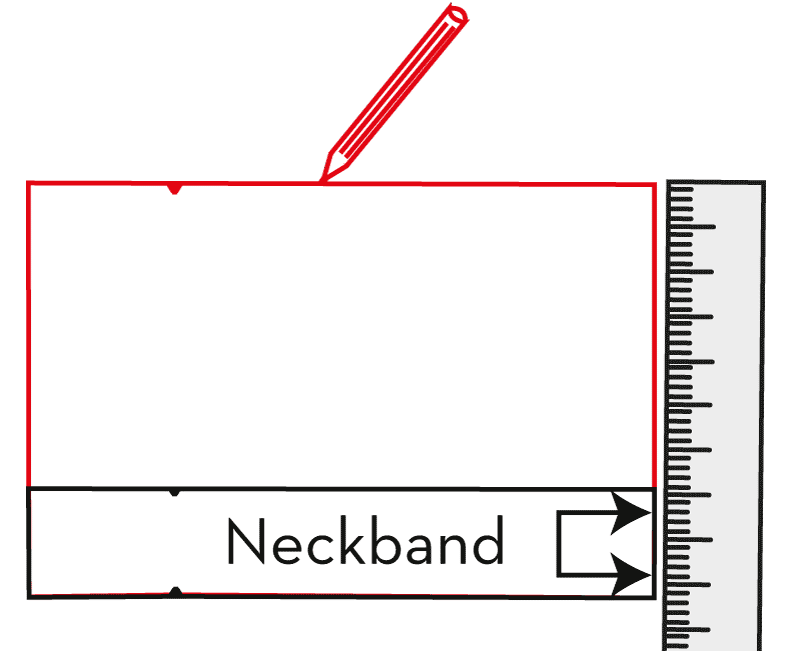
You can do the same change on your Neckband piece, too – just extend it upwards to be twice your desired finished height, making sure to transfer your notches over to the new edge when you’re done.
Where do you stand on the hand mitt vs thumb cuff divide? And how do you feel about turtlenecks – do you find the warm and snuggly, or just claustrophobic?
