While I await a photoshoot on my new Papercut Ooh La Leggings, I thought it’d be nice to share with you what’s become my go-to finish for elastic waistbands. Oftentimes pattern instructions will tell you to create a casing, leave an opening, and thread the elastic through it. I totally hate this! You end up with uneven bunching of fabric, plus the waistband tends to fold up and twist and generally get really uncomfortable to wear.
Over the years, I’ve developed this method which a) attaches the elastic directly to the fabric, and b) protects your skin from direct contact with the elastic. I find it’s much more comfortable than the casing method, looks much neater, and also gives you the added option to have greater stretch in the back if you need it (swayback/bootay ladies, listen up!).
Finished leggings:

Step 1
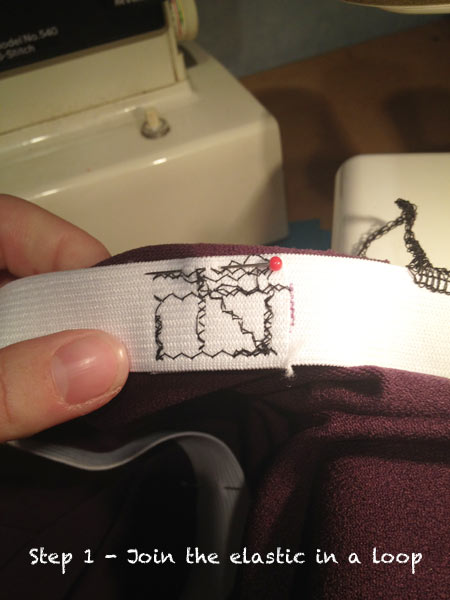
Step 1 – Place the elastic around yourself where the waistband will lie, making sure it’s snug, but not tight (you may want to pre-stretch the elastic a bit first). Mark the overlap edges with a pen, and trim so the edges overlap by an inch or so. With your sewing machine, zigzag the crap out of it so it’s not going anywhere!
Step 2
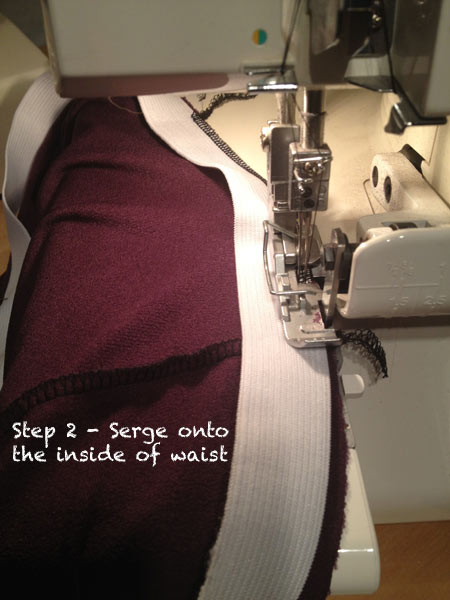
Step 2 – Make the overlap the Centre Back, and mark the opposite side with a pin as the Centre Front. Mark midway between these two with pins as your side seam marks (or offset towards the CB if you want more stretch in the back). Place your elastic against the inside edge of your waistband, and serge/overlock the elastic in place, taking care to not cut the elastic with your serger blades! If you don’t have a serger, that’s cool, just sew near the top edge of the elastic with a narrow zigzag and very short stitch length. Stretch the elastic as you sew/serge so all your pin markings line up.
Here’s what it’ll look like on both sides:

Step 3
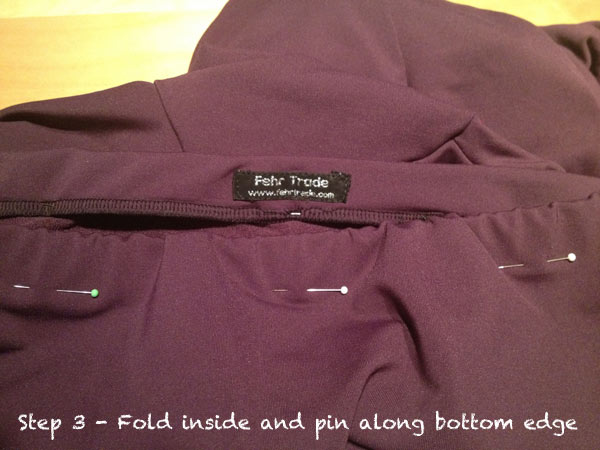
Step 3 – Fold the elastic to the inside again (so the serged elastic edge is at the bottom), and pin along the bottom edge of the elastic on the right side.
Step 4
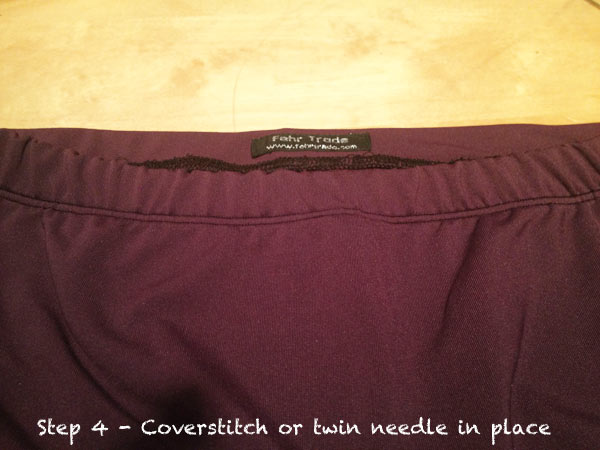
Step 4 – Coverstitch (or use a twin needle) along the bottom edge of the elastic from the right side. And you’re finished!
I don’t want to say you have to do this if you’re joining Karen’s Pyjama Party Sewalong, but there may very well be an inspection!