This is a project that is new-to-you, but feels old-to-me! I made this top for my nephew back in February, but I only just now got sent some photos of him (and my niece, who I’ll show you next week) wearing the gift!
These were meant to be Christmas gifts, but the timing of my pre-Christmas swine flu meant I was totally unable to complete them on time for the Christmas posting deadlines. My sister-in-law said I should just send them over whenever I got a chance, as the kids get so many gifts at Christmas that they’d probably appreciate them more at another time of year anyway. I thought this was supremely wise thinking, and it also made me feel much less guilty for being a “bad Auntie”!
I chose Lekala 7089 (modified) for my nephew, Logan.

I realised the last two things I made for him were hoodies, so I decided to leave off the hood on this one for something different. There’s a noted lack of patterns out there for boys over that magical 128cm height mark (what’s up with that, Burda??), but there’s a pretty great selection of Lekala stuff for boys, and because the sizing is custom, you can make it for any sized nephew you want!
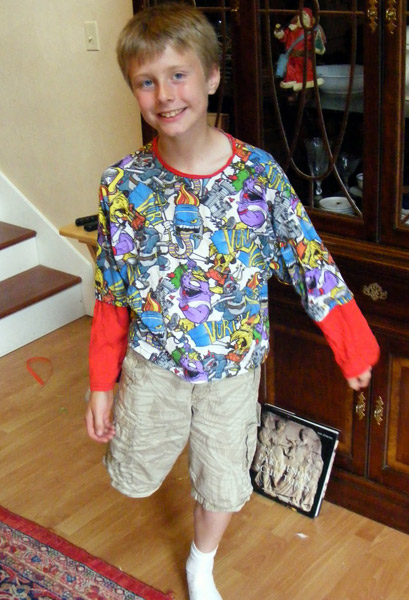
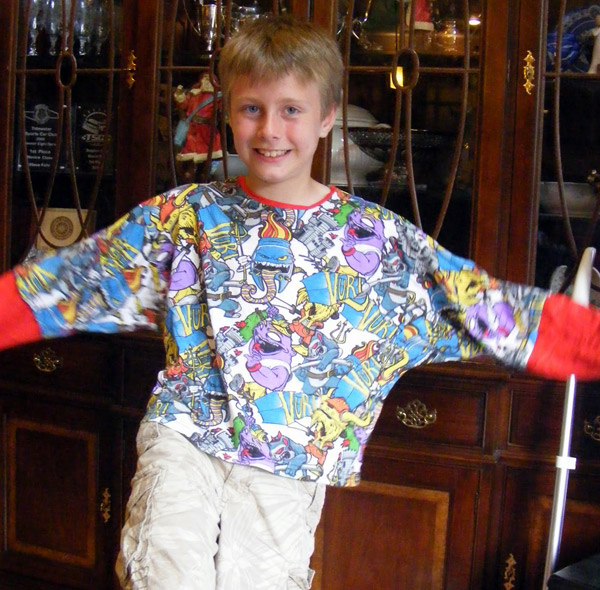
I thought this looked really wide in the body when I’d finished it, but it looks okay and intentional when he’s wearing it, so I think it’s probably just because it was drafted with more ease for sweatshirts rather than the teeshirt material I used here.