London has gone super sunny and warm over the past few weeks, so my thoughts have turned to spring sewing and using up some treasures from my stash. Remember the silver chain and sequin motif I bought in Paris last summer? Well I still adore it, and I thought it’d be a great showpiece for a spring dress.
Since the motif is mounted on blue netting, I thought it’d be best to pick a similar coloured fabric for the dress, so that the little spots inside the design which can’t be trimmed away wouldn’t look too out of place. Luckily I’ve had this turquoise linen/rayon mix in my stash for a few years, so its day has come!
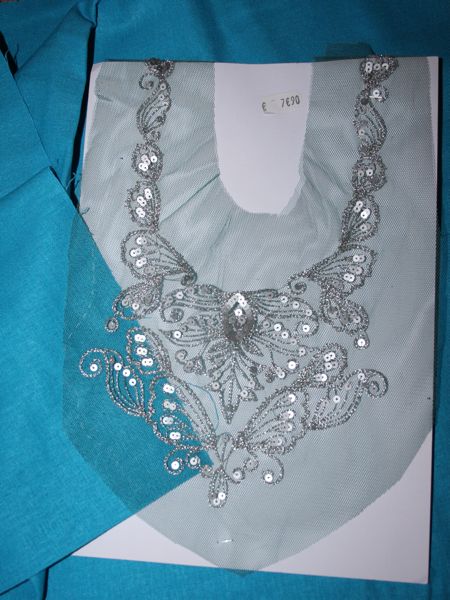

I thought it looked good next to the motif, but wow! it looks amazing when I actually pull some through underneath it!
Has anyone worked with motifs like this before? I’m guessing I just get silver lurex thread to match and take tiny stitches the whole way around and trim off the excess netting? Is an embroidery hoop useful (or necessary)? I’m hoping to get the piece cut out and ready to work on during our French road trip over Easter, with any luck.
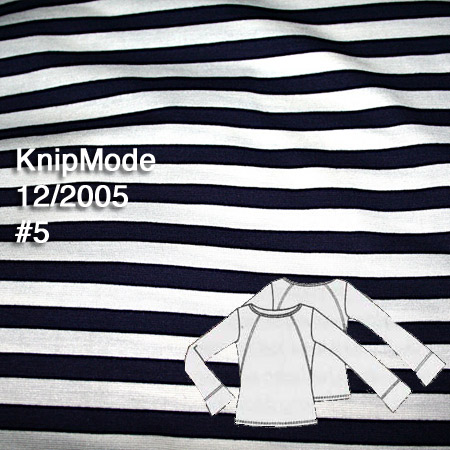
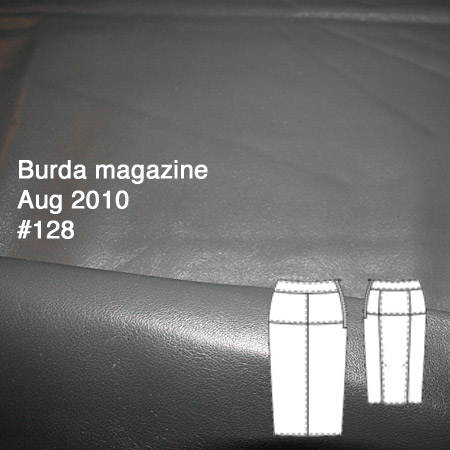
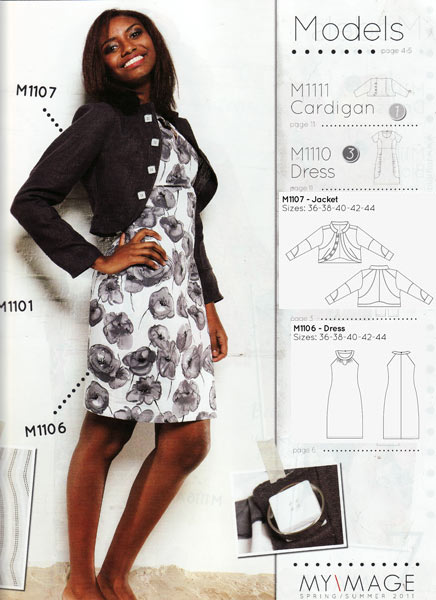
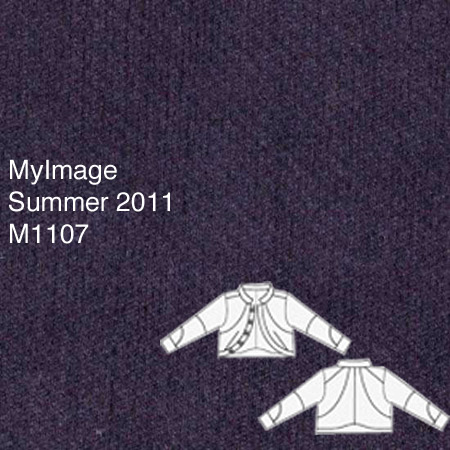
The next step is figuring out which pattern I’m going to use. I used my usual method for sifting through my pattern magazines (like I did for my wedding gown and my latest winter coat) – since I’ve got all my At-a-glance pages scanned in an online gallery, I flip through them all looking for a suitable pattern, and when I find one, take a quick screenshot of that pattern (Shift-Apple-4 on Mac makes it really easy!), and rename the file to be the issue number so I can find where it came from.