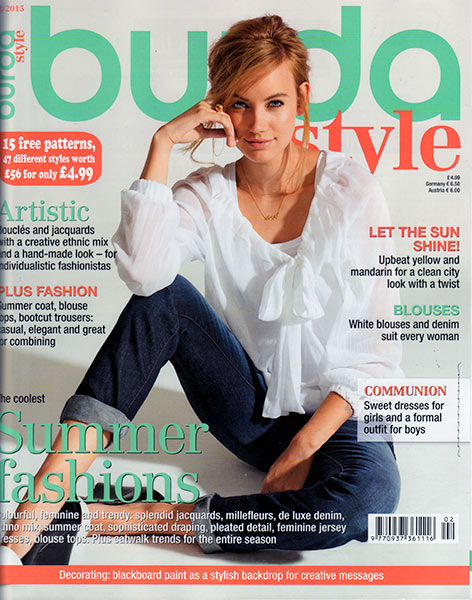
I’m a bit behind on my review due to my emergency trip to the States, but this wasn’t the greatest issue ever anyway, IMHO, but there’s plenty enough to like (and to moan about!).
This shirt is probably my favourite of the entire issue – I love its angular seams, inset corners at the shoulder, and general shape. I thought it’d be the perfect partner for some muted, geometric Liberty lawn in my stash, but the pattern actually calls for jersey. For once I actually don’t want to sew something in jersey, figures! I also quite like the asymmetric skirt it’s paired with. It’s just a basic pencil skirt with some additional, diagonal darts and a drape but I think it works here.

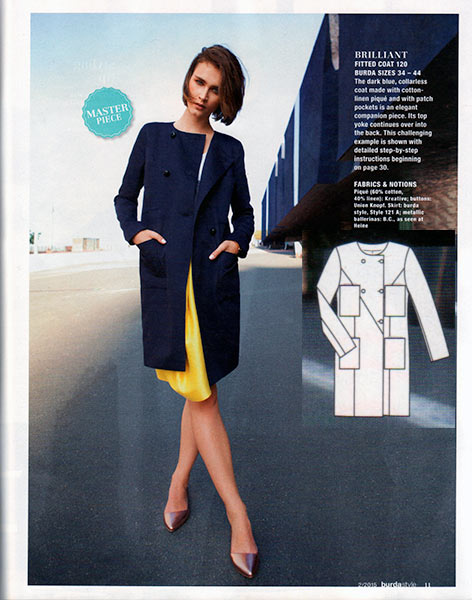
This coat pattern is shown in several guises throughout the magazine, but I like this classic navy version the best (minus the weird patch pockets over the boobs!). It’s also the pattern with coloured, illustrated instructions this month, too.
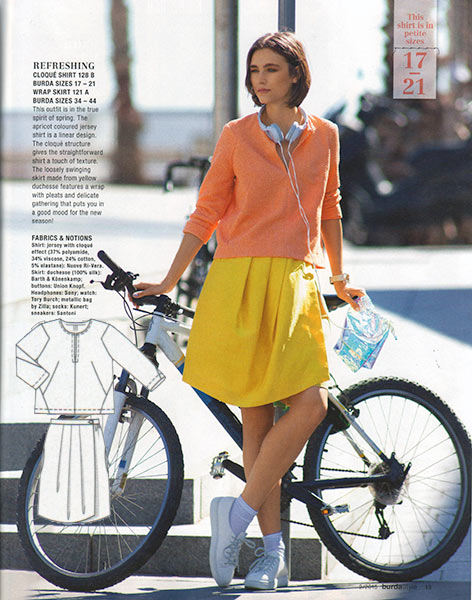
Here’s that same angular-seamed shirt as seen above, but made in a thicker fabric so it looks more like a sweatshirt than a teeshirt. The skirt it’s paired with here is very simple, but works well to showcase a special fabric, or in this case, just two great colours! (also, bonus points for including a bicycle in the photoshoot, Burda!)