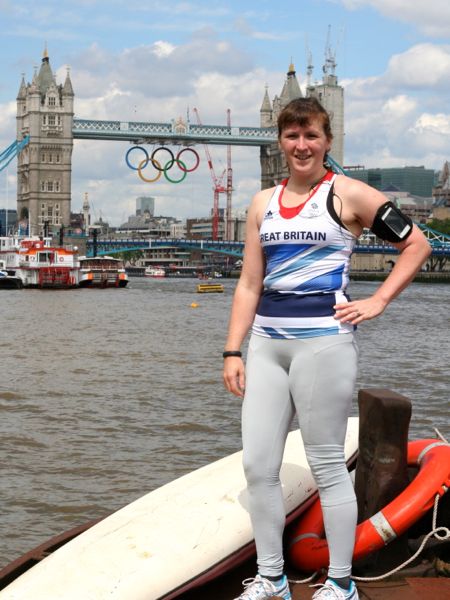
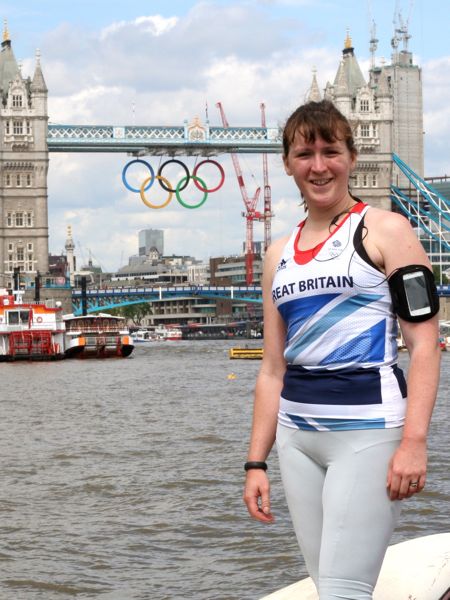
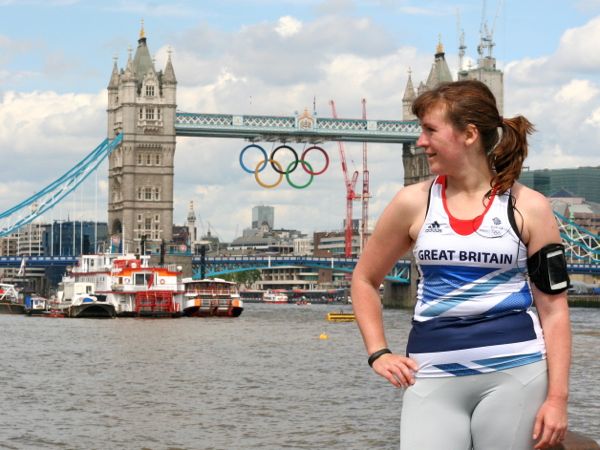
On Saturday I showed you a sneak peek of my new running leggings and my thoughts on the Opening Ceremony, but here’s your chance to get a better look at them, and those Olympic rings on Tower Bridge!
I’m finally feeling a little better so we took these photos after I ran my usual 10km loop in my official Stella McCartney for Adidas replica Team GB vest (now sold out everywhere now, sorry!) and my leggings.
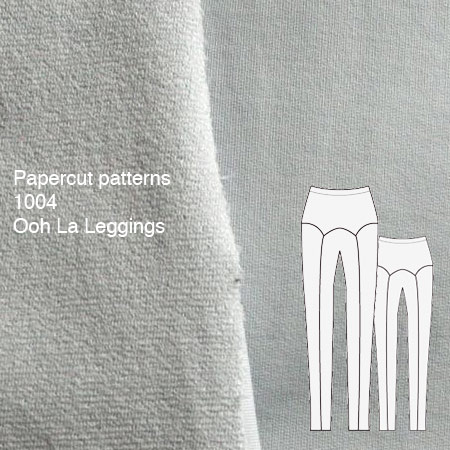
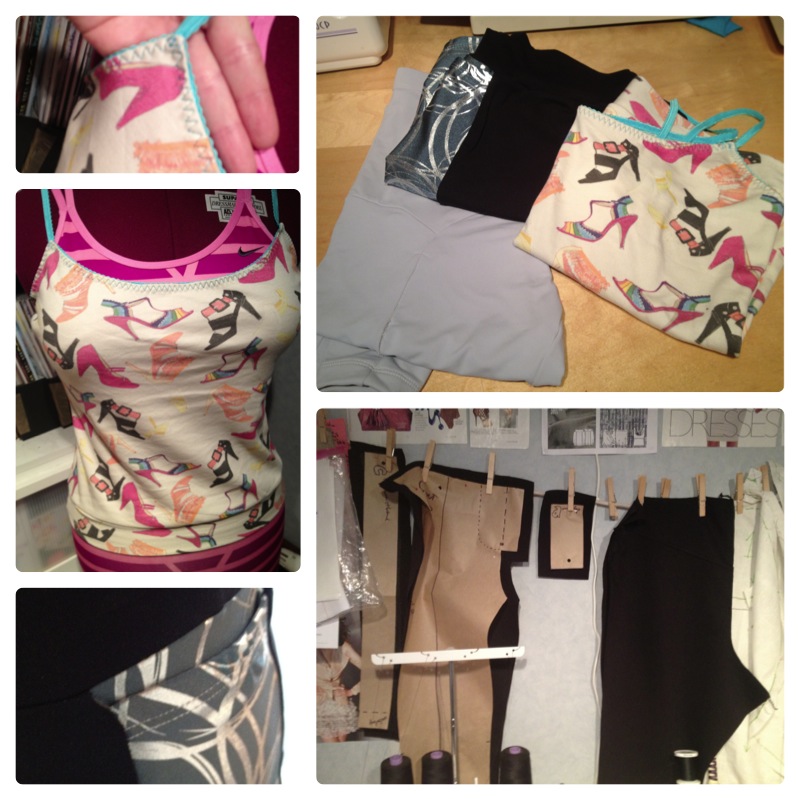
This is the 4th(!!) time now I’ve sewn the Papercut “Ooh La Leggings” pattern (UK stockist here), though I’ve actually got a 5th pair on the way, if you can believe it! They’re so well drafted, so stylish, and so comfortable to run in that I just can’t resist making more. That they’re also really quick to sew on my overlocker is just a bonus. Here I made them in the pale grey Suziplex fabric I bought from Suzi Spandex when I was in Montreal in March, and it’s just truly, truly wonderful stuff.
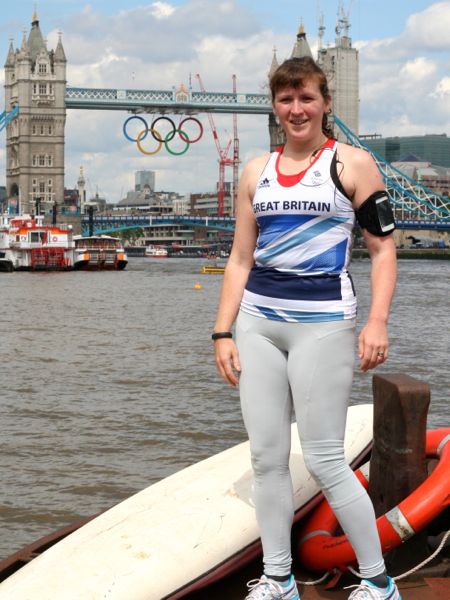
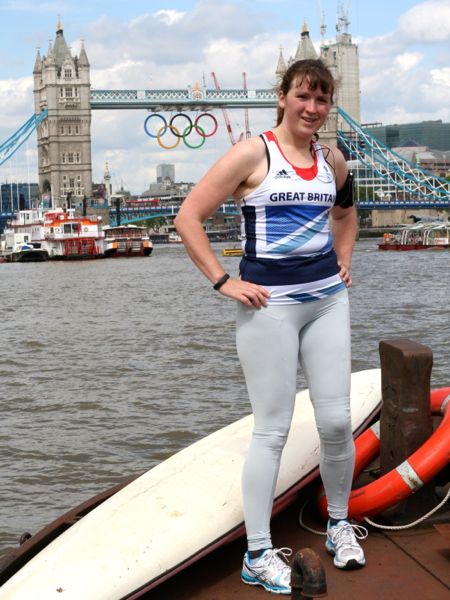
I also used my my elastic waistband tutorial technique for a nice, comfortable finish inside, which, judging by your comments, a lot of you are also using now, hooray! This waistband plus the soft and loopy reverse side of the Suziplex really does make for the most comfortable running gear ever, aeons better than anything I’ve ever bought.