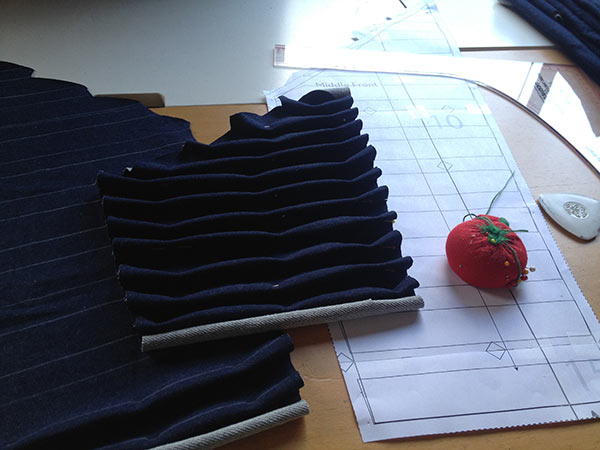
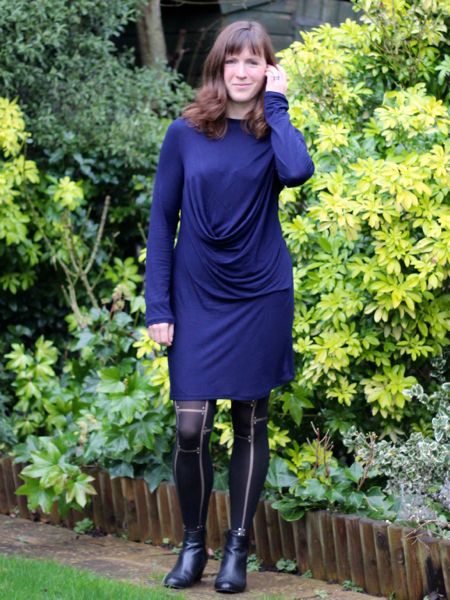
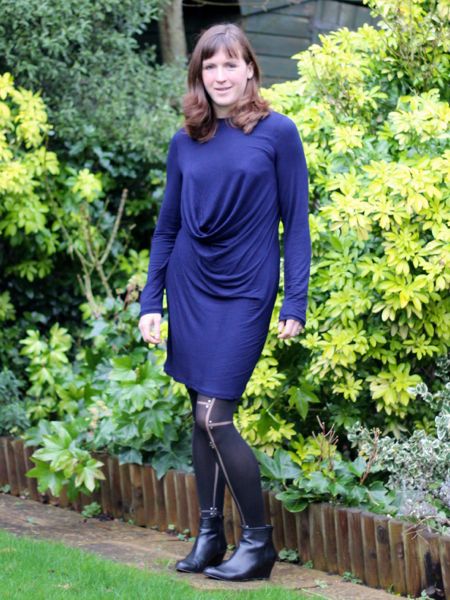
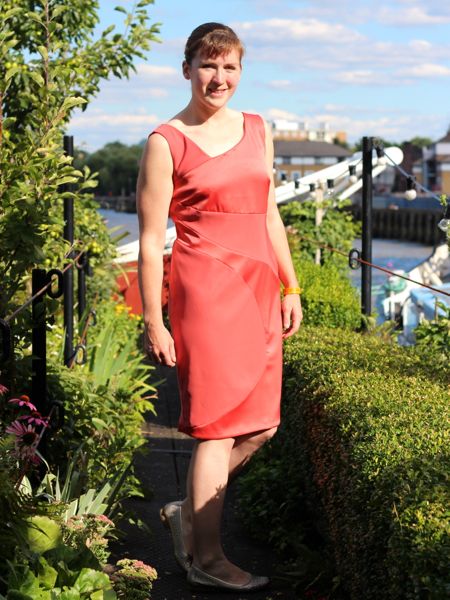
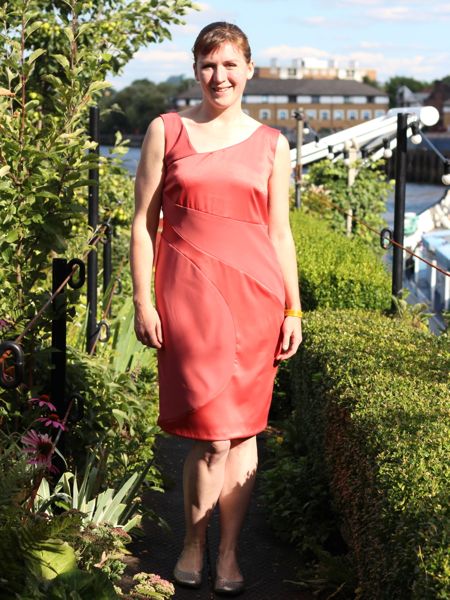
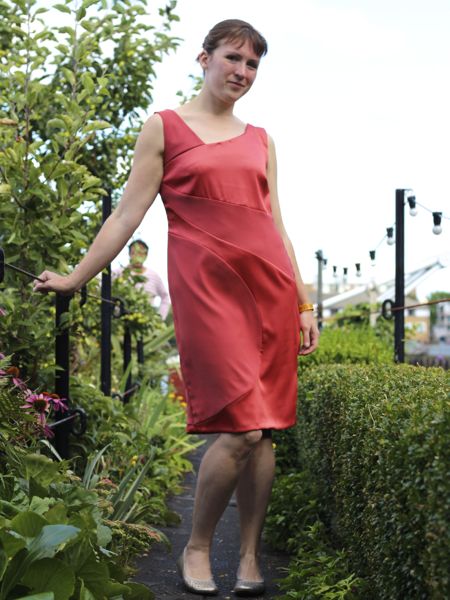
Not everything I made while I was ill was an involved as my navy Harriet jacket – I made quite a few small and quick projects, too, just to boost my mood. I wanted to show you two different quick tops today – it didn’t really feel like I had enough to say about either to warrant separate posts, but I wanted to document them just the same.
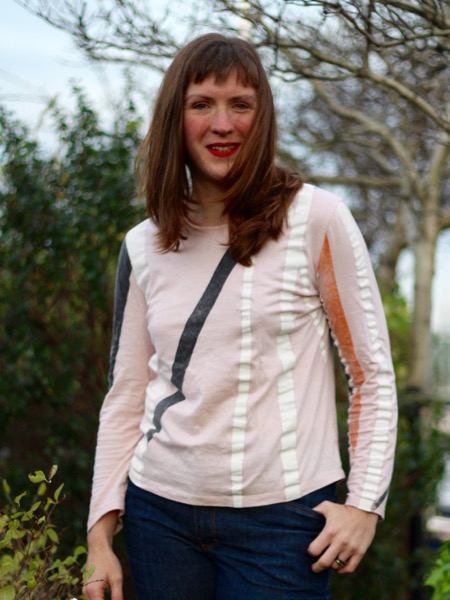
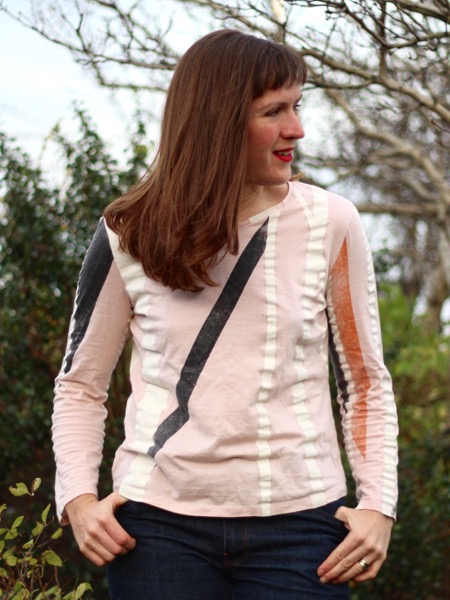
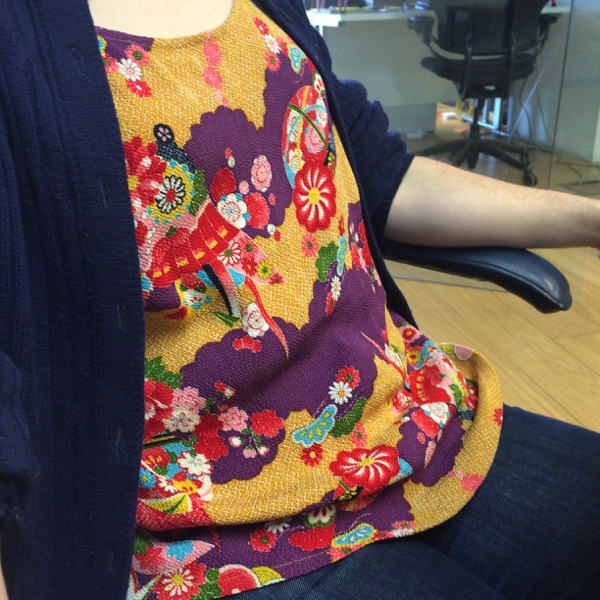
Seamwork Akita in Japanese floral
My friend Alex brought me back a ton of fabrics fro Tomato in Tokyo (which you’ll be seeing more of, I’m certain!), but this narrow, textured floral shrunk a TON in the wash and was narrow to begin with, so afterwards it was very narrow indeed. So I pulled out the Seamwork Akita blouse pattern since it only needs a narrow, non-directional print fabric because it’s just one pattern piece (no shoulder seams). In the end, the pattern piece touched both selvedges and I had to trim off some of the sleeve depth to fit it in!
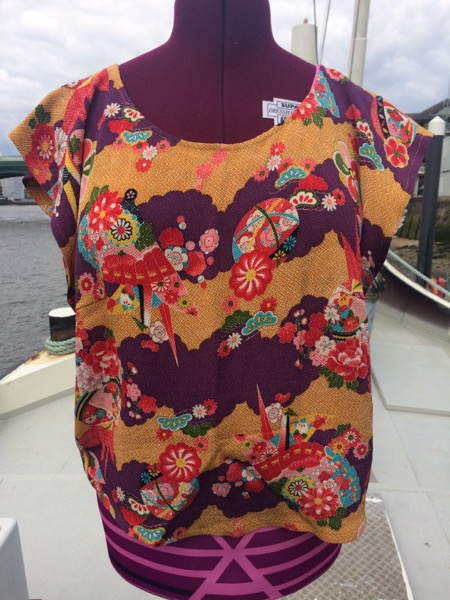
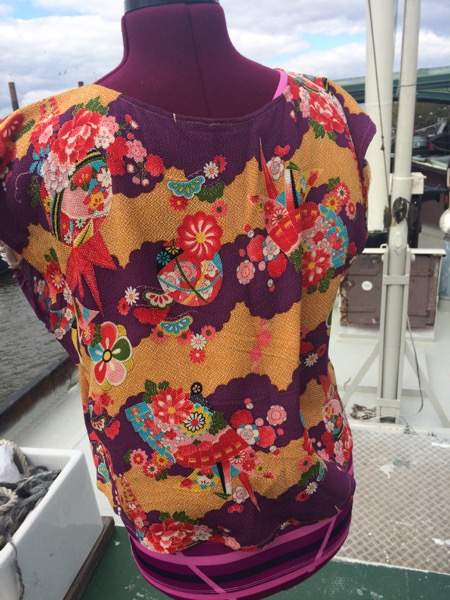
I haven’t seen this pattern made up much, but I was disappointed in the fit – this runs HUGE, even for an over-the-head top (in contrast, the woven, over-the-head Sorbetto pattern fits much closer). In hindsight, I think I could’ve made the absolute smallest size and still be swimming in it (and no, no printing errors!). I chopped off about 6 inches in length, too, and it’s still on the long side.
But the worst bit is that the bust point is ridiculously low, which just looks bad. Luckily, it gets lost in such a busy print, but it’s still disappointing.

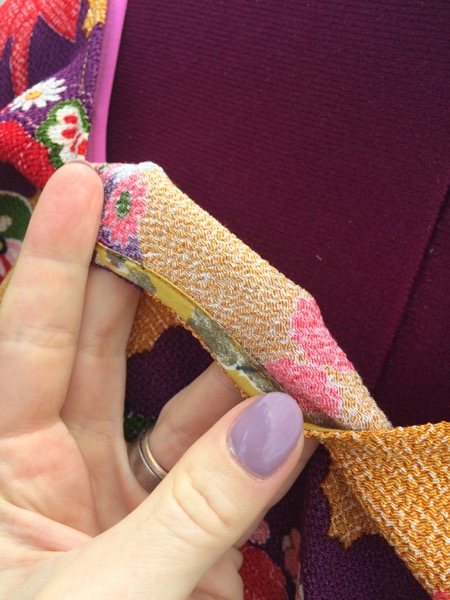
By the time I tried it on and realised it was massive, I didn’t have any bias fabric left to do the neckline facing, so instead I pulled out some silk charmeuse bias strips I had squirrelled away and used those to finish off the neckline in my preferred way. This is actually my favourite part of this top!
I’ve worn it with layers on top because I like the colours, but I’m glad I didn’t make it in an expensive silk like I was planning! The other Seamwork patterns I’ve made have been true to size, so I’m not sure what happened here…
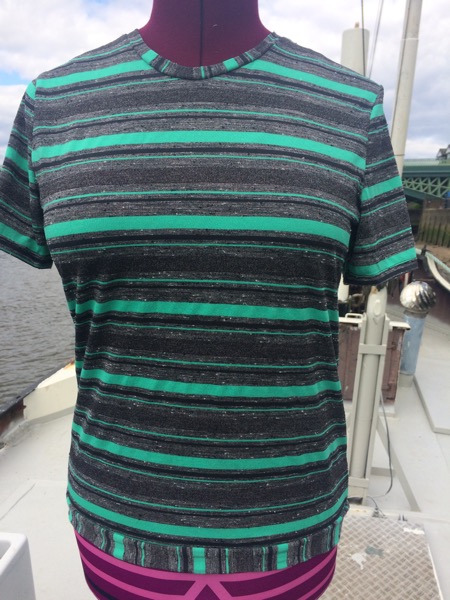
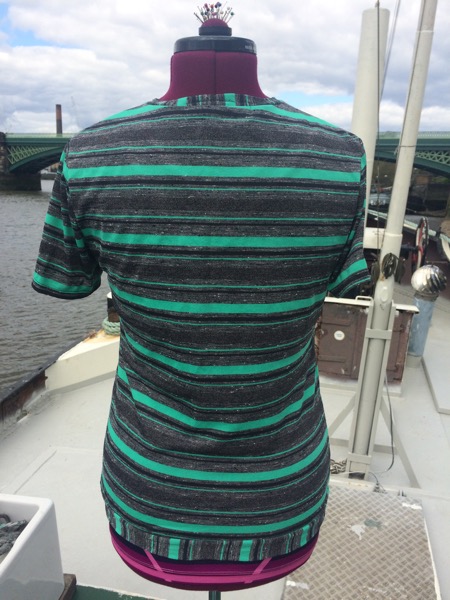
Sweaty Betty striped tech tee
I had some weird, small offcuts of tech fabrics from my Sweaty Betty-working friend, one of which was this teal, black, and grey striped, slubby wicking teeshirt material. I cycle commute in street clothes that I wear at work all day (unless it’s pouring, in which case I change into dry clothes at the office) and I like to have a base layer which dries quickly. I never get that sweaty on my ride, but when I was ill it felt a bit harder than it does normally, so tech tees were useful.