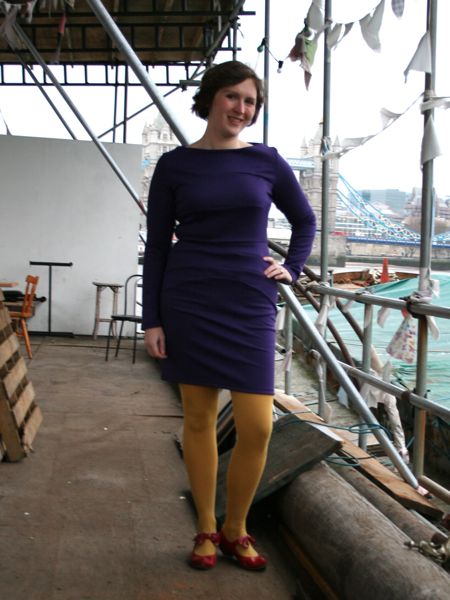
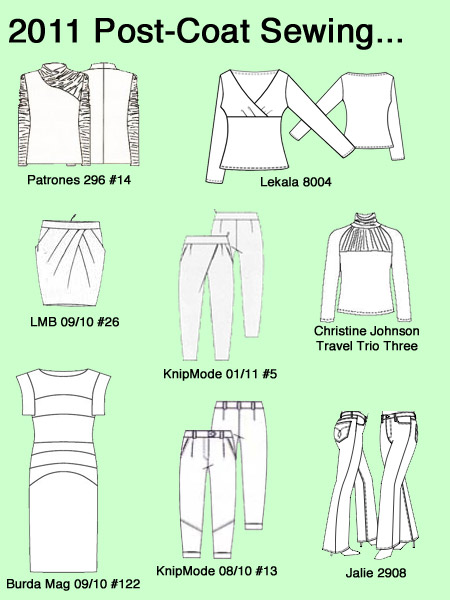
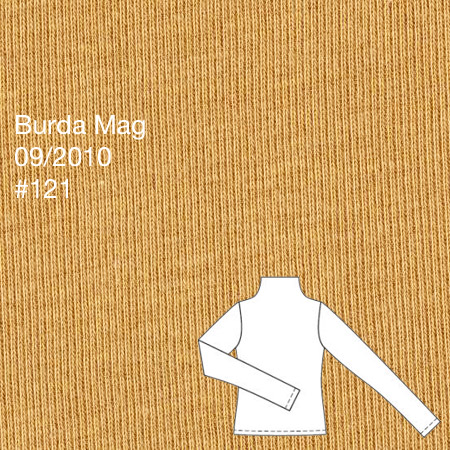
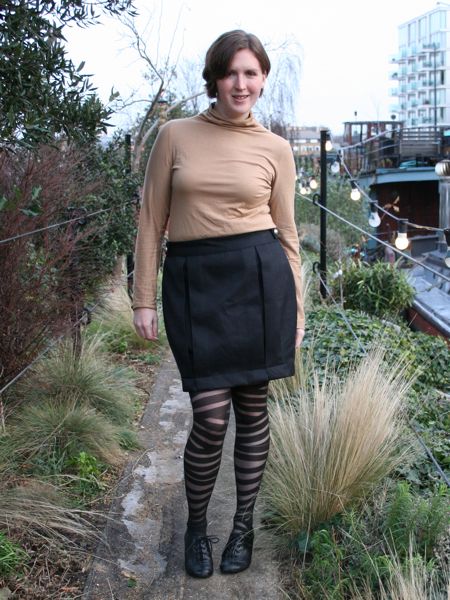
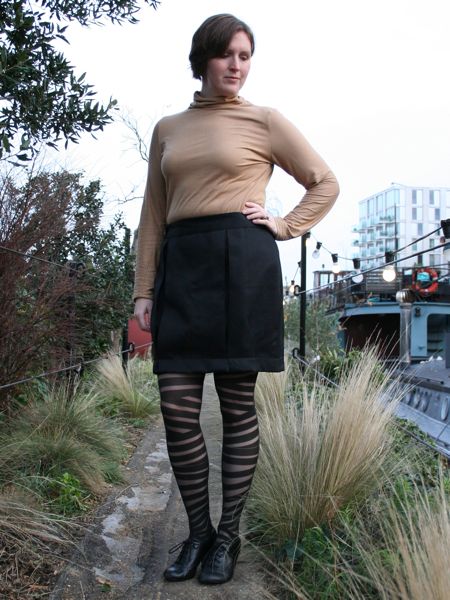
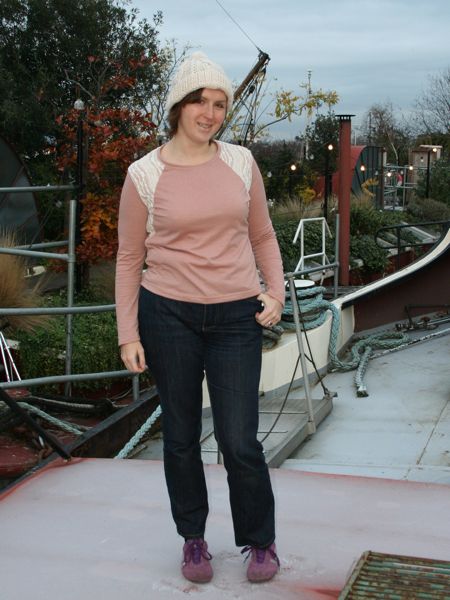
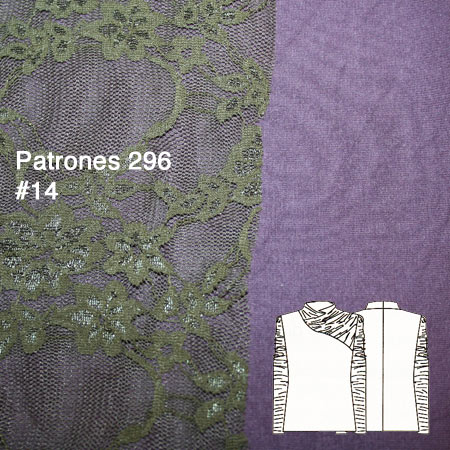
The latest installment in my post-coat winter sewing plans is the asymmetric pleated turtleneck, Patrones 296 #14.
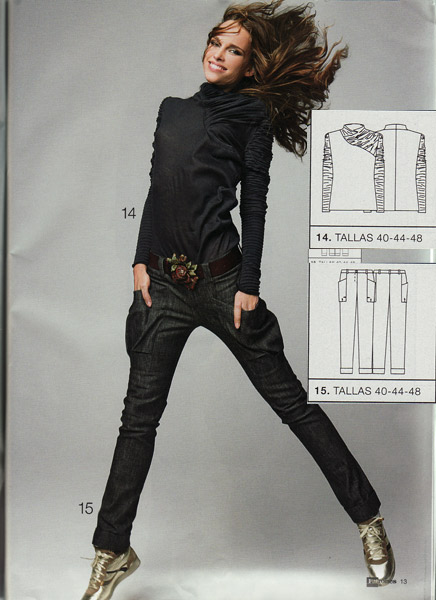
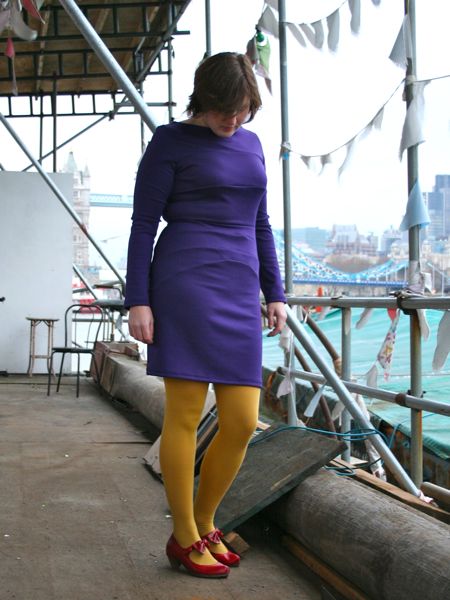
In this design, you’re given the pattern pieces for a turtleneck top, where the front has been cut diagonally across the front. So if you’ve not got this issue of Patrones, just go and draw a curvy line across your favourite turtleneck pattern!
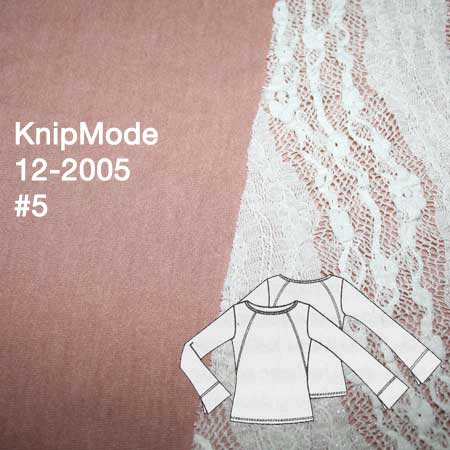
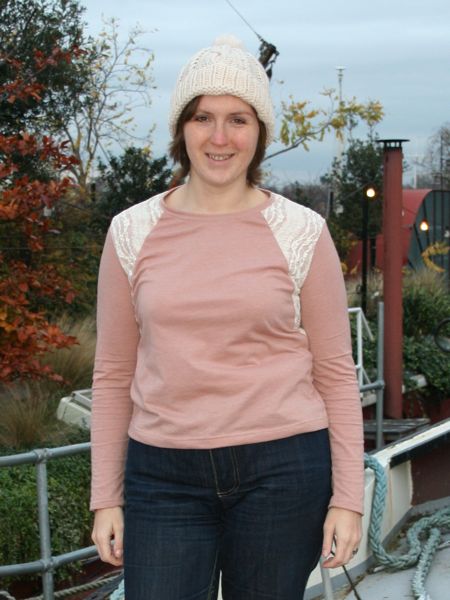
In the magazine photo, the sleeves and upper front piece are pleated and underlined, but I chose to overlay lace on mine instead. Patrones provide the pattern pieces for the post-pleated fabric (allowing you the fun of working out exactly how much fabric you’d need for whatever size pleats you choose!), so it was super simple to just use those finished pieces to cut out the lace overlays instead.
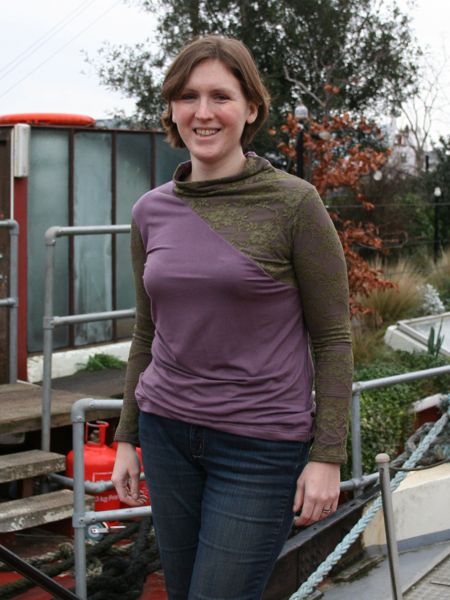
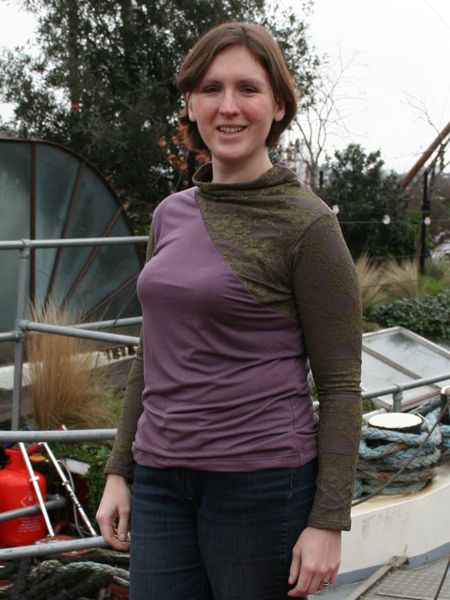

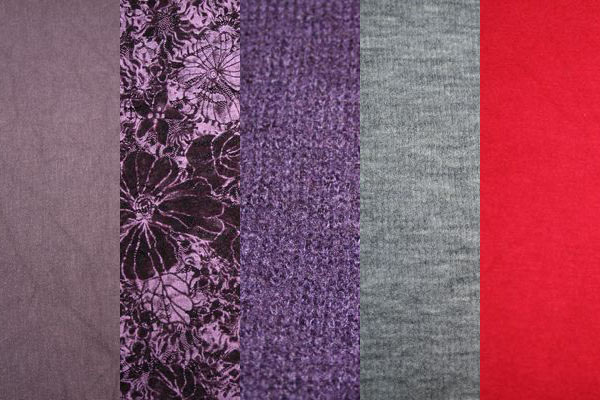
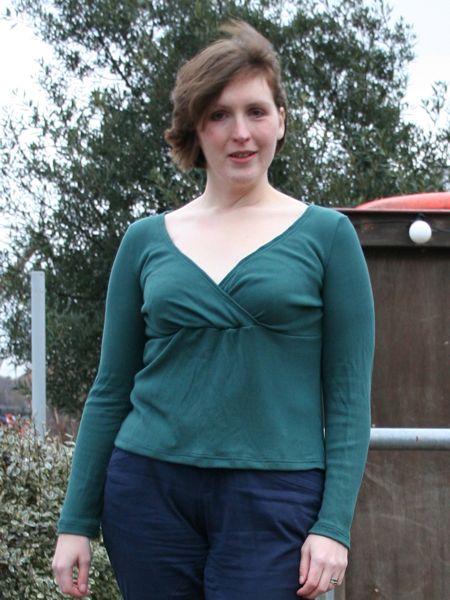
The plum fabric here is a gorgeous bamboo/lycra jersey that I bought from Ditto in Brighton last month, and it’s so unbelievably soft, and with a nice, beefy weight and good stretch. I loved Wazoodle’s bamboo years ago, but this stuff is even better as it’s thicker and doesn’t wrinkle anywhere near as readily. I am utterly in love with this fabric! I’ve got another of their bamboo/lycras in red and I’m itching to make something from that now, too. The green stretch lace I bought at Tissues Dreyfus in Paris last summer, and I love how the two together give a bit of an antique look….