…is one that finally fits after days and days of muslins and tweaks!

You see, this is the third muslin of my latest attempt to sew a Bra That Actually Fits and I think I’m finally happy with this one.
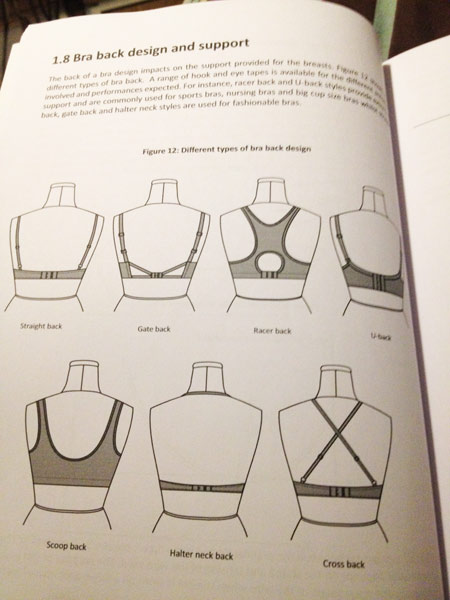
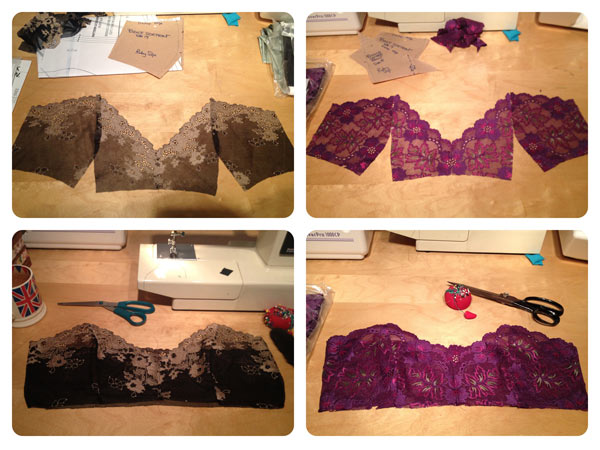
I started off by tracing a well-fitting RTW bra and I sewed up a muslin of it according to the fabulous instructions in Demystifying Bra Fitting and Construction. From that, I could see that the bottom of the bra cup was too long for my underwires, and, as I suspected, the straight legged dart was too pointy and I needed some room in front of it, so I made the front leg curved.
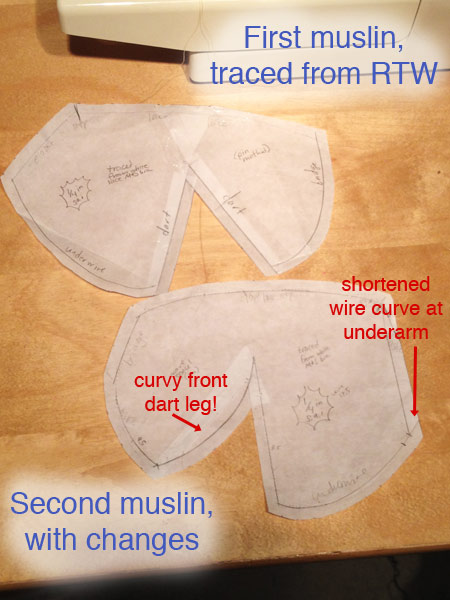
Apologies that the orientations are opposite between the two!)
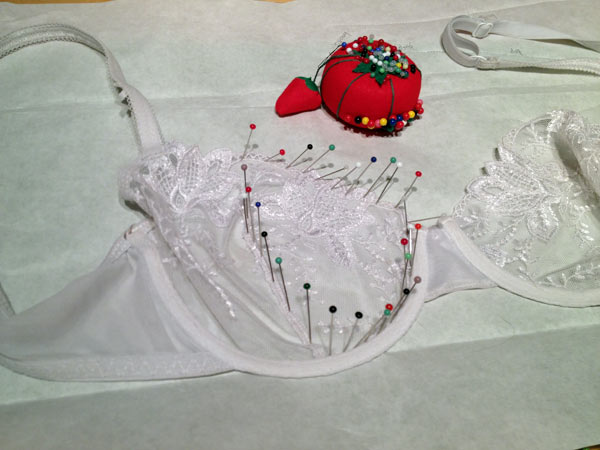
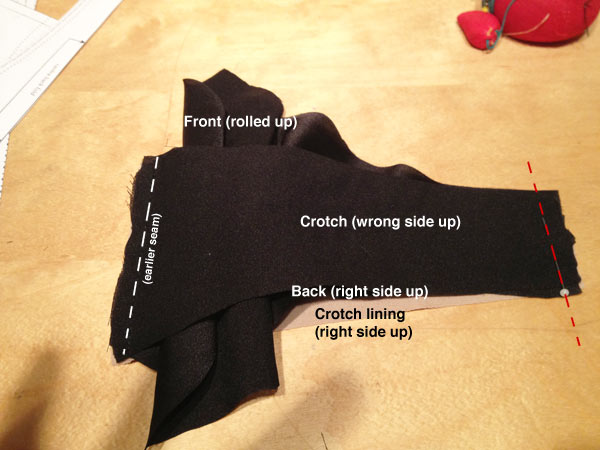
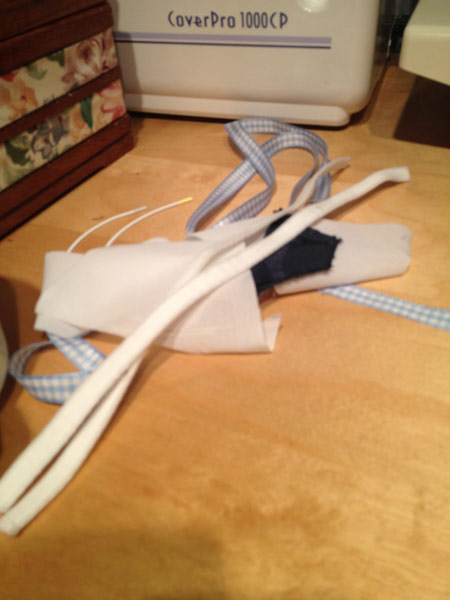
Then I ripped out the basting stitching of my muslin, sewed up new cups according to the second cup pattern, and reused all the other pieces from the muslin that were absolutely fine, namely the wings, bridge, straps (gingham ribbon here!), and underwire channels:
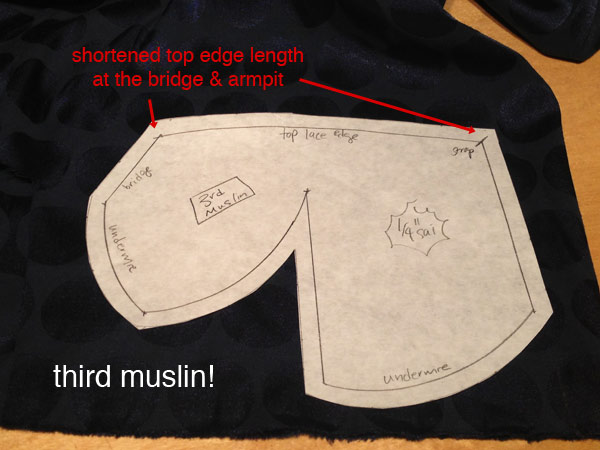
The cup shape of the second muslin seemed good (though it’s hard to be subjective in the mirror and selfies), but I had a bit of excess fabric along the top edge of the cup that needed pinching out. I didn’t want to create a dart at the top edge as I eventually want to make this bra from lace, so Norma suggested I take it out from the sides (bridge & underarm), making sure those lengths didn’t change as I did so.