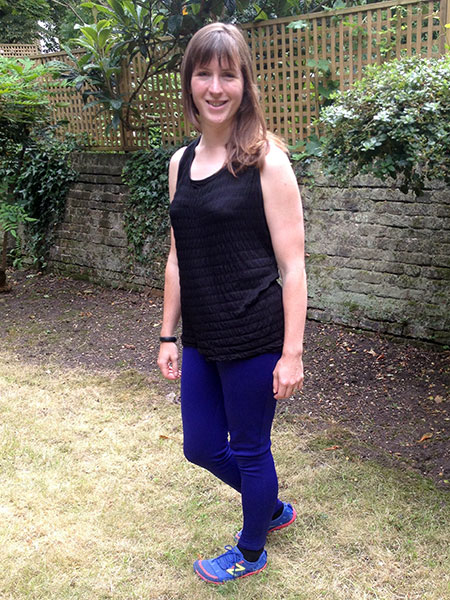
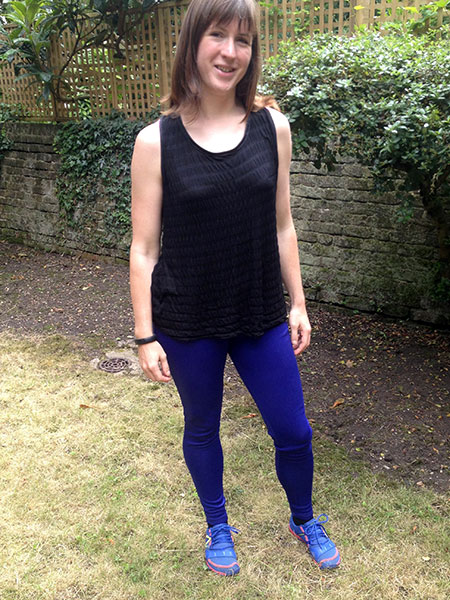
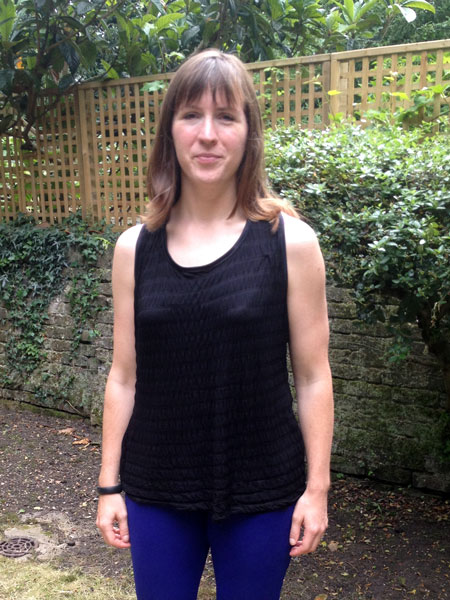
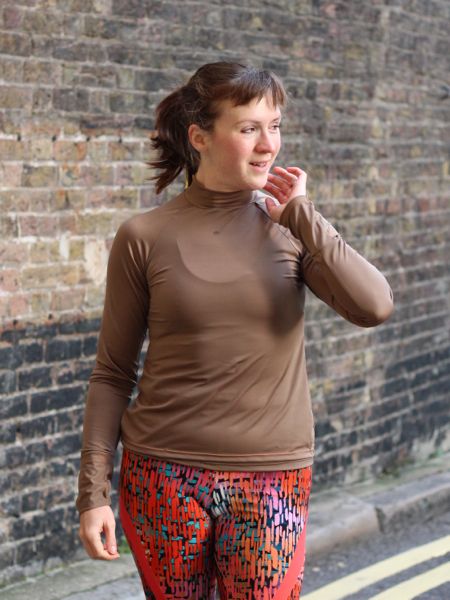
You may be forgiven for thinking I have my hands full with designing activewear sewing patterns, running marathons, and working extensively on a certain sewing tv show, but no – I also teach classes! Since I utterly adore working with knits and playing with overlockers, I tend to gravitate towards teaching beginners to sew stretchy stuff, like leggings, tee-shirts, and panties.
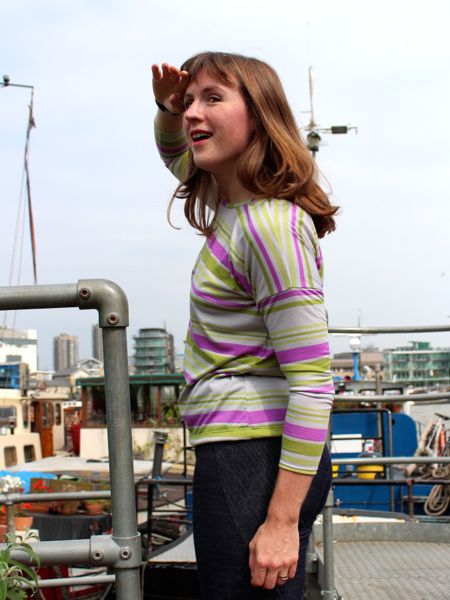
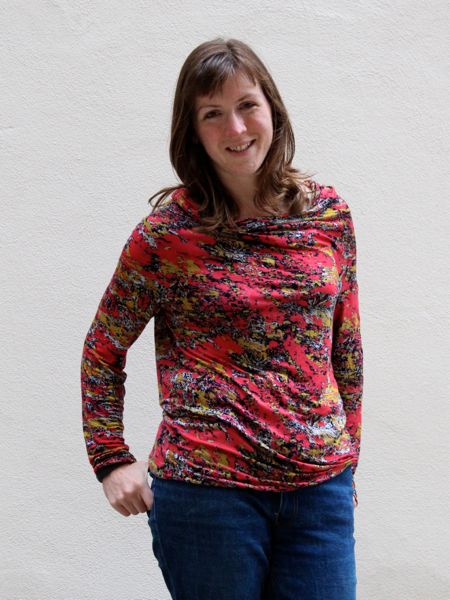
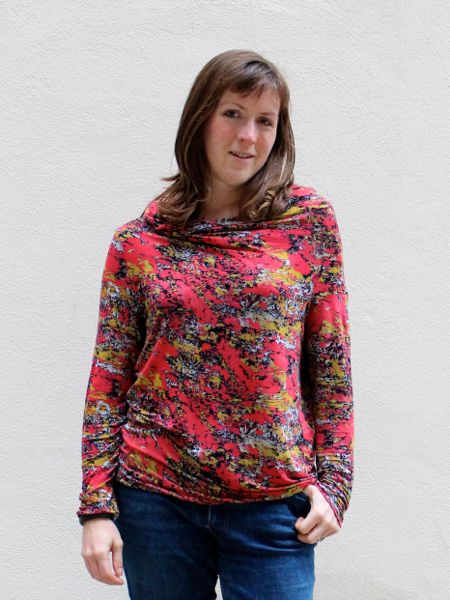
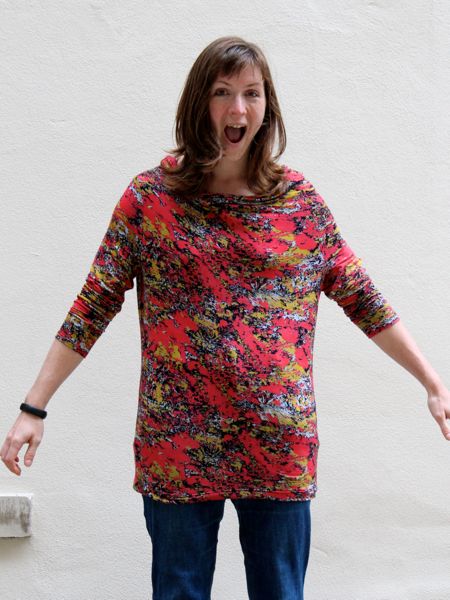
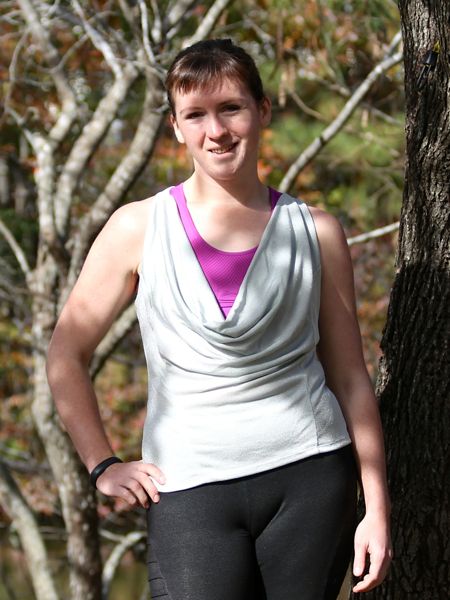
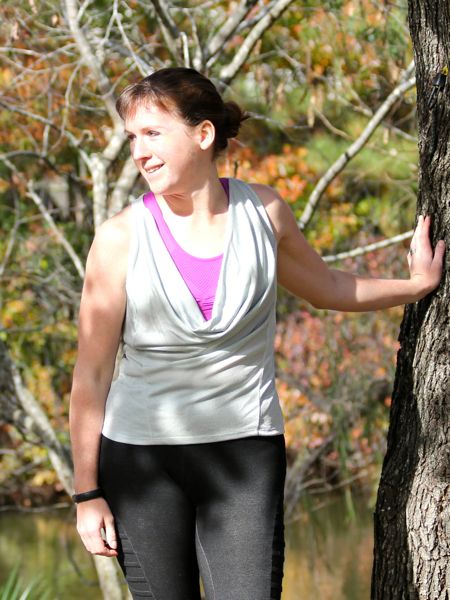
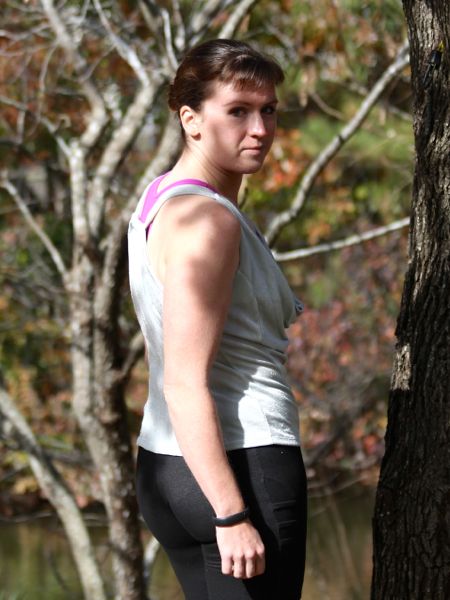
So when I bought this fantastic purple & green striped viscose jersey from Tia Knight (formerly Tissu) recently, it practically shouted at me that it wanted to become a Slouchy Breton Tee, which is the pattern that the ThriftyStitcher developed for the class I teach.

Having taught numerous ladies how to make this, I knew it’d be a quick and easy make, and that it also has the magic ability of looking good on all body shapes and being loose enough in the bust to not require any FBA (not that I need one, but still…). What I hadn’t realised though, is that the 2m of the viscose jersey is actually enough to make two Slouchy Breton Tees, so my mom’s getting one, too! Seriously – two great teeshirts that feel like vintage tees for a fiver each? I’m in love!


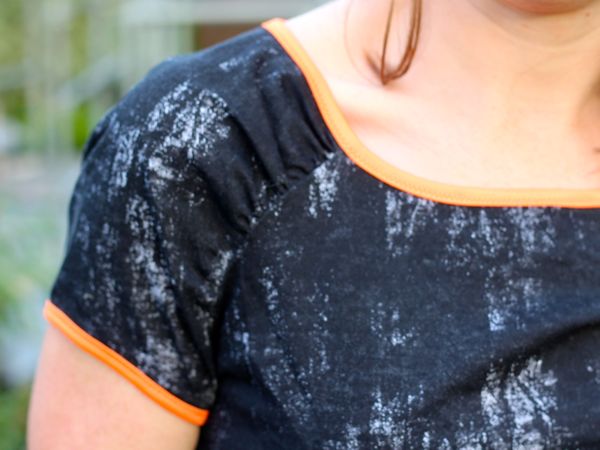
The fit through the bust, waist, and hips is really forgiving here, and there are two sleeve lengths (well, three, if you just wanted to keep the drop shoulder as a little cap sleeve!) – I made the full length sleeve but in future I’d extend it by another 2-3 inches as it’s not quite long enough for me. There’s also a 3/4 length sleeve option, too, if you prefer.