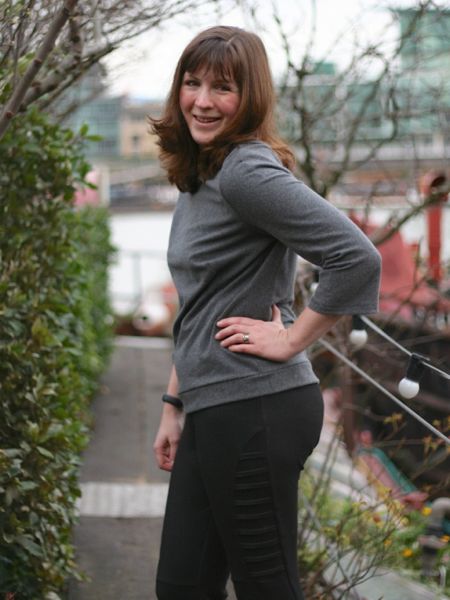
How much do I love the disco fabric?? It really is the fabric that keeps on giving. This time, I paired the Beta Brand disconium fabric with some black Supplex from Tissu (which is BACK IN STOCK right now! This stuff sells out in days, people!) to make a sweet disco running top to match the disco running leggings I made in December
For this top I did something different and started with the teeshirt sloper from the Patternmaking for Underwear Design book, which I love (thanks for the surprise gift, Mom!!). It’s drafted with 10% negative ease and fits exactly the way I want my running gear to fit. And because knit slopers have no darts, they’re surprisingly quick to whip up, too.
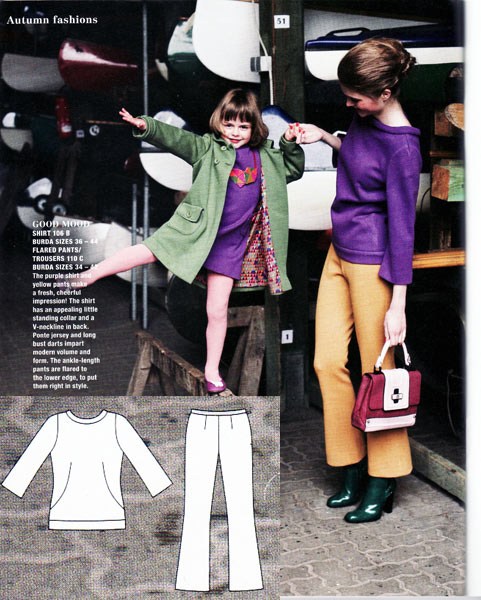
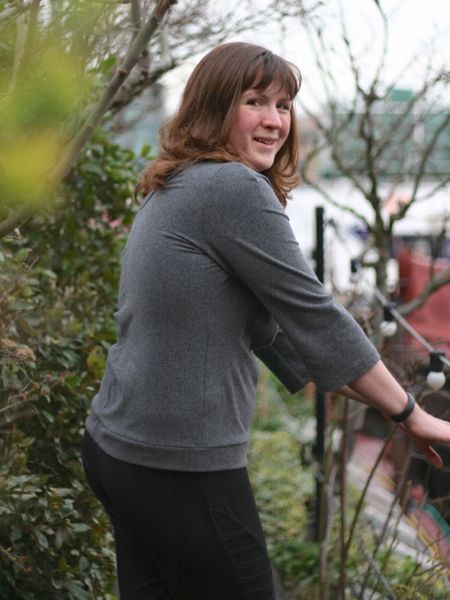
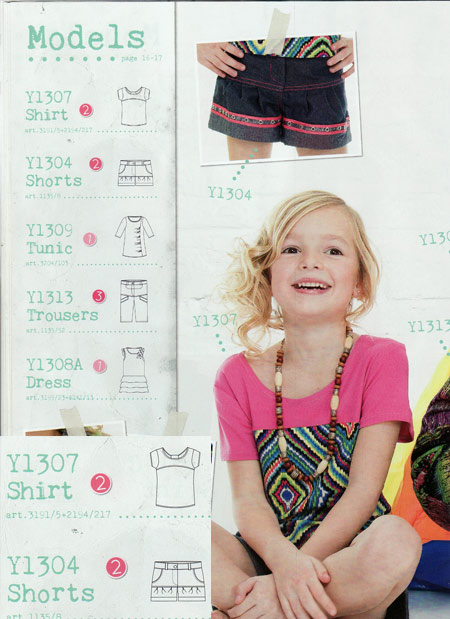
I was super inspired by this kid’s top in the most recent Young Image magazine, so after making one for my niece, I altered my sloper to have a similar back, which was surprisingly easy to do.
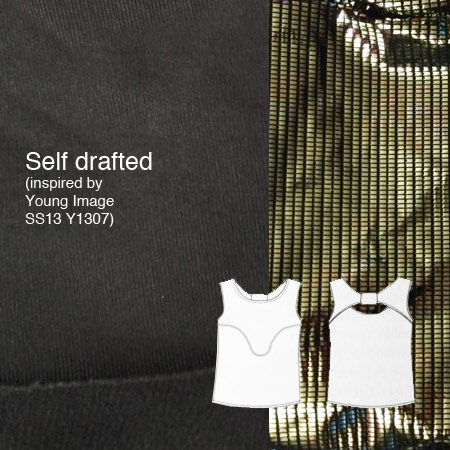
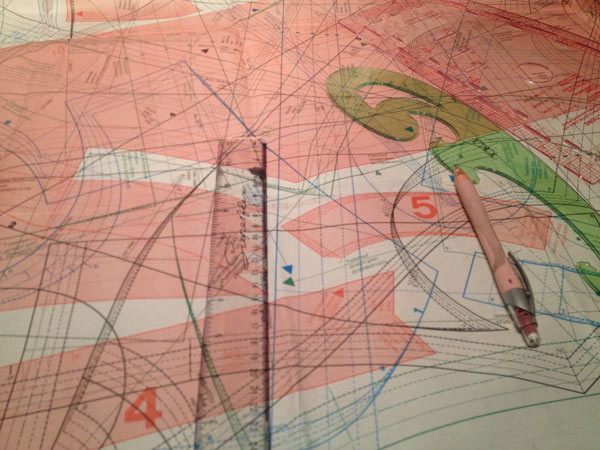
Essentially, I just drew two curves so there was a hole in the centre back, traced along one set of curves for the upper back piece (red in the diagram below), and traced along the other for the lower back (blue). At the shoulders, I didn’t want the lower back to peek through, so I made its strap 1cm narrower at the neckline. The back pieces are connected at the shoulders, armscye, and (just barely!) at the side seams, but the rest is free-hanging.