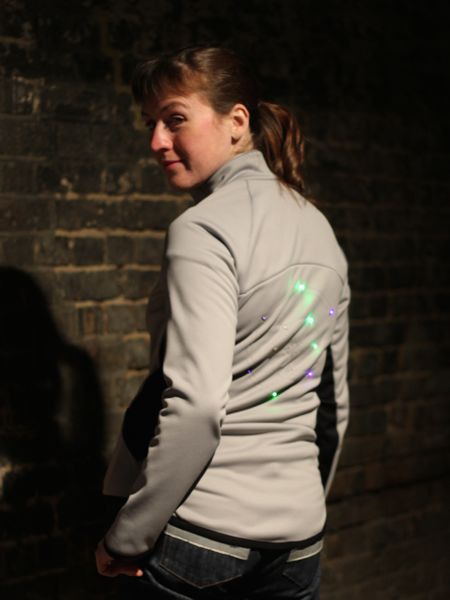
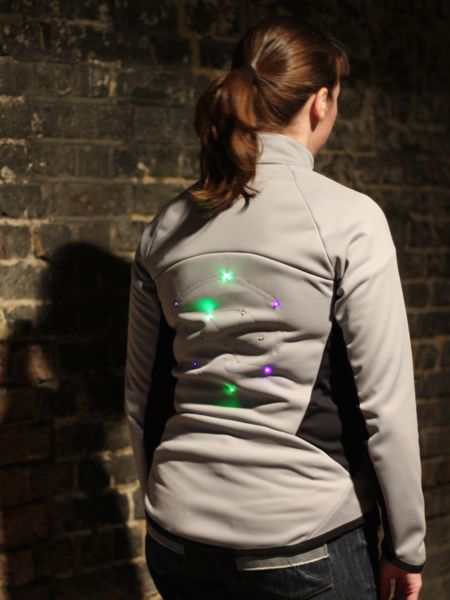
You heard all about the electronic components earlier this week, but the sewing of the jacket itself was in no straightforward, either! If you missed the video of the LEDs in action, have another look:
You might think, that, as a pattern designer for exercise wear, I might view other exercise patterns as competition. On the contrary – when I first saw the StyleArc Steffi jacket, my first thought was “Brilliant! Now I don’t have to draft it myself!”. I’ve got enough ideas in my head for patterns already, so I’d rather refer folks to other good patterns if I can rather than constantly reinvent the wheel.

This pattern was a birthday gift from my inlaws, and I was initially concerned because they’d bought me a size 10 instead of the 12 I’d asked for, but as it turned out this fits me really well anyway. It’s a smidge too tight in the chest for me to run in (my trainer has me focus on pulling my shoulder blades back to open up my chest for better breathing), but is utterly perfect as a warm-up, cool-down jacket, so hurrah for happy accidents!
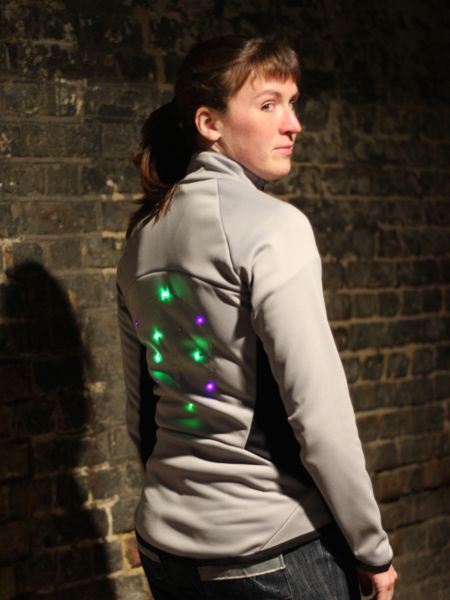
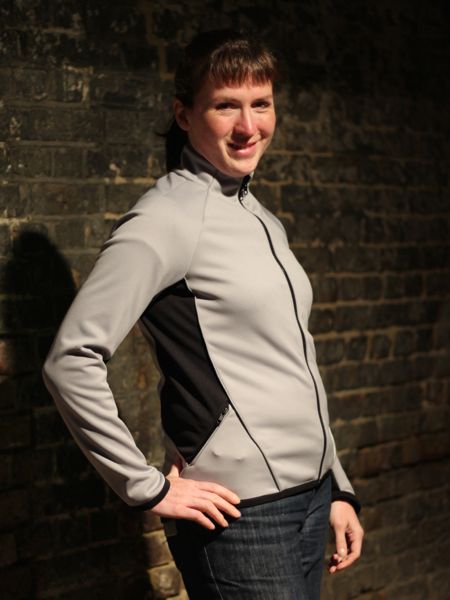
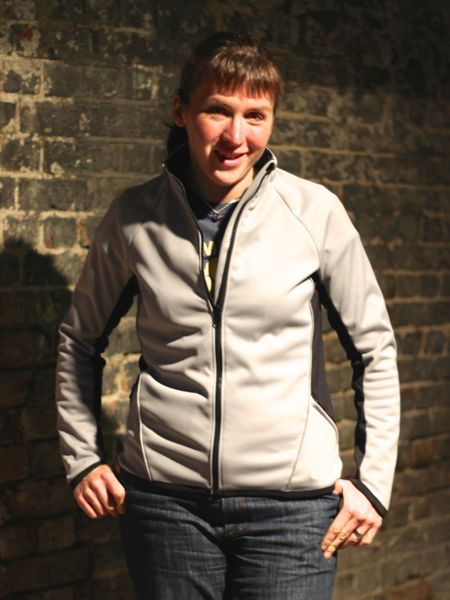
I chose to do my colourblocking like it’s shown in the technical drawing – I used a grey/black sportshell as the main body, then I used the black reverse of this black/grey “budget” sportshell as the contrast panels. The main sportshell is really nice – a soft, technical jersey with a thin layer of fleece bonded to the inside – it feels really RTW and high quality. The budget one, well, lived up to its name. The grey side looks a bit naff, there’s no fleece, and the black side is just smooth like the other fabric’s grey exterior. So it was fine for my purposes here, but I wouldn’t recommend skimping if you want a similar jacket – go for the more expensive option and you won’t regret it.
One thing I will say, though, is that my overlocker (serger) hated this fabric – I always overlock with 4 threads but the left needle was skipping really badly unless I loosened its tension, at which point the threads showed on the inside as soon as it stretched. Grr. So I had to eventually abandon it and go 3-thread instead, though I sewed a fair amount on my sewing machine, too.
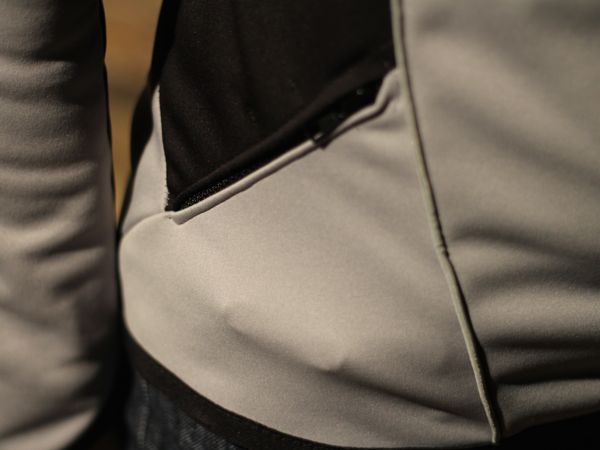
Opting to run the battery into the pocket was also a perfect choice on my part – it means I don’t have to take the jacket off to turn the LEDs on! The pockets are pretty tiny anyway (I can barely squeeze my iPhone 4S into it, and I can only get four fingers through the opening), so it’s a bit of a sacrifice to take up half a pocket with the battery pack, but I’m okay with that.


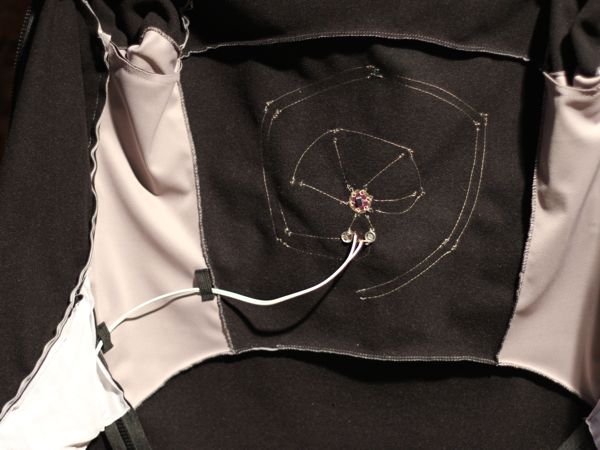

(If you want to know more about the electronics side, read my earlier post on this jacket!)
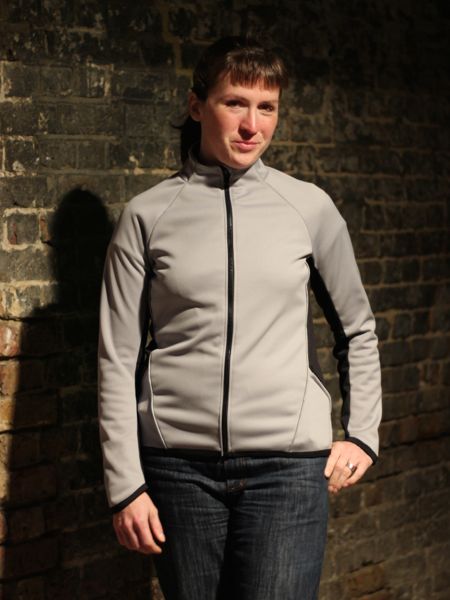
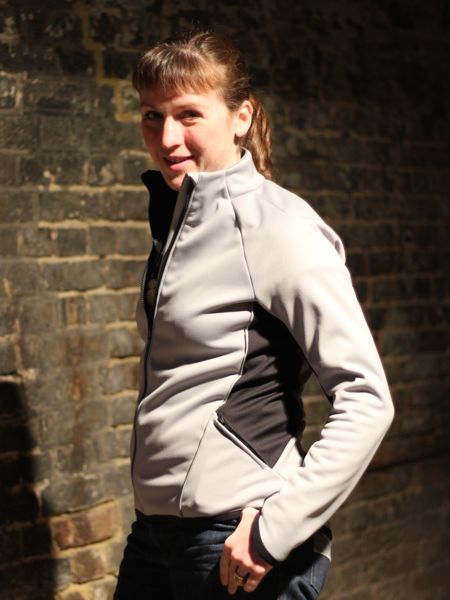
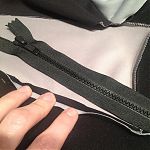
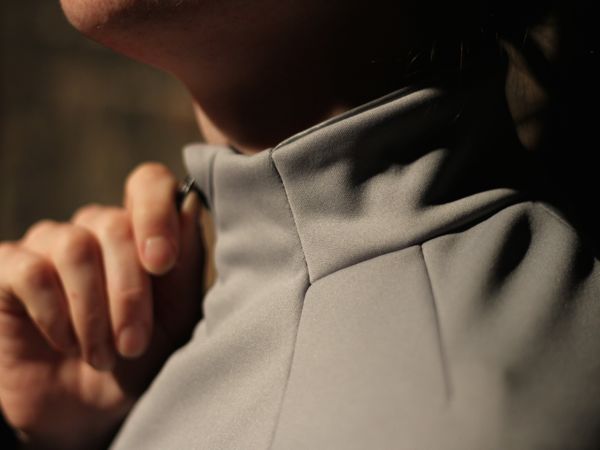
I knew I wanted big, chunky zippers for this so I headed to the experts at Pennine Outdoor, where I also picked up some reflective piping and some wide elastic binding for the hem and sleeve hems (it’s just like a super wide FOE). I’m really glad I bought these little bits as they really make for an expensive-looking jacket in the end! It’s hard to see in the photos, but the reflective piping on the front diagonal seams and on the top collar edge really stand out in real life – these make my jacket just as visible in the front as they do in the back!

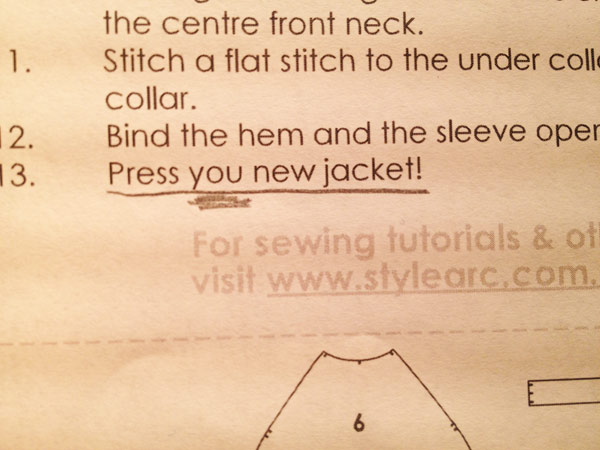
I’d made several StyleArc patterns before and I’ve liked all of them – the styles are super fashionable, the drafting is faultless, and while the instructions aren’t great, they’ve all been perfectly adequate. Within the first few minutes, it became apparent that no one had actually tested sewing this jacket using these instructions, or in fact, had even looked at the instructions before releasing the pattern, as there is a glaringly obvious typo in the last step.
Without being too dramatic about it, these might possibly be the worst instructions I’ve ever encountered – several whole construction steps are missing, pieces are mislabelled in the text, inappropriate seam allowances are used in places, and the diagrams for the pocket show a totally different pocket type than what’s included in the pattern. I basically felt like I was an unpaid pattern tester for them, turning what should’ve been Fun Sewing into what felt like stressful Work Sewing.
Before writing this post, I contacted StyleArc to give them a chance to fix the problem – and fix they did! Chloe apologised profusely, said they’d already caught a few of the mistakes and fixed them, and they’ve promised me that all of the below mistakes are fixed if you buy the pattern now. They also are sending me a pattern on my choice and a replacement Steffi pattern to say sorry and thank me for reporting back on the issues.
If you’ve already bought this pattern, you should contact StyleArc for a revised set of instructions. But for the sake of transparency, or if you’d rather annotate your own instructions, here’s what was wrong:
- When cutting out the Pockets, Lower Side Panel, and Upper Side Panel, increase the seam allowance on the pocket zipper edge to be at least 1/2in (as is used on the main zipper opening). A 1/4in seam allowance was not even wide enough to span the teeth of my zipper, let alone leave room to attach it.
- Step 2: “Side panel” should read “Upper side panel”
- Pocket diagrams. The pocket diagrams show the construction of a pocket with one lining piece which is topstitched to the exterior of the jacket. The tech drawing, pattern pieces, and cutting notes show that two pocket lining pieces are used on each side, and no visible topstitching is shown. Ignore the last two pocket diagrams entirely.
- Step 4.5: Attach the Centre Front Panel to the sides. (This step was omitted)
- Step 5: It’s unclear, but the unstitched portion should be at the neck edge.
- Step 7.5: Attach the Top Under Sleeve to the Lower Under Sleeve. (This step was omitted)
- Step 8.5: Sew the dart at the shoulder of the Top Sleeve. (This step was omitted)
- Step 13: “Press you new jacket!” Besides the glaring typo, who presses jersey? And at the very end, when everything’s already been overlocked? It’s like they just copy/pasted this from another pattern or something…


So the instructions were extremely disappointing, and not all what I’ve come to expect from StyleArc. I’d definitely consider myself an expert in activewear sewing, but this was a challenging make, made far, far worse by the poor instructions. But as I said, I’m completely satisfied with StyleArc’s response. They replied immediately, listened to my concerns, made immediate fixes, and made it up to me. Everyone makes mistakes, but it’s how you deal with them that counts.
Again, if you buy this pattern now, the above mistakes are fixed.
The rest of the jacket, however? I love it! The design lines are great, It fits me like a glove without any alterations, it hugs my body nicely without too much ease anywhere, the sleeves are nice and long, and the hem is thoughtfully longer in back for cyclists, too. Apart from the seam allowance issue on the pockets, I can’t fault the drafting at all – everything matched up perfectly, so it’s clear that this aspect was indeed thoroughly tested!
With the fleece interior of this jacket, it’s really too warm for me to run in, so I requested that my replacement pattern be Size 12 to give me a bit more room in the chest for a more lightweight running version.

I wanted to make this jacket in time to wear it to Nike’s “We Own the Night” women’s 10k on Saturday night, and I did! Completely sewn in under a week, including all the circuitry. I got so much love for this jacket on the night, too – well, I’m taking “Holy shit, you made that?!” as love, anyway…