I was browsing through my Instagram feed a few months ago when I saw a post by Ernie about some Swedish designers who made absolutely crazy-complicated 3D patterns and I was instantly hooked! I mean, cos you know me and pattern puzzles, right?? If I can’t work out how a pattern goes together by just looking at it, I’m immediately drawn to it!
Atacac are primarily RTW designers but they released a bunch of their RTW designs as downloadable “sharewear” patterns. They’re only in one size (size “3” on their size chart), but this happened to be my size anyway, and as it turns out, this particular tee is quite loose-fitting anyway.
Ernie opted to make the Pod Driver Jacket (more on her site here), but I was drawn more to their knit patterns. Also, it seemed wise to start with one that had fewer pattern pieces rather than jump right in to, say, the Screw Trousers.
I downloaded both of their knit shirts (and reformatted them into A3-sized sheets in Illustrator) but thought I’d sew up their /-tee design first. When I first looked at the pattern piece I couldn’t wrap my head around which part became the front, where the sleeves were, or anything else, so I used an old trick I’d used in the past and printed off a one-page version of the pattern and taped it together into a tiny model:
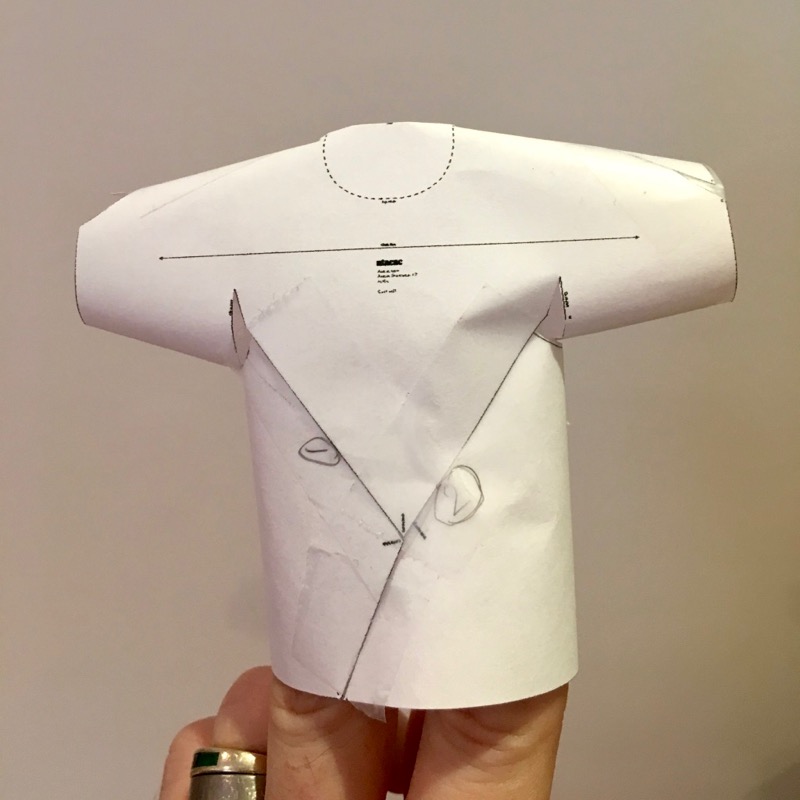
This meant I could not only visualise which edges needed to be joined together but also think about which order they needed to be sewn in (as there are no instructions!), so I labelled these with little numbers so my paper model could serve as a guide as I sewed.
In case it helps someone else, my order of construction was:
- Sew the short back seam (the left leg of the “Y”)
- Sew the longer back seam (the right and lower part of the “Y”)
- Sew both sleeves from the back dart around to the sleeve hem
- Sew the front diagonal seam
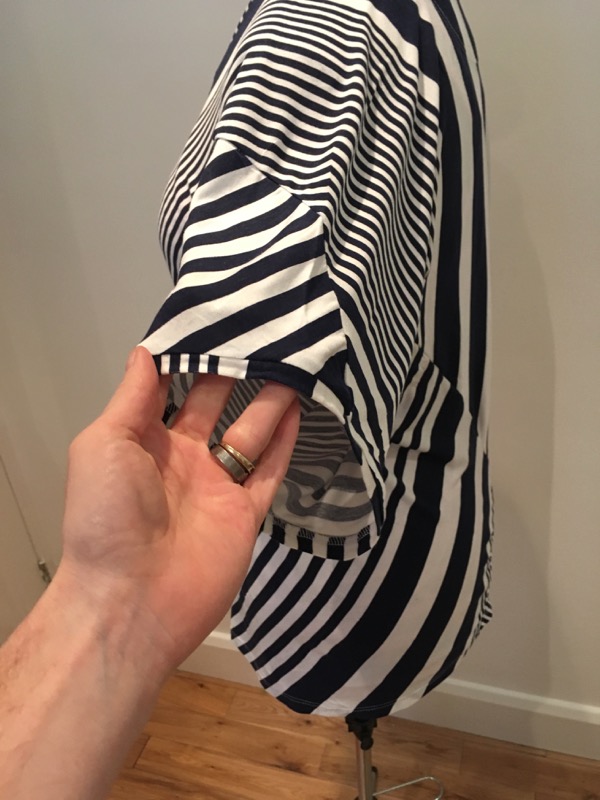
- Attach the bands to the sleeves and the front neckline
- Topstitch the back facing down
This pattern may be only one pattern piece (plus a few bindings), but it cannot be underestimated how large this pattern piece is!
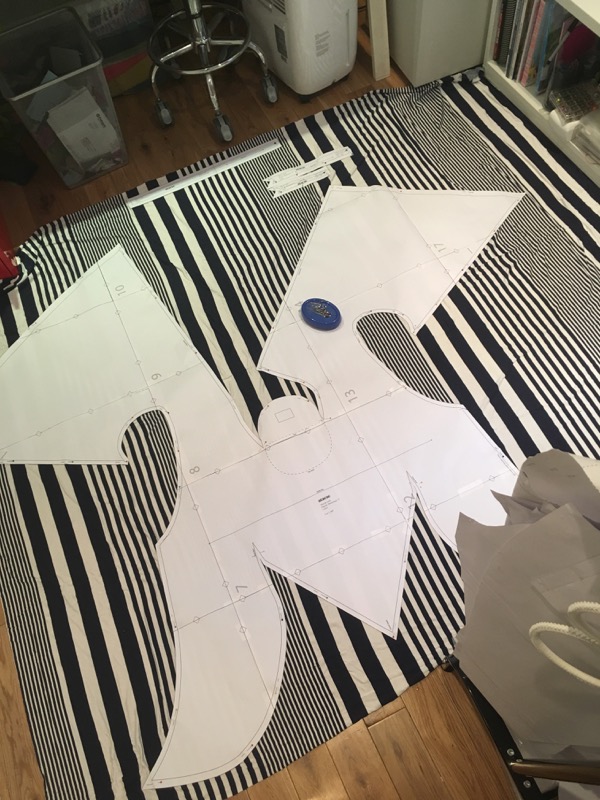
This is 1.5m of striped viscose jersey from Minerva (but I don’t believe it’s available anymore and besides, it started bobbling after 3 wears so I wouldn’t recommend it anyway!), and the pattern pretty much used the whole thing. Also note that you must have 150cm (60in) wide jersey or the piece will not fit.
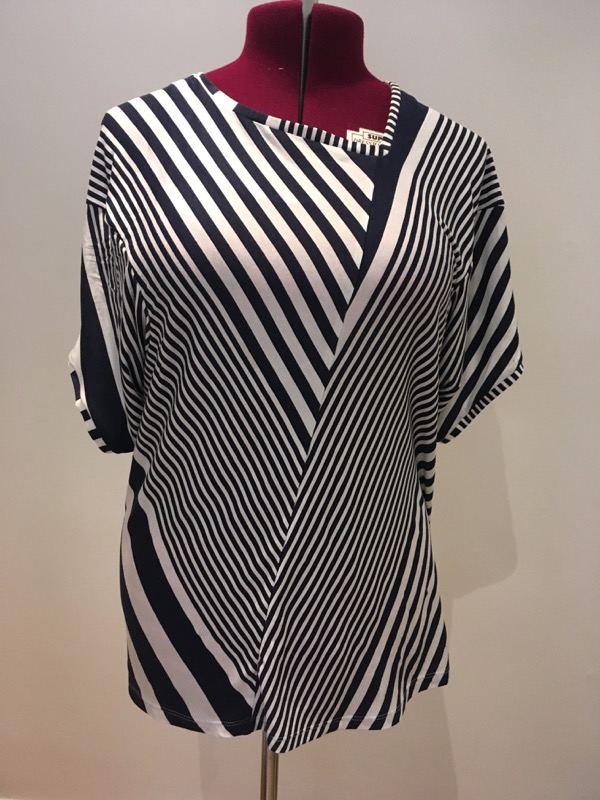
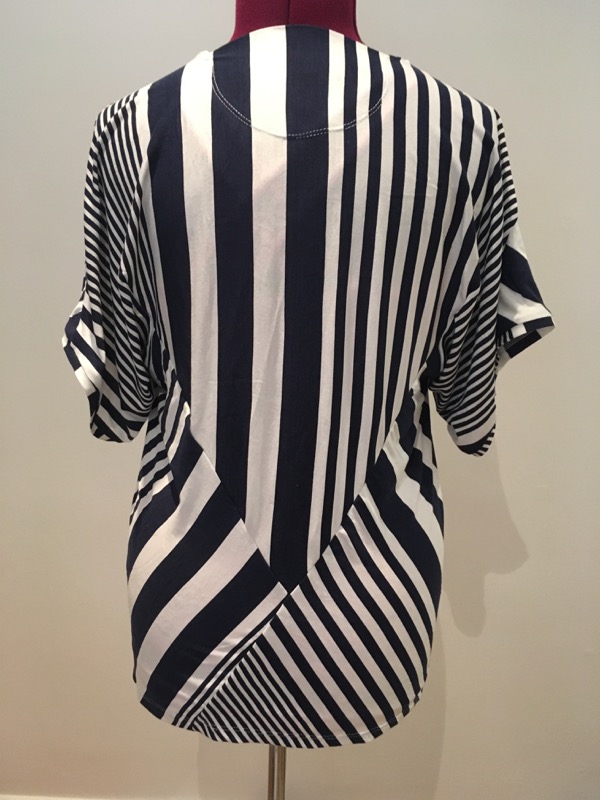
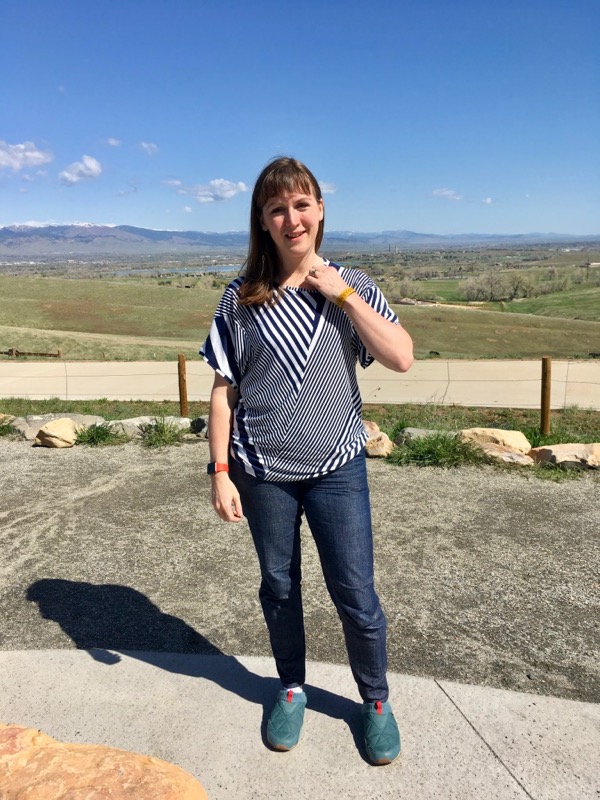
I decided to use this striped jersey mostly because it was cheap and in my stash and I wasn’t sure how the finished tee would fit, but in retrospect I must’ve bee a genius to use stripes on this pattern because omg, how cool is the stripe-play on the finished shirt?? I totally want to make a few more versions of this tee, so I’m on the lookout for a better quality variegated striped jersey if anyone knows a UK source…
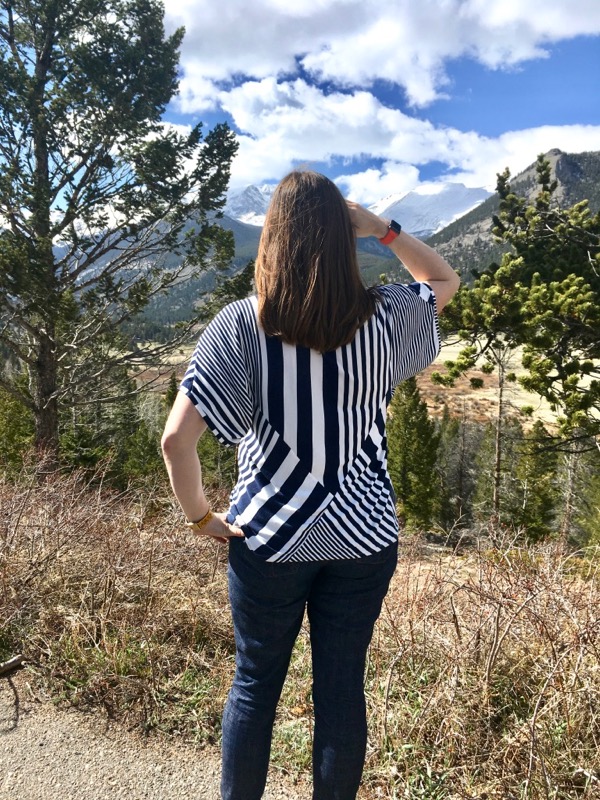
I made this tee just before my recent trip to Denver so of course I brought it along! I’ve gained quite a bit of weight while I’ve been sick and unable to exercise over the past 3-4 months so I’m not really feeling up to modelling, but this tee is loose enough and the Rocky Mountains picturesque enough to warrant a few shots while we were out in the mountains.
I mentioned in my behind-the-scenes post that I had a private tour guide on my day off from the shoot – FehrTrade reader and customer Cynthia was so generous to offer to pick me up from my hotel and drive me around for a whole day!! We had such a great time visiting the Stanley Hotel (Stephen King’s inspiration for The Shining) and seeing Rocky Mountain National Park, and of course, talking lots of sewing during the drive! I’d never been out West before (apart from one spring break week in California), so it was fantastic to be able to see a bit of the surrounding area outside the city.
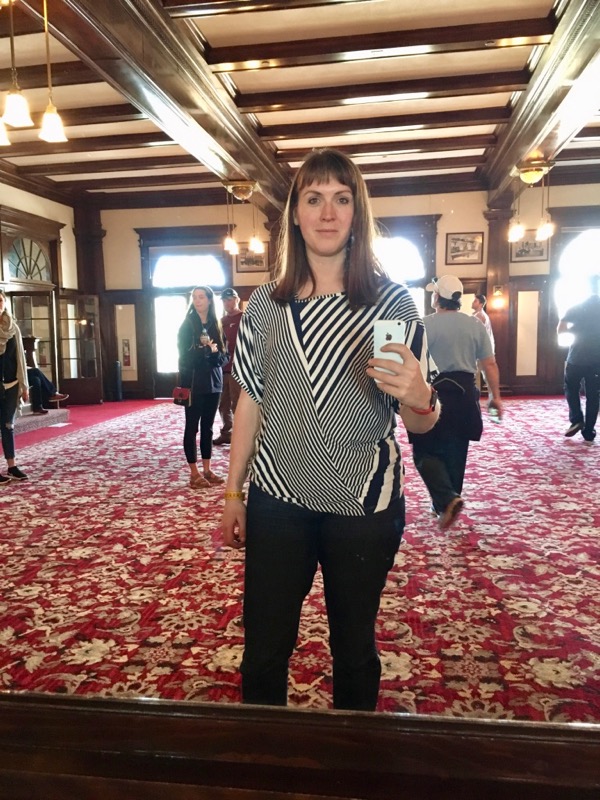
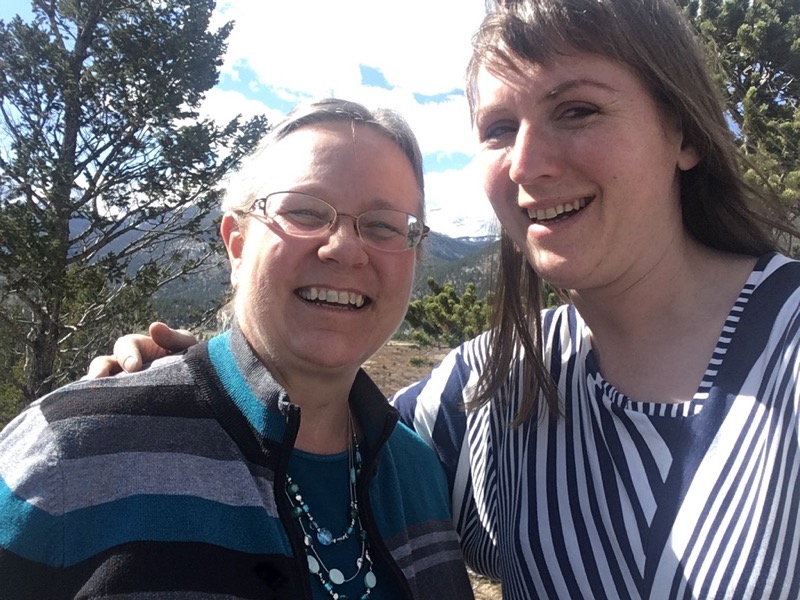
So you have her to thank for these photos as well as a truly wonderful and spirit-lifting day! And I’ve got a promise that we’ll hit up Rockywoods next time I’m over for some serious fabric shopping, too (the owners happened to be out of town the one day I could do!)