While our boat is in drydock for maintenance, we’re temporarily living on a very kind neighbour’s boat. Packing for a month (though possibly 2 weeks) was a challenge in itself, as you want to to give yourself choices (in clothing, entertainment, comforts, and cooking), but yet you’ve still got to physically move everything, so you don’t want to overpack, either.
I brought the bare minimum of sewing supplies, which for me means my JL Mini sewing machine, which is great for travel and beginners alike (speaking of, I have a friend who’s selling her identical red JL Mini as she’s upgraded to a fuller-featured machine. If anyone’s interested in buying it from her for £30, please leave a comment and I’ll put you in touch!).
I also brought a few patterns and the fabrics to go with them, and I set up a temporary sewing station in the bedroom we’re staying in:
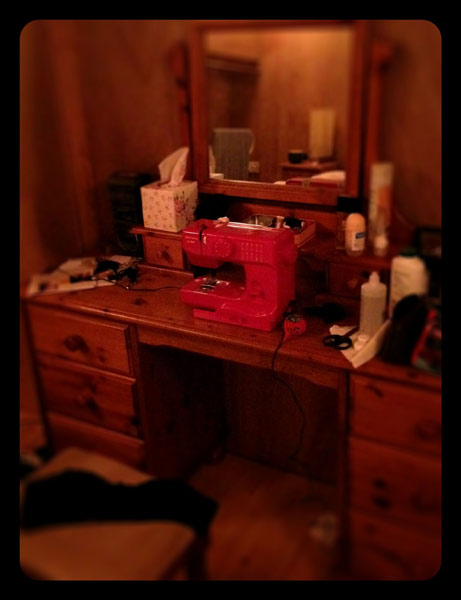
I thought it was quite amusing that the only place in the boat that was suitable for sitting and sewing was a pretty dressing table, and my boudoir sewing station inspired me to start one of my transported projects last weekend – another Ruby Slip!
My first Ruby Slip was seafoam green with brick red lace and I loved it so much that I knew I’d be making another. If you missed the discussion then, Sherry offered a free pdf pattern and fantastic photo tutorials, which I highly recommend, even for beginners, as it’s beautiful and quite easy to sew (especially if you choose a thin cotton lawn).
To match my sewing station, I set up a pressing station in the kitchen, with a travel iron and mini ironing board which live on the boat.
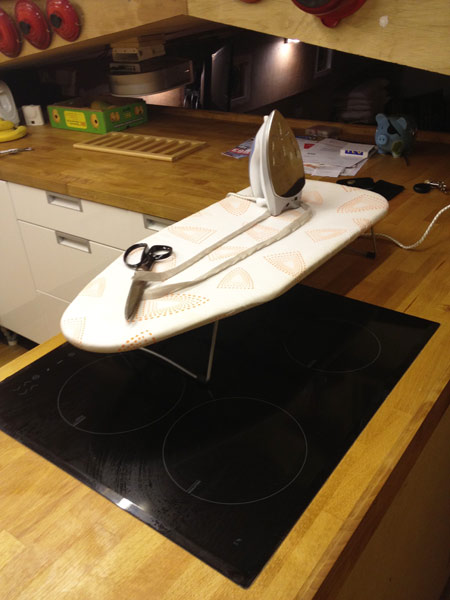
The only issue is that the bedroom and kitchen are at opposite ends of the boat, so I earn a fair few Fuel points walking between them!
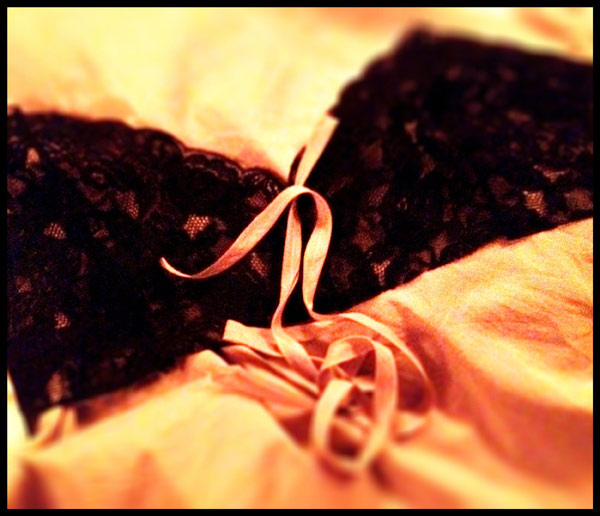
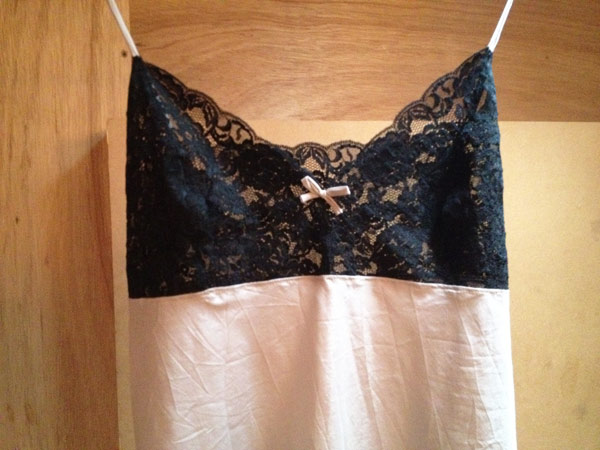
Fir this slip, I’m using a pale puce silk/cotton blend that I bought in Paris in March for a steal. It definitely feels more like silk than cotton so it should be lovely against the skin! For the bodice, I’m using a black stretch lace I bought from Tia Knight on eBay. I made sure my lace was a good 21cm wide this time so I don’t need to do any piecing to make the bodice. This particular lace looks to be sold out now, so I’m glad I bought plenty when I saw it, as black’s a great colour that’ll pair with any silk for more Ruby Slips in the future (and indeed Ruby Camisoles, which I think I’d get even more wear from).
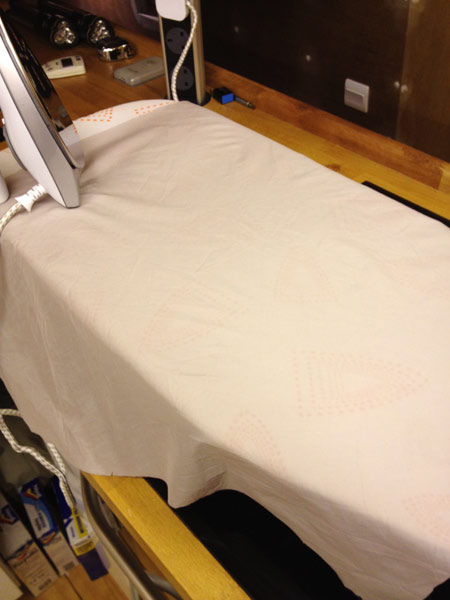
Both of these should be great for lingerie (and there’s about 2m left of the silk/cotton, too), but it’s a bit transparent for RTW – look how you can see the pattern of the ironing board through it:
Since I’m not working with my full arsenal of sewing tools, I took the opportunity to try this bobby pin loop turner tutorial for the thin spaghetti straps, and it worked great! I’m totally using this again, and it made me feel like MacGuyver!

Brits, I drew a total blank at what we call these here – hair slides? kirby grips?
I finished the slip over the weekend, but I’m hanging it up for a few days to let the bias skirt have a chance to grow if it wants to…
I also cut out some of the pieces for James’s reversible smoking jacket, but my knees were really killing me from cutting out on the wooden floor, so I only got partway through before I had to stop.