Half of the fun of Sewing Indie Month is connecting with other indie pattern designers – finding out what sort of nerdy details they go for, discovering common loves and goals, and stretching your own style and techniques. I was thrilled to be paired with Rachael for today’s tutorial, and I instantly saw so many different ways the Bess top pattern could be adapted for activewear (because hey, that’s what I do!). But then I stepped back a bit, realised that wonderful shoulder detail was crying out for a bit of kimono-inspired treatment, and I started busting out all my fancy fabrics! It’s so funny and freeing how you can start with one idea, allow yourself to be lead down one path and end up with something totally amazing and unexpected!
So if you’d like to learn how to adapt Bess into a wrap-style top (or tunic or dress!) for yourself, read on, and follow along at home…
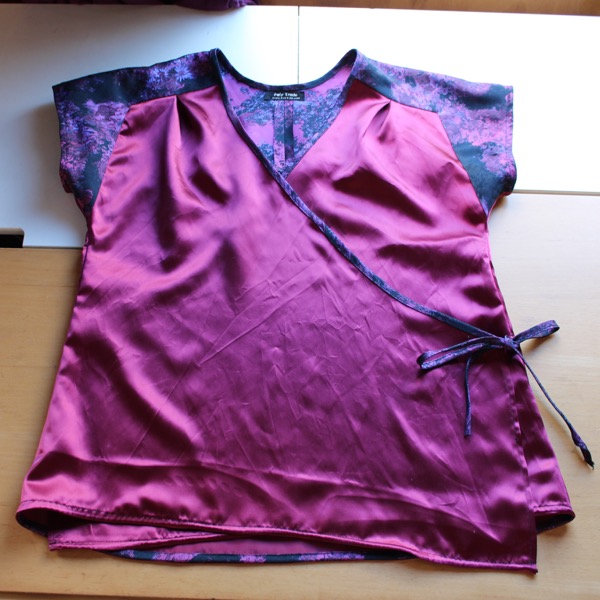
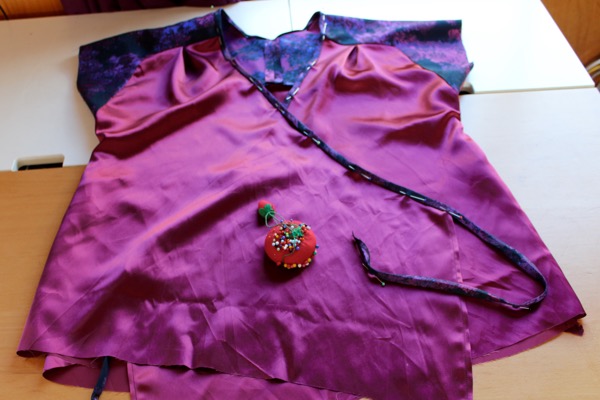
The finished wrap Bess top
For this tutorial we’ll need to change only the Front piece to your Bess top, and it works the same for the tunic or dress length, too.
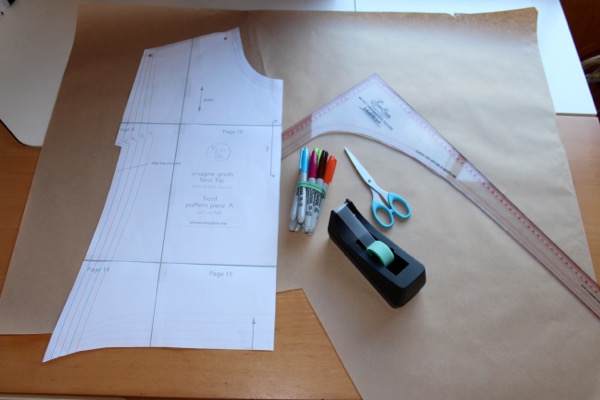
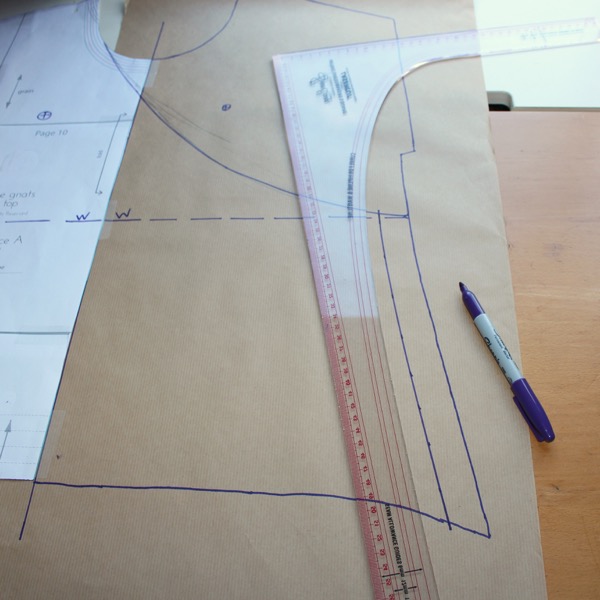
Print out your pattern and cut out the pieces along your size lines. You’ll need a large ruler, a big sheet of paper, some tape, and a pen or pencil.
Step One – Mark the Bust and Waist

For this wrap style, it’s really important that the front crosses over nicely between your breasts (and not over them) and that it ties right at your waist. So hold up the Front pattern piece to yourself and mark where your Bust point lies with a cross, and also mark where your natural Waist lies.
Step Two – Trace the Front
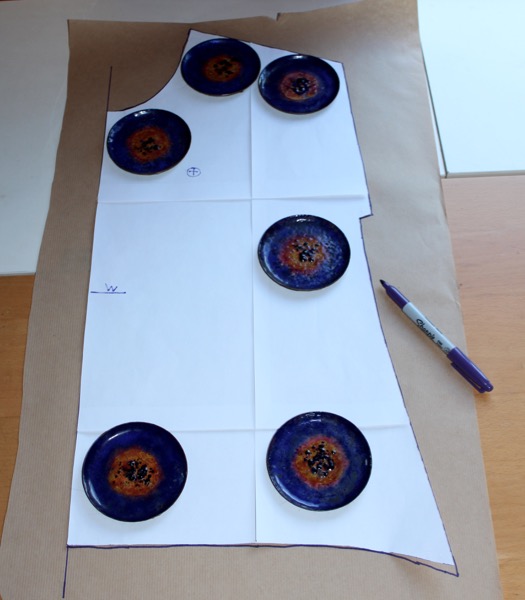
Flip your Front piece over so the printed side is facing down, and trace around the entire outside edge (I like to use these blue enamel coasters as my pattern weights, but anything heavy will work). Make sure to transfer your Bust and Waist marking to the new mirror-image Front, too.
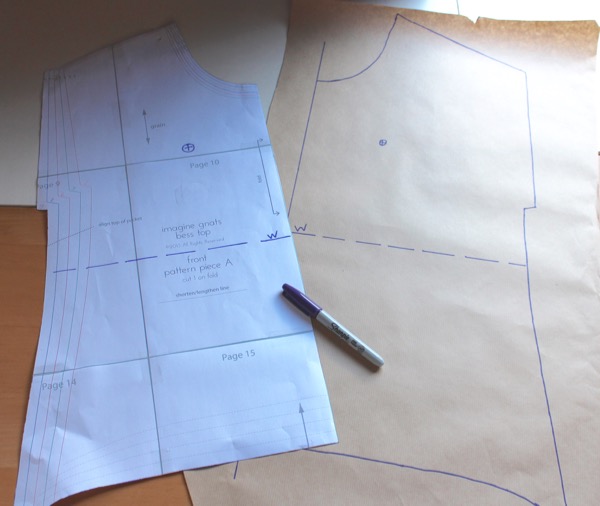
Line Up the original Front alongside the Centre Front edge, and tape in place so you’ve got one whole Front piece.
Step Three – Draw your Wrap Extension
Drawn a curved line leading from the neckline down to the side seam at the waist, making sure that you don’t cross too close to either Bust point. If you want a higher neckline, make the curve less shallow – for a lower neckline, make the curve more pronounced. I went for a “happy medium”!
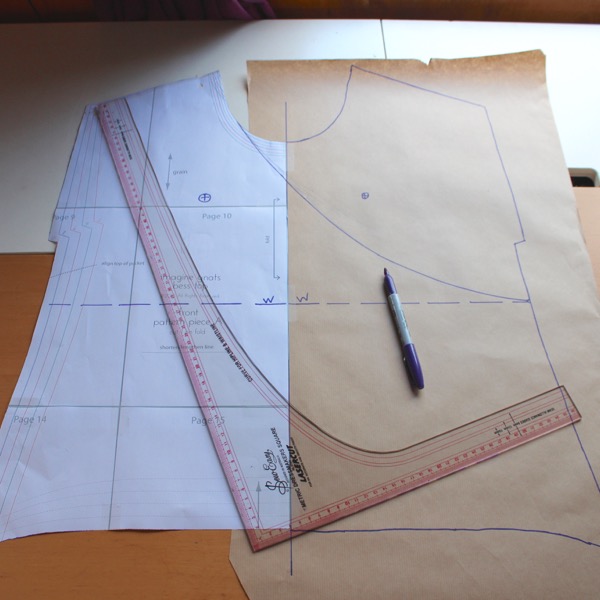
Step Four – Remove some Waist Ease
When you wear a wrap top or dress, you always want the wrap portion to finish a few inches away from the side seam, so you can tighten the ties a bit. If we made the wrap exactly the same width as the whole Front, then you wouldn’t be able to remove any of the ease at the waist and it might gape unattractively! So it’s better to err on the side of removing a bit too much here, as you can always adjust when you tie it closed.
So draw a line from the waist down to the hem 2-3 inches away from the marked side seam.

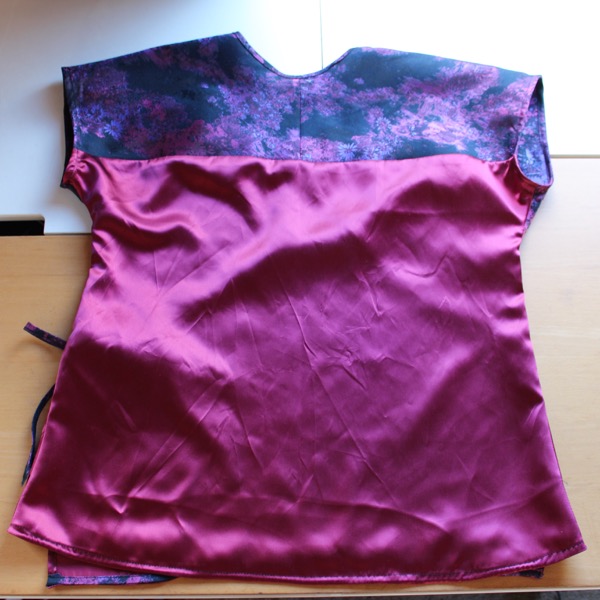
You can now also cut your new Front piece along the extended neckline and side edges. Your pattern alterations are all done now – though you can see in my finished photos that I chose to also alter my Back piece to have a colour blocked yoke as in this tutorial, but it doesn’t make any difference whether you do or not for the sake of this wrap-style.
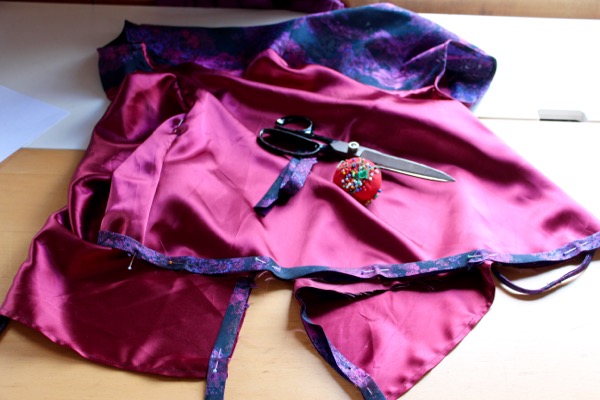
Step Five – Cutting the Fabric
When you’re cutting out your fabric, instead of placing the Front piece on the fold, you now need to cut two mirror copies of the Front, using the Centre Front line as your new grainline.
We’ll be finishing the neckline, sleeve, and hem edges with bias strips, so you may also want to cut these while you’re cutting out the Front and Back pieces, or you can use purchased bias tape if you’d rather.
Step Six – Sewing the Shoulders
Follow the original Bess instructions for the inset shoulder seams, up to Step 15.
Step Seven – Finish the Side Edges
Finish the vertical side edges by pressing 1/4in under, and then 1/4in under again and topstitching to create a double fold hem. Press well.
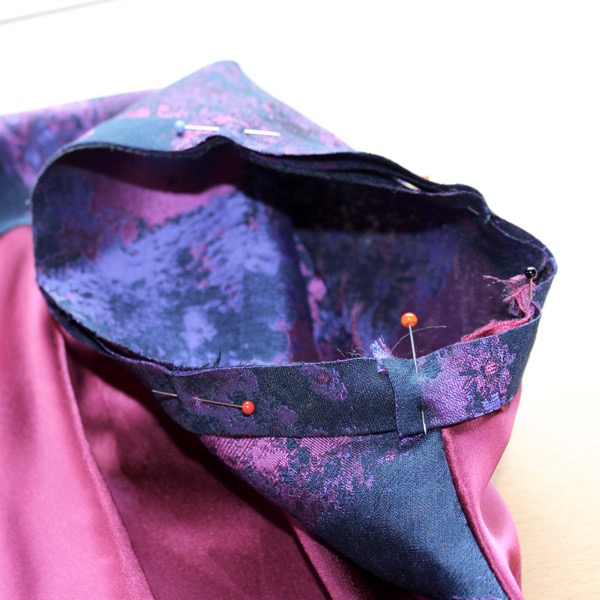
Step Eight – Finish the Neckline
Measure your neckline edge along both Fronts and the Back, and add at least 12in (30cm) to this measurement for the integrated ties. Cut a length of double-fold bias binding to this measurement, and fold it in half lengthwise to mark the centre. Align the centre of the bias binding to the Centre Back neckline, and sandwich the neckline edges inside the bias binding the whole way along.
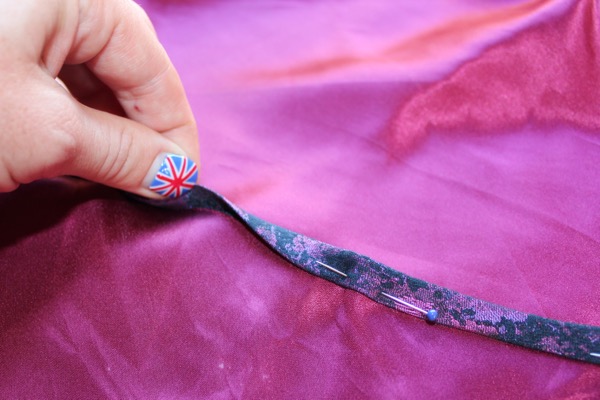
Start stitching from the free-hanging end of the bias binding, up and along one front neckline edge, around the back neckline, and back down the front neckline until you reach the end of the bias binding. You can either just topstitch close to the inner folded edge of the bias binding in one pass, or choose to baste the inside first and then topstitch, or you could also use a bias binding foot – it’s up to you!
Once you’ve finished with the neckline edge, sew the side seams together from sleeve edge to hem.
Step Nine – Finish the Sleeves
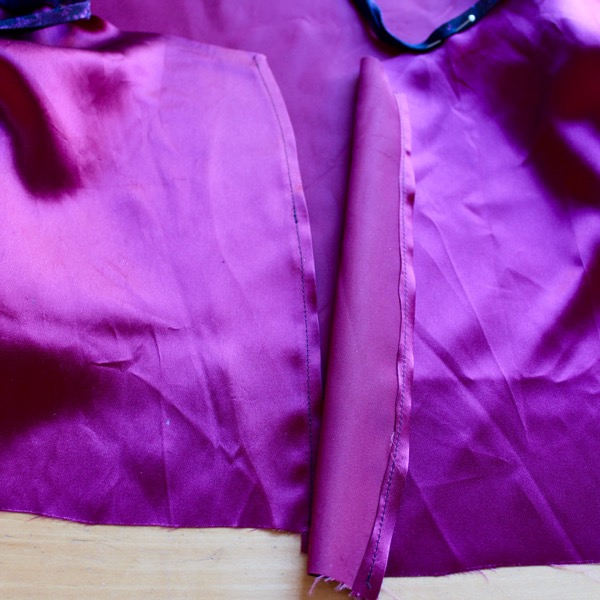
You could easily choose to finish the sleeves and hem with bias binding in the same way we did the neckline edge, but I want to show you my absolute favourite way to finish off a delicate edge so you only have a single line of topstitching visible from the right side. It’s my favourite method for finishing curved edges in silks or fabrics that fray a lot, like the solid satin I used here.
For this method you only need a bias strip with one fold running the entire length, right sides facing out (so if you’re using purchased bias binding, you’ll want to unfold the outer edges, press, and press one fold down the centre instead).
Pin the bias facing against the right side of the sleeve edge, with the cut edges aligned (ie: with the folded edge towards the body of the top).
When you reach the beginning, just overlap the overlap the edges by a half inch or so, then sew down the centre of the bias strip the whole way along the sleeve edge. Trim the seam allowance, and press the bias facing to the inside of the sleeve. Working from the inside, stitch along the folded edge of the bias facing.
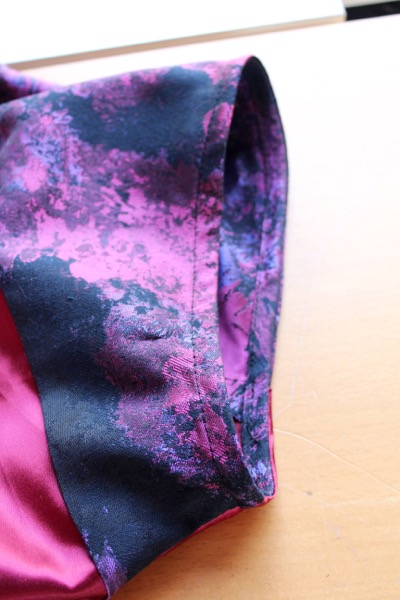
Here’s the finished result – a very narrow bias facing. Repeat for the other sleeve.
Step Ten – Finish the Hem
Again, the hem could be finished in any number of ways, like the jersey facing described in the instructions, or a bias binding like the neckline edge, but I opted to finish it with the same narrow bias facing I used on the sleeves. This way there’s only a single line of stitching visible, but also the possibility of a flash of contrast as the top moves.
Step Eleven – Finishing Touches
At this point you should try on the top and mark both side seams where the ties should go.

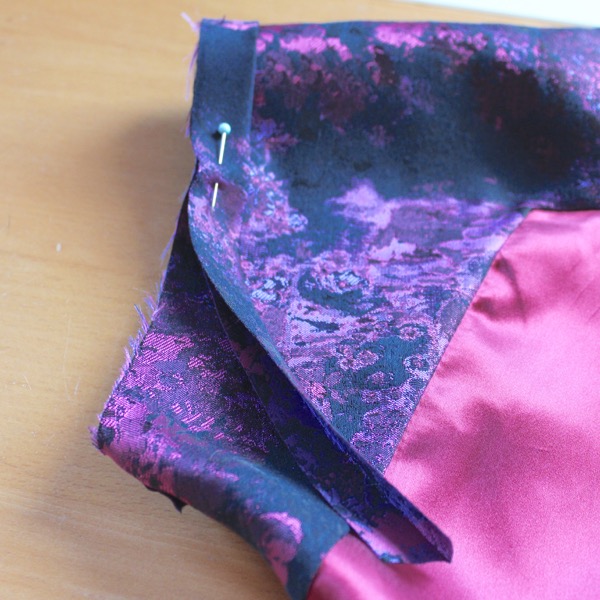
If, on the inner side, your edge reaches to the side seam comfortably, you can cut off the tie altogether and sew a snap to the seam allowance inside with a corresponding snap on the Front edge.

On the outer side, you’ll want it to be a little prettier, so you should take about 6in (15cm) of leftover bias binding, sew it together to make a tie similar to what’s attached to your Front neckline, and insert it into the side seam at the waist. I find it easier to just unpick a few stitches where the tie should be, insert the tie, and re-sew that portion at this point rather than try and guess the right position when sewing the side seams and risk it being too high or too low!
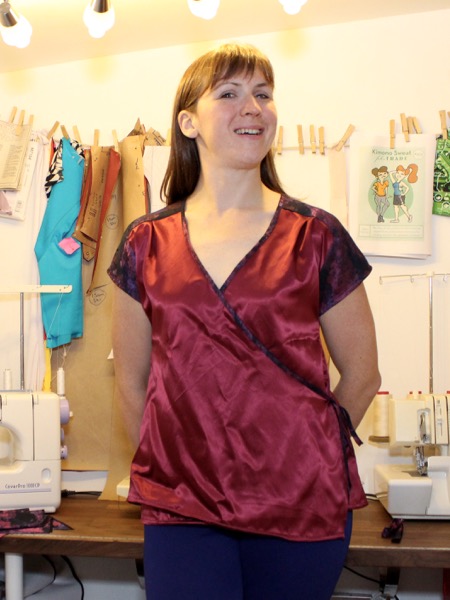
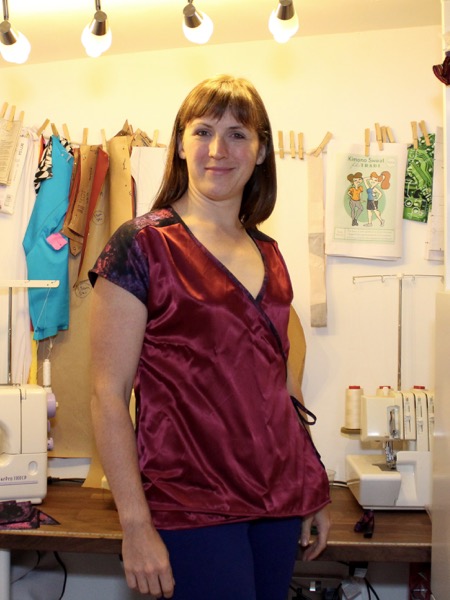
And that’s it! You’ve got yourself a wrap-style Bess top!
Finished photos