Label evolution
I don’t know about you, but there’s just something about adding your own label into a garment you’ve sewn that just makes it feel 100% more professional. Sometimes it’s practical, too – it’s a lot easier to see a label on a teeshirt or pair of leggings and instantly know that side is the back, but this could also be accomplished by some extra stitching or a bit of folded ribbon, which doesn’t give anywhere near the same finishing touch.
Way back in 2006 I made my own first labels – I’d bought some pale green ribbon and used iron-on inkjet transfer paper to put my logo onto each one. Even back then, I knew it was a pain to print, cut, and iron each one (especially since we were early adopters to laser printing and had to borrow an inkjet printer!), and after repeated wears, the transferred area would wear and look a bit grubby.
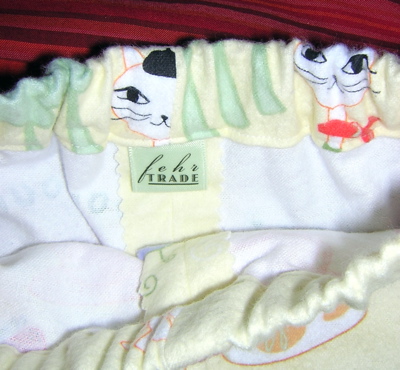
I still wear a few items from this era, but couldn’t find any in my summer wardrobe when I went on a hunt to photgraph the changing evolution in my labels, so you’ll have to make do from the above image from 2006. The baby I sewed those trousers for is now nearly 10 years old!
After those ran out (I stupidly printed “2006” on half of them so I couldn’t really use them in 2007! Lesson learnt.) I placed my first order with Cash’s for woven labels. Since they didn’t have mint green, I chose black and silver instead, purely as I thought it’d be the least likely to clash with my fabrics. These were quite narrow and had about four fonts to choose from, and a handful of symbols too (which were all incredibly “happy hands at home” so I opted to have no symbol at all). But their best feature was they were super cheap, so I’d just re-order them when they ran out. At some point they changed their fonts, as you can see in this photo.

I’ve been largely satisfied with these labels, but I’ve been jealous of all the ones I’ve seen from other sewists online with their logo woven inside that look even more professional. I’d even gone and shopped around on a few occasions, but there seemed to be an overwhelming array of label places on Etsy, nearly all shipping from the US or Asia with long turnaround times.
So when the Belgian-based Nominette approached me and asked if I’d like to try out their labels and English-language site, I think I took all of 30 seconds to reply!
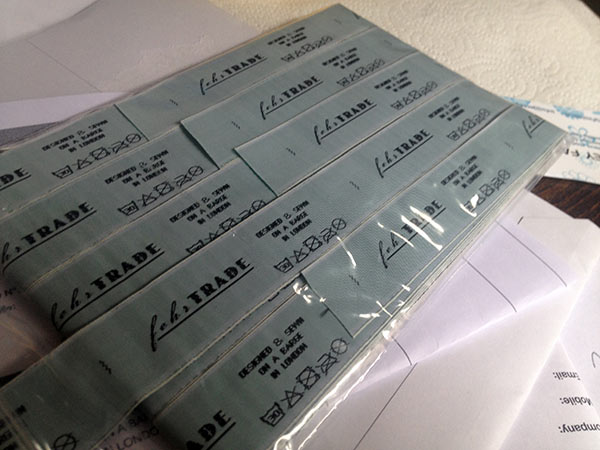
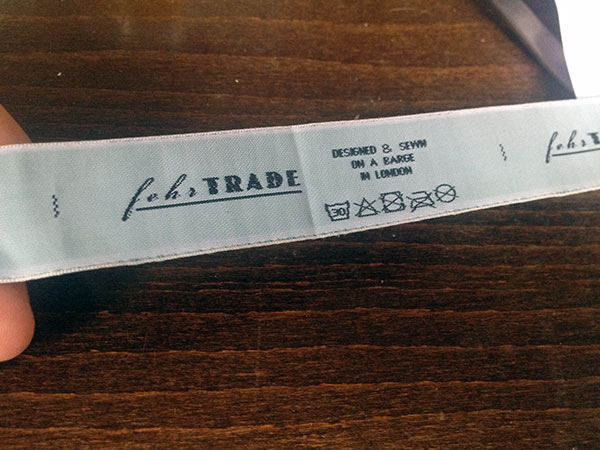
They’ve got an online form where you can upload your logo, pick your font, colours and washing care symbols (a bit tricky unless you predominantly sew with the same fabrics – I chose care instructions for lycra, for instance!), and also the orientation of where you want the fold. You also get some space for a custom message so I went with “Designed and sewn on a barge in London”, which I think adds a nice little personal touch for any custom client sewing I may do (not like I’ve had the time to do any since I took my office job in January, though!).