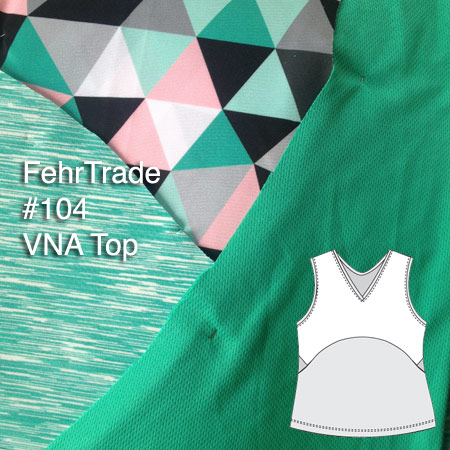
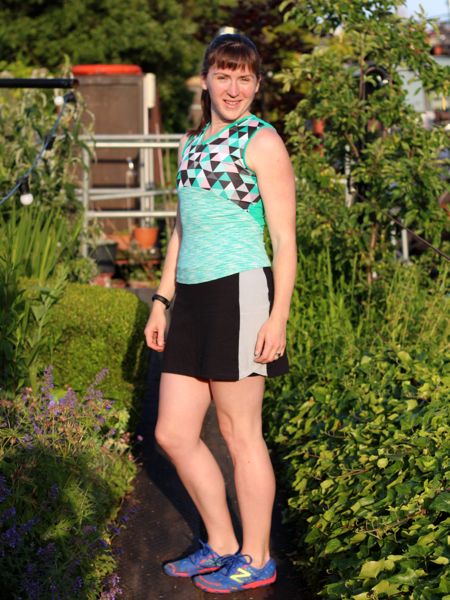
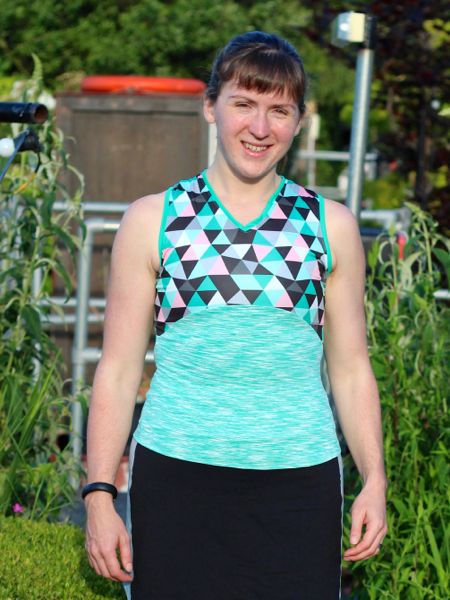
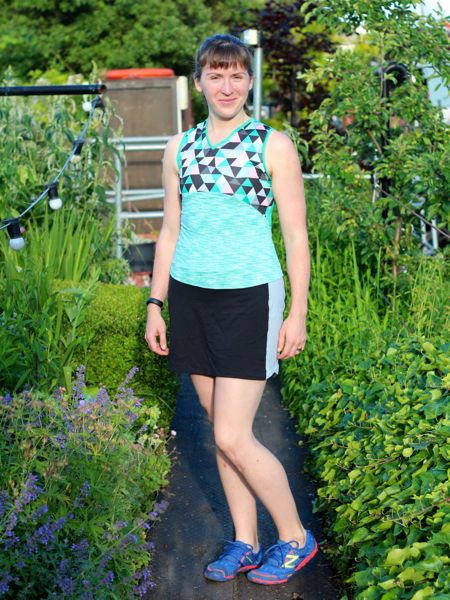
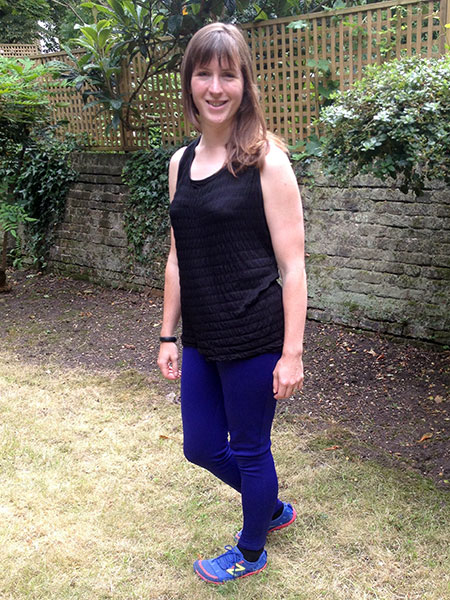
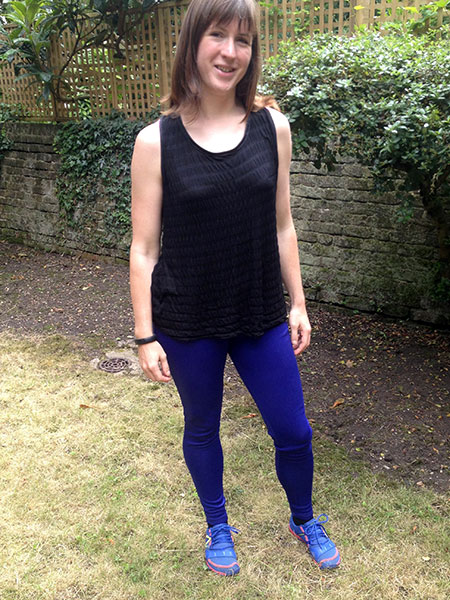
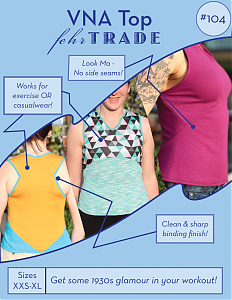
Thank you all so, so much for your enthusiasm and compliments on the launch of our fabric designs last week! I’ve been swamped with work (which is great!) but managed to squeeze in some time to sew up the first two samples – a VNA Top and Duathlon Shorts (booty length) in the coordinating “Maps” citrine & black colourway.
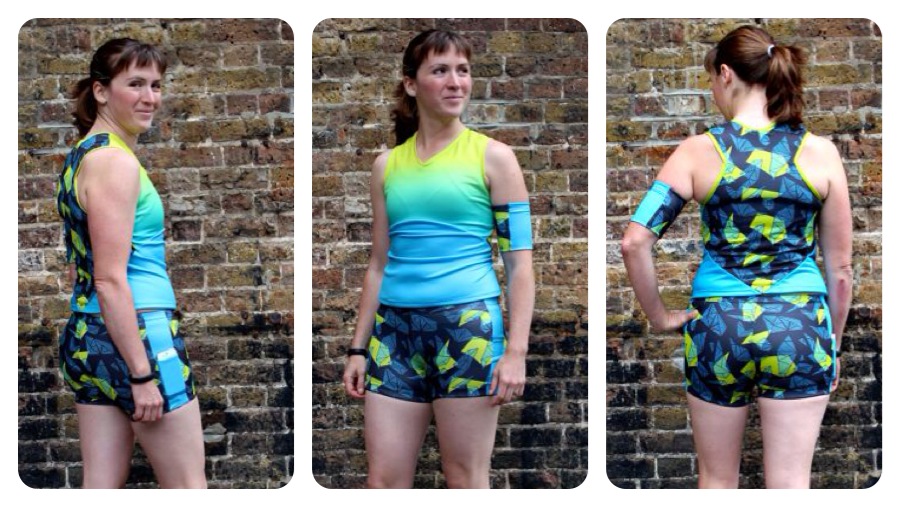
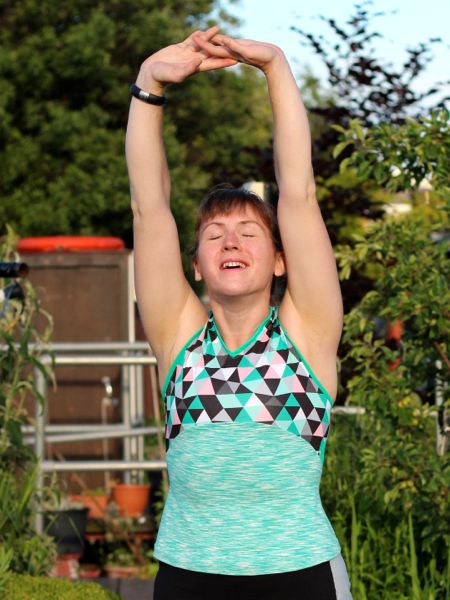
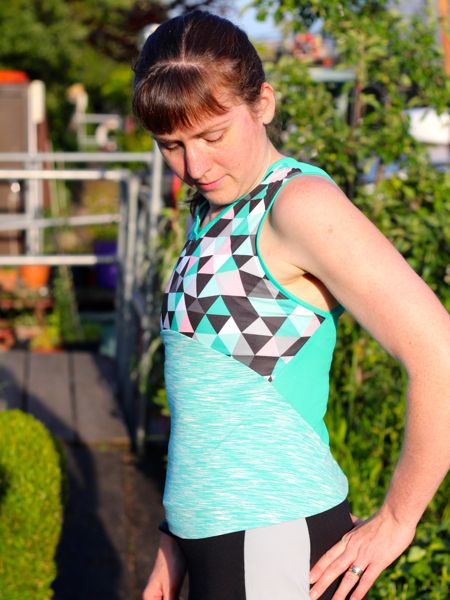
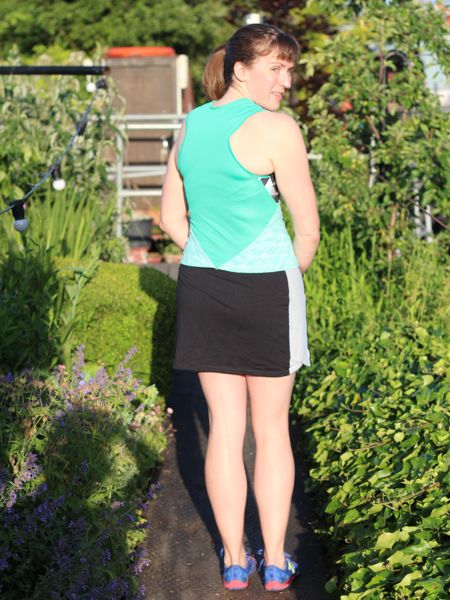
So if you buy one yard of the “Maps” citrine/black VNA fabric and one yard of the “Maps” citrine/black Duathlon fabric, this is what you get! Cool, eh? There’s more photos of me modelling at the end, but I know loads of you were waiting to see finished versions first before taking the plunge!
Having cut out and sewn both, I took some photos throughout the process, and have a few tips as well. The previous post shows you how to lay out your pieces onto the different zones, but in real life, I know my makeshift cutting table (err, desk!) isn’t big enough to hold the full yardage.

So the first thing I recommend is to cut the fabric apart along the different zones and trim the white borders.
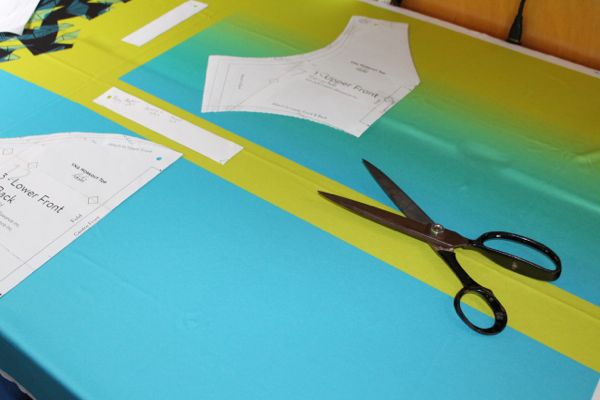
This makes it a lot easier to match up the edges so you can fold the zones in half and cut on the fold (or in the case of the Duathlon shorts, cut two layers at once). It also means I can fit the fabric onto my cutting table!