My go-to baby present for many years has been a changing mat – hand towel on one side, fabric and pockets on the other, and it all folds up nicely and fastens with ribbon. I still enjoy making these (and I get great big thumbs up from the parents!), but I wanted to make something different this time around, and I had two lots of Spoonflower organic cotton jerseys I fancied using.
I actually made these way back in early April, but since they were both gifts, I needed to wait until both sets of parents received them before I could share them with you. But since I made them so long ago, the details are a little hazy in my mind, so apologies for anyone looking for a particularly useful pattern review here!

I sifted through my digital pattern archive and selected #145 from the March 2011 Burda magazine (it’s not on the US Burda site so you’ll have to refer to the Russian archive). I liked the versatility of the design, that it looked quite handy to wrap a baby up in, but that it was also easy to sew and could fit into the two fat quarters I had of each of the fabrics.
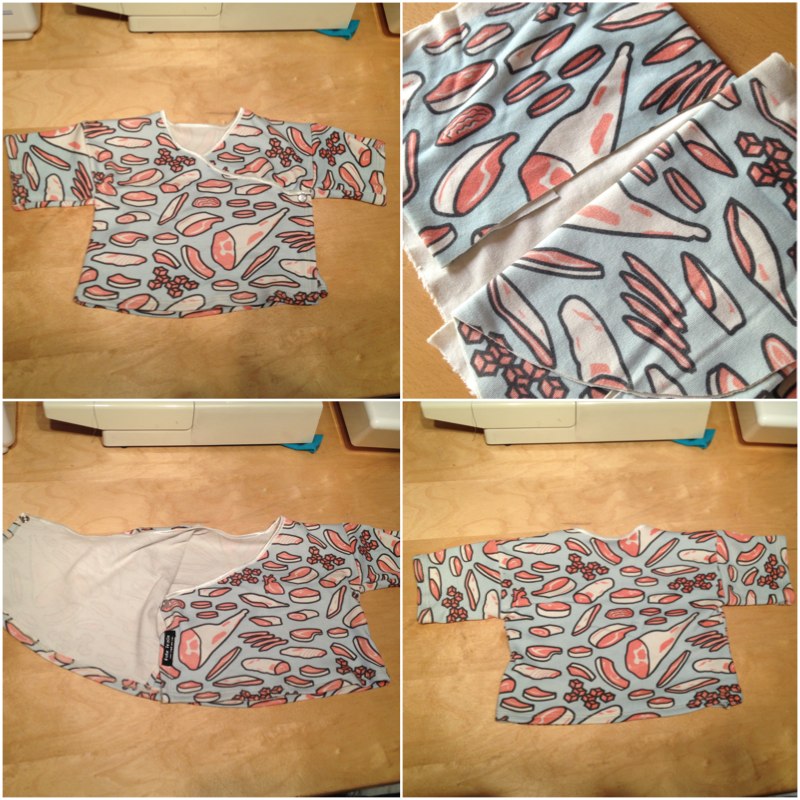
For our local friends’s newborn baby girl, I selected the meat fabric and used the 3 months size. I knew the parents would laugh their heads off and be happy that it wasn’t predominantly pink, too. I didn’t actually get to see the baby wearing it since she was asleep at the time, but I’m just going to assume she’ll grow into it!